Okta
Discover step-by-step instructions on configuring a connection with Okta. Learn how to integrate your application with Okta to secure and streamlined SSO authentication.
How to startβ
![SSO Okta integration with Cryptr](https://res.cloudinary.com/cryptr/image/upload/v1694622737/Okta%20Configuration/SSO/V001/sso_okta_img_001_z1aa5b.png)
- Connect to your Okta developer account.
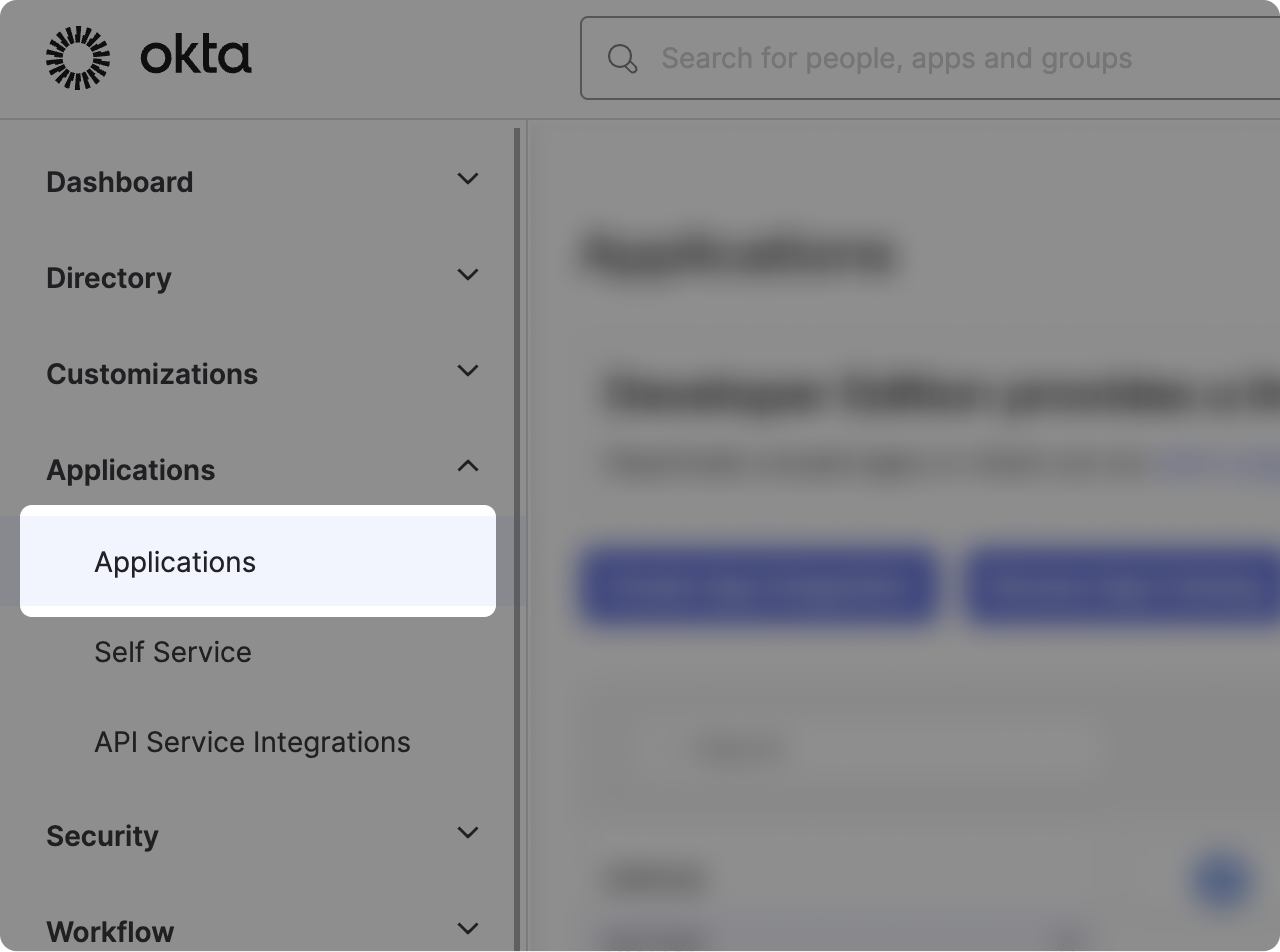
- Click on "Applications" in the left-hand menu, then click on "Applications" again in the dropdown.
Declare an applicationβ
![SSO Okta integration with Cryptr](https://res.cloudinary.com/cryptr/image/upload/v1694622737/Okta%20Configuration/SSO/V001/sso_okta_img_002_dpajih.png)
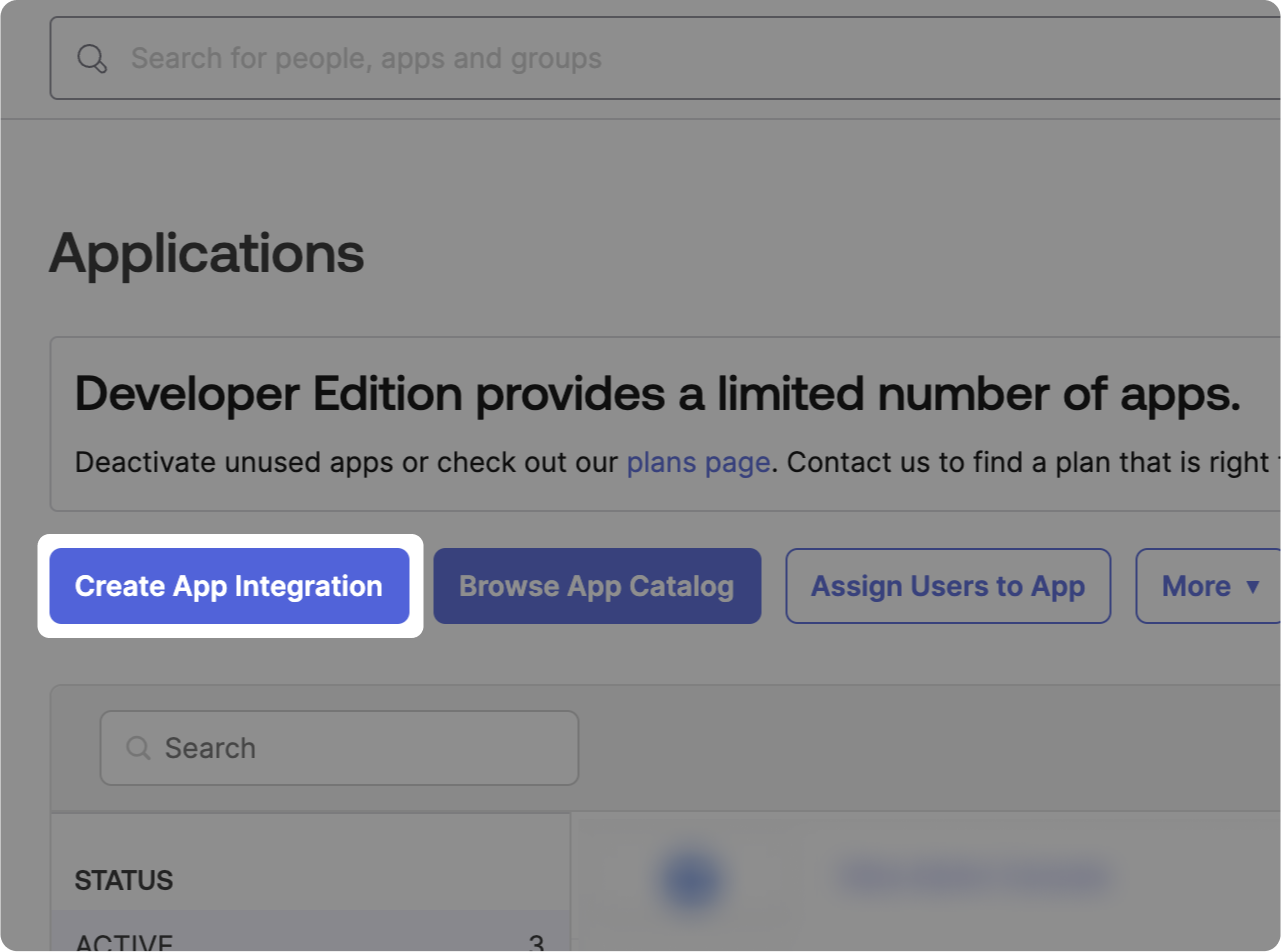
Click on "Create App Integration."
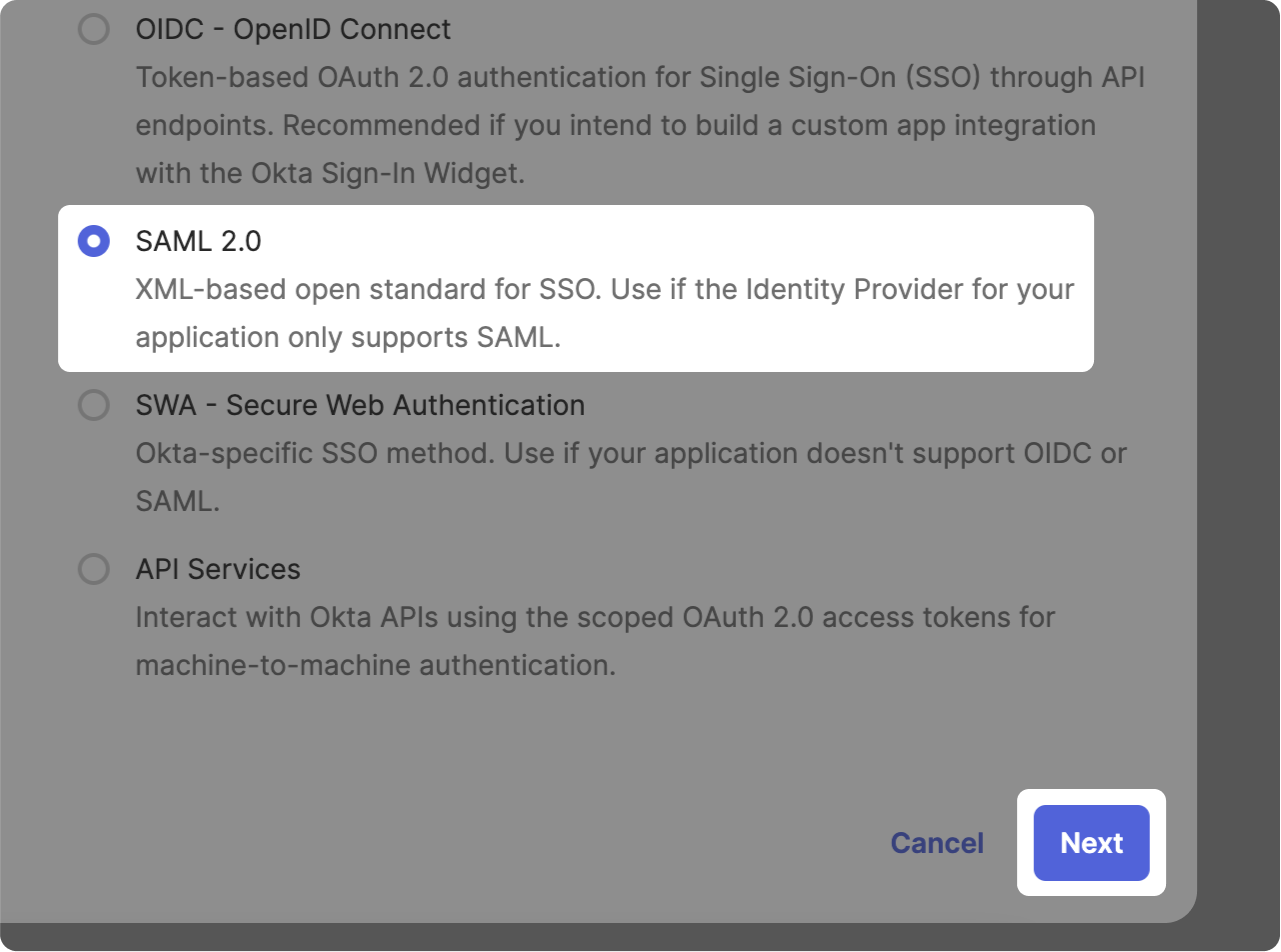
![SSO Okta integration with Cryptr](https://res.cloudinary.com/cryptr/image/upload/v1694622738/Okta%20Configuration/SSO/V001/sso_okta_img_003_wybqn5.png)
- Select "SAML 2.0"
- Click on "Next"
![SSO Okta integration with Cryptr](https://res.cloudinary.com/cryptr/image/upload/v1694622737/Okta%20Configuration/SSO/V001/sso_okta_img_004_ldznxt.png)
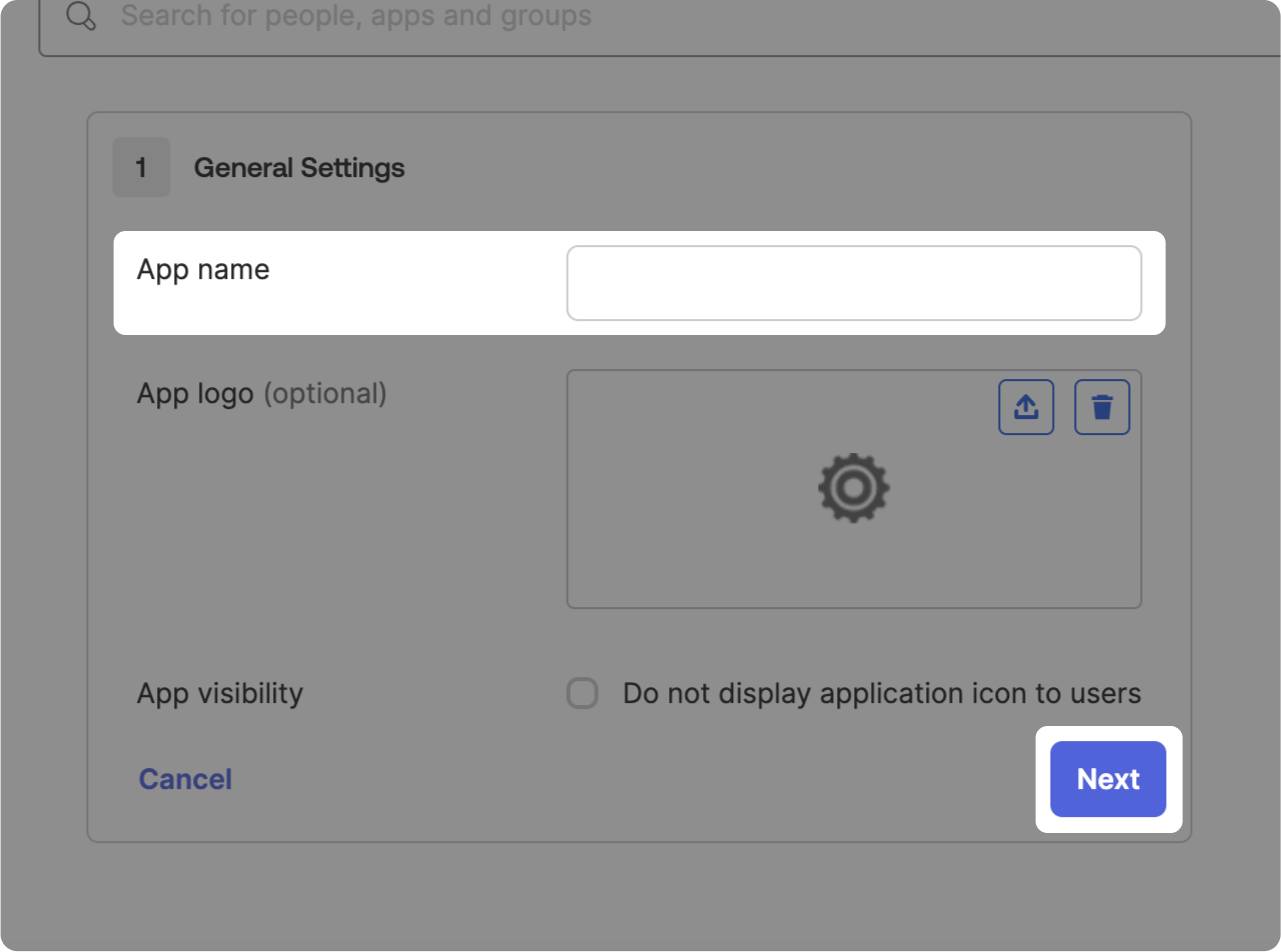
- Choose an app name (you may also choose a logo and other settings).
- Click on "Next"
SAML configurationβ
![SSO Okta integration with Cryptr](https://res.cloudinary.com/cryptr/image/upload/v1694622738/Okta%20Configuration/SSO/V001/sso_okta_img_005_pwcrnf.png)
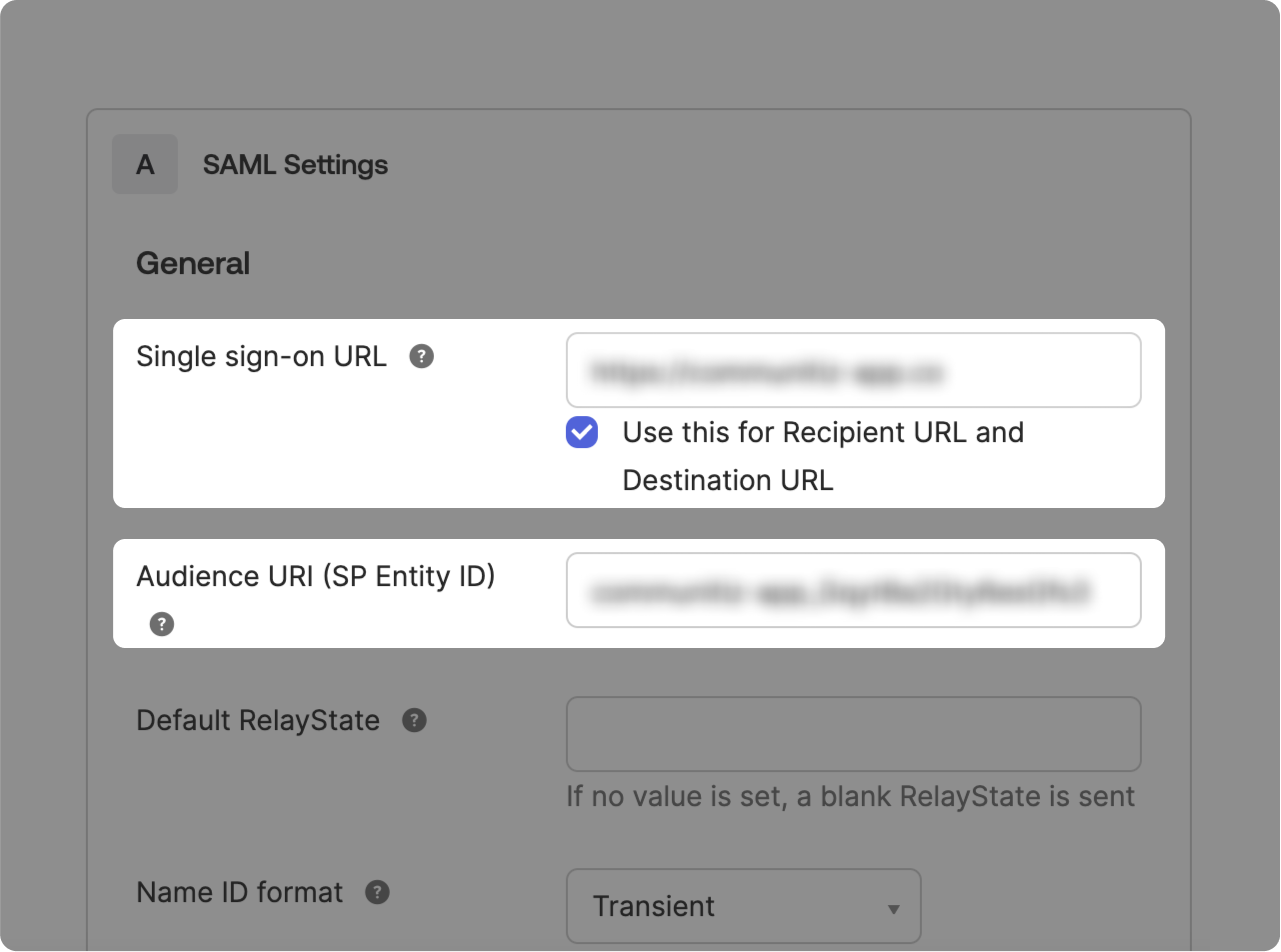
- In the "Single sign-on URL" field, paste the corresponding value, which is situated in the right sidebar π
- In the "Audience URI (SP Entity ID)" field, paste the corresponding value, which is also situated in the right sidebar π
Certificateβ
![SSO Okta integration with Cryptr](https://res.cloudinary.com/cryptr/image/upload/v1708094543/Onboarding%20V2/Okta/sso_okta_img_016_rqmzhj.png)
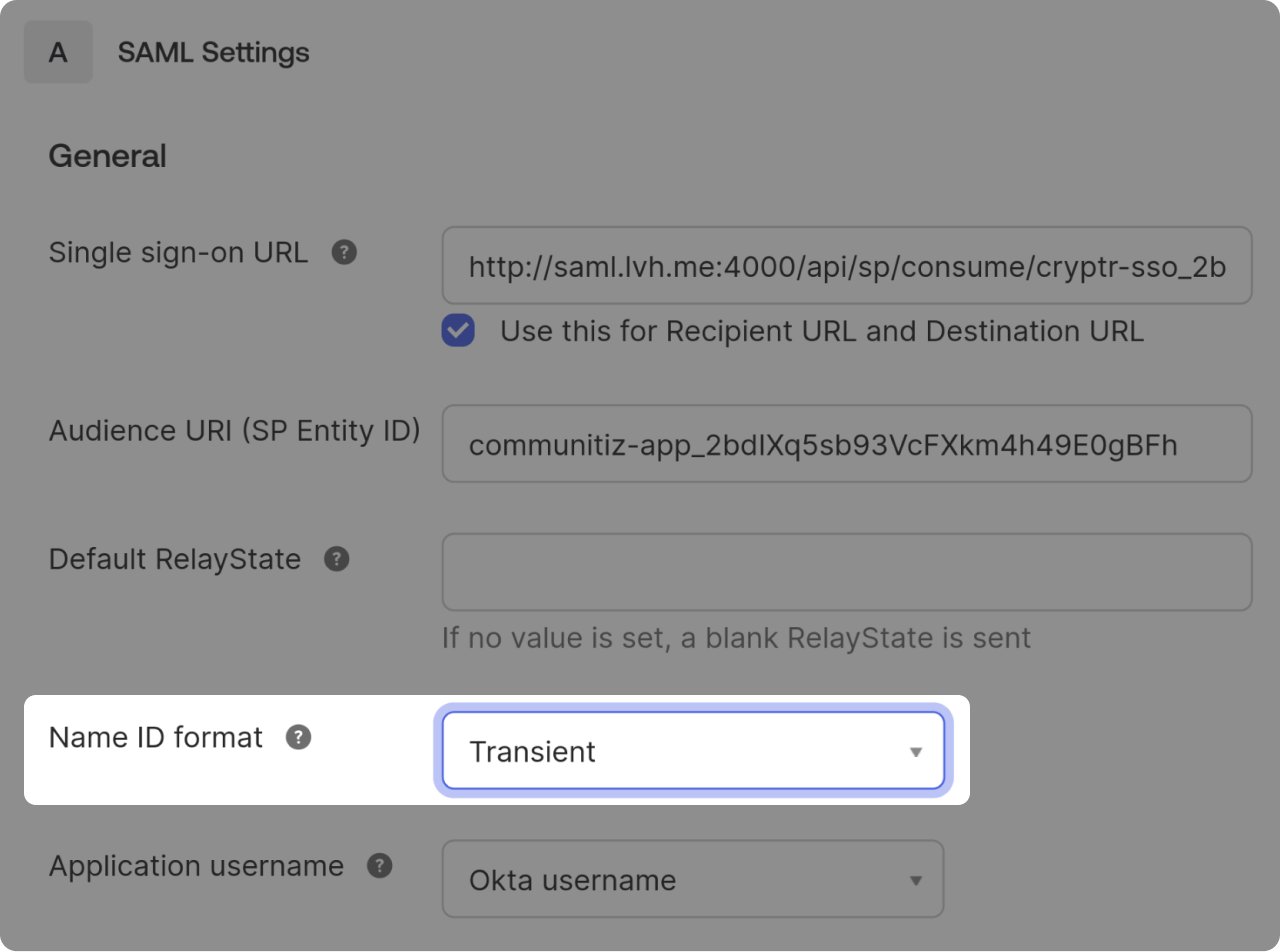
- In "Name ID format" select "Transient"
![SSO Okta integration with Cryptr](https://res.cloudinary.com/cryptr/image/upload/v1694622738/Okta%20Configuration/SSO/V001/sso_okta_img_006_d29hcs.png)
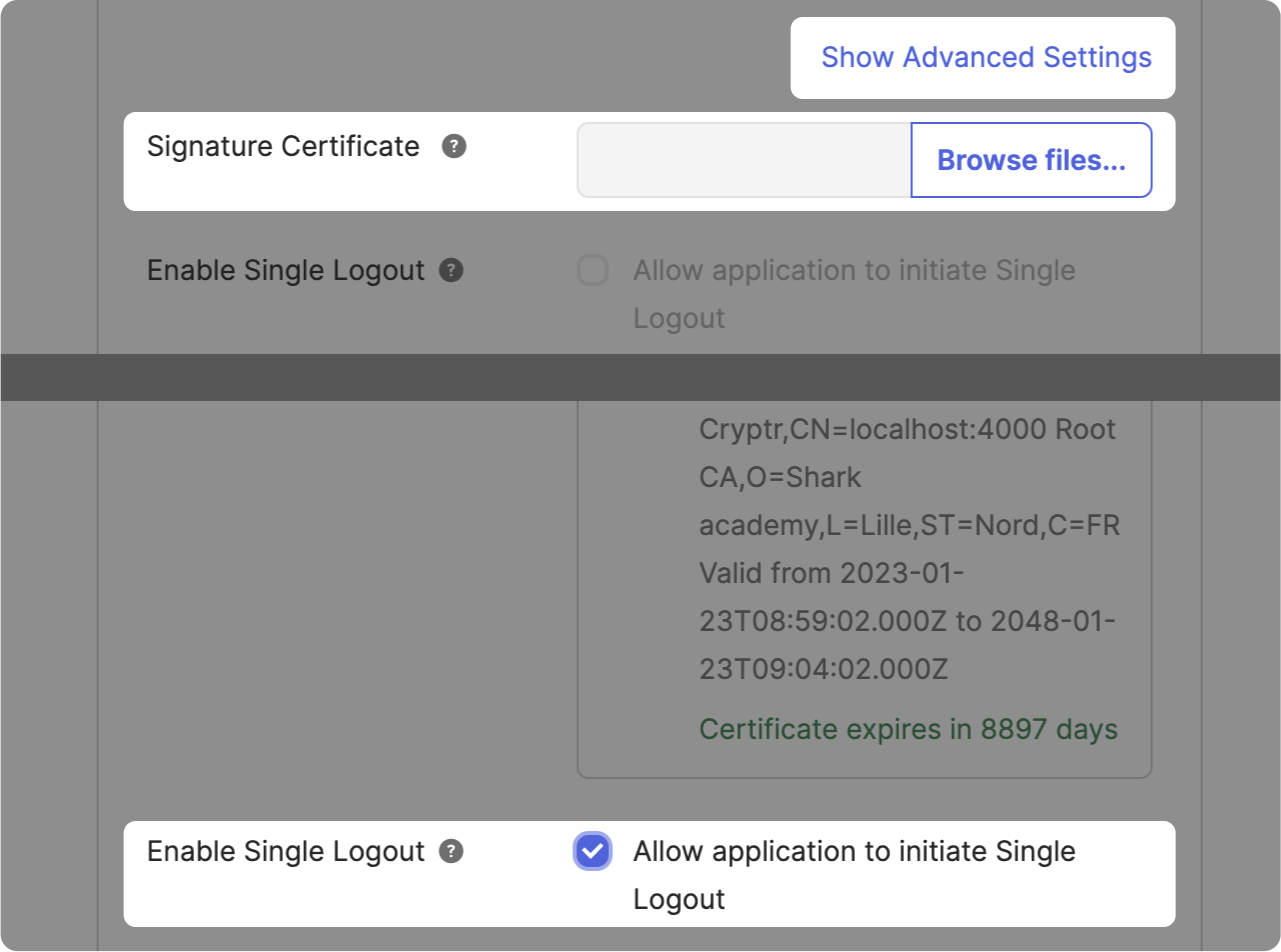
- Click on "Show Advanced Settings" to expand.
- Download your certificate file by clicking on "Download Certificate" in the right sidebar π and upload it.
- Once the file is uploaded, you can check the "Allow application to initiate Single Logout" box.
![SSO Okta integration with Cryptr](https://res.cloudinary.com/cryptr/image/upload/v1694622739/Okta%20Configuration/SSO/V001/sso_okta_img_007_b0g5lf.png)
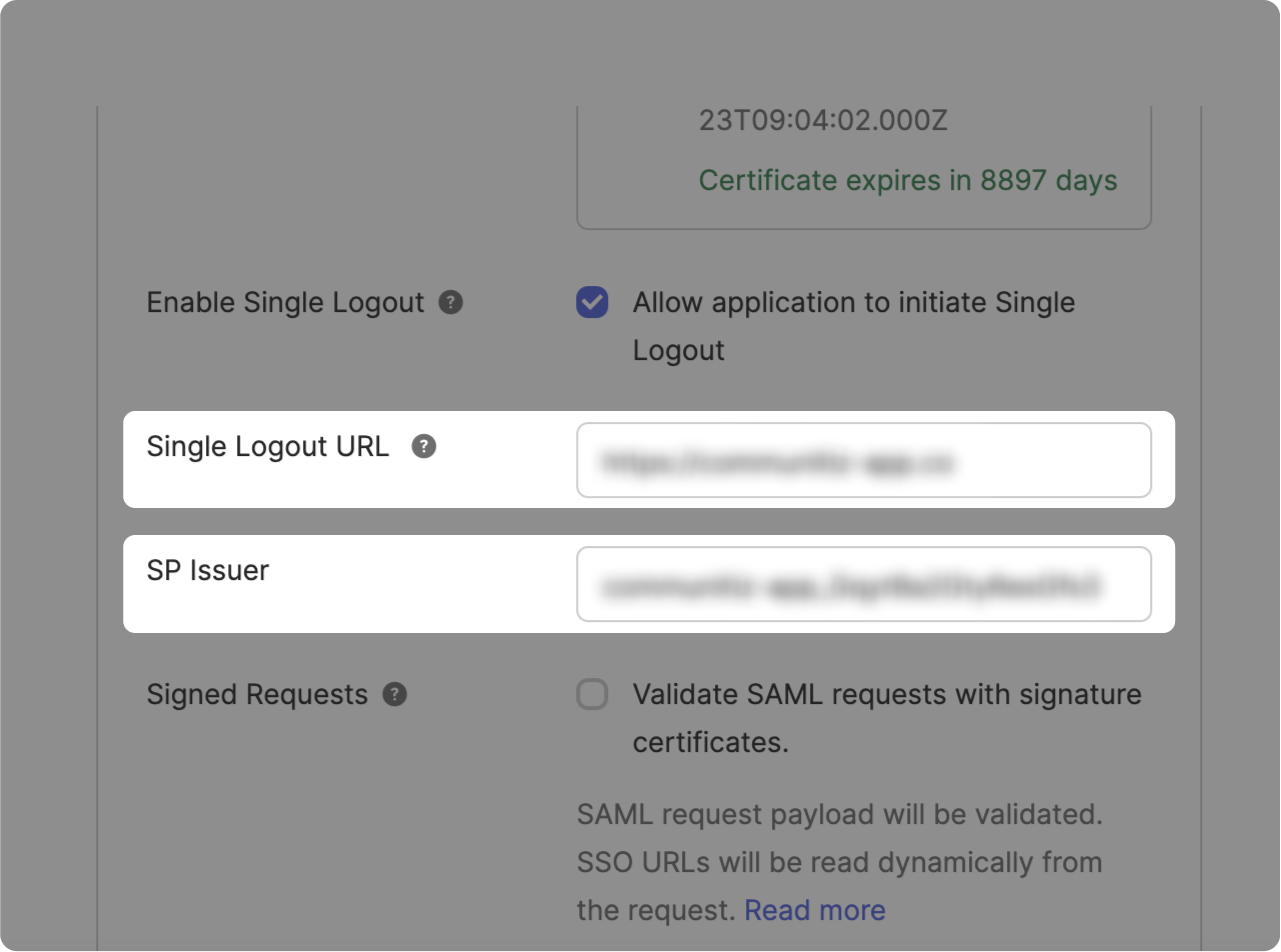
- In the "Single Logout URL" field, paste the corresponding value, which is situated in the right sidebar π
- In the "SP issuer" field, paste the corresponding value, which is situated in the right sidebar π
![SSO Okta integration with Cryptr](https://res.cloudinary.com/cryptr/image/upload/v1708094543/Onboarding%20V2/Okta/sso_okta_img_017_wmpjq1.png)
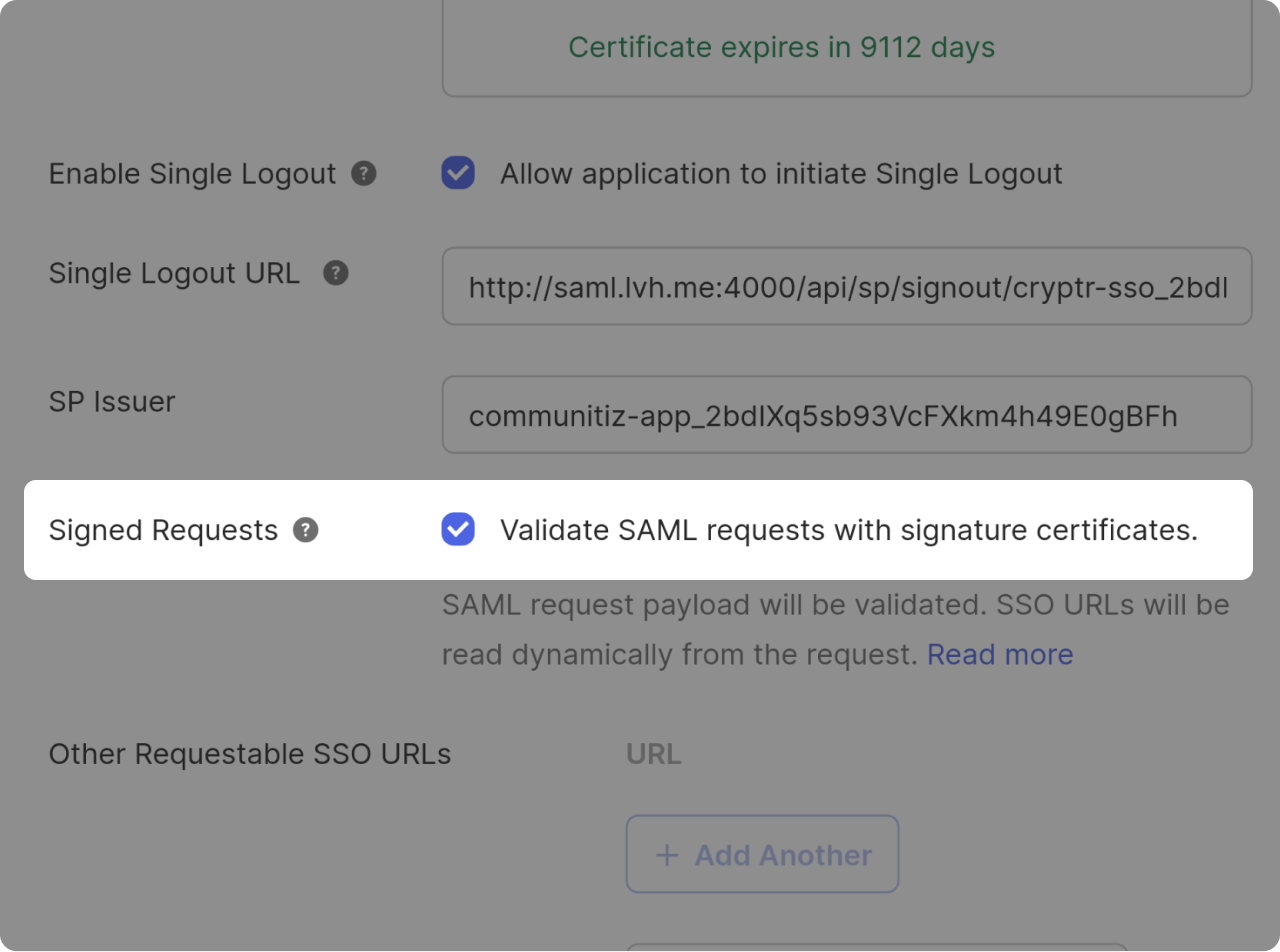
- Activate the "Validate SAML requests with signature certificates."
Attributes Mappingβ
![SSO Okta integration with Cryptr](https://res.cloudinary.com/cryptr/image/upload/v1709558484/Onboarding%20V2/Okta/sso_okta_img_008_02_oxwgr3.png)
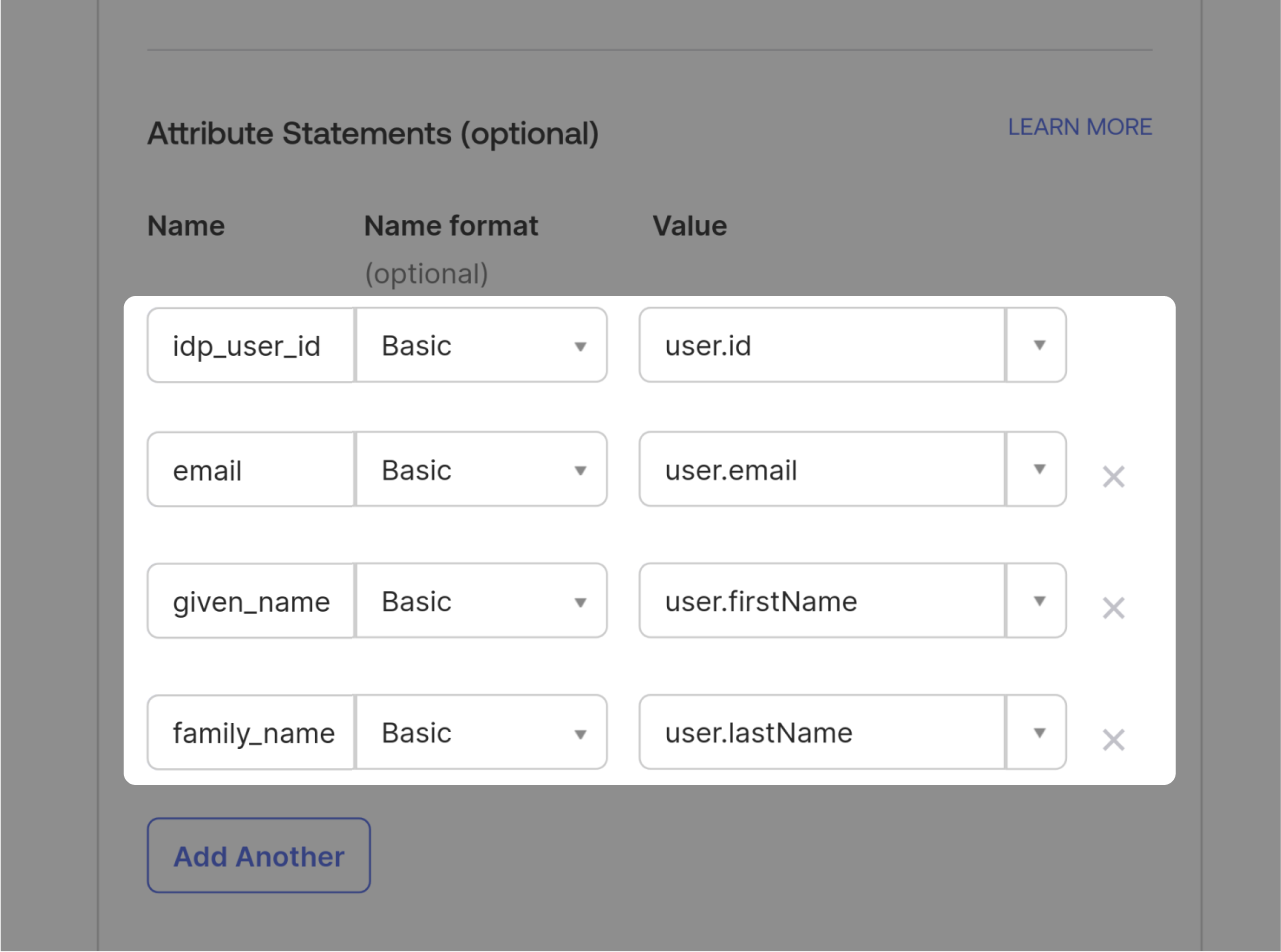
In the "Attribute Statement" section, please fill out the fields as shown above.
![SSO Okta integration with Cryptr](https://res.cloudinary.com/cryptr/image/upload/v1694622738/Okta%20Configuration/SSO/V001/sso_okta_img_009_kwprev.png)
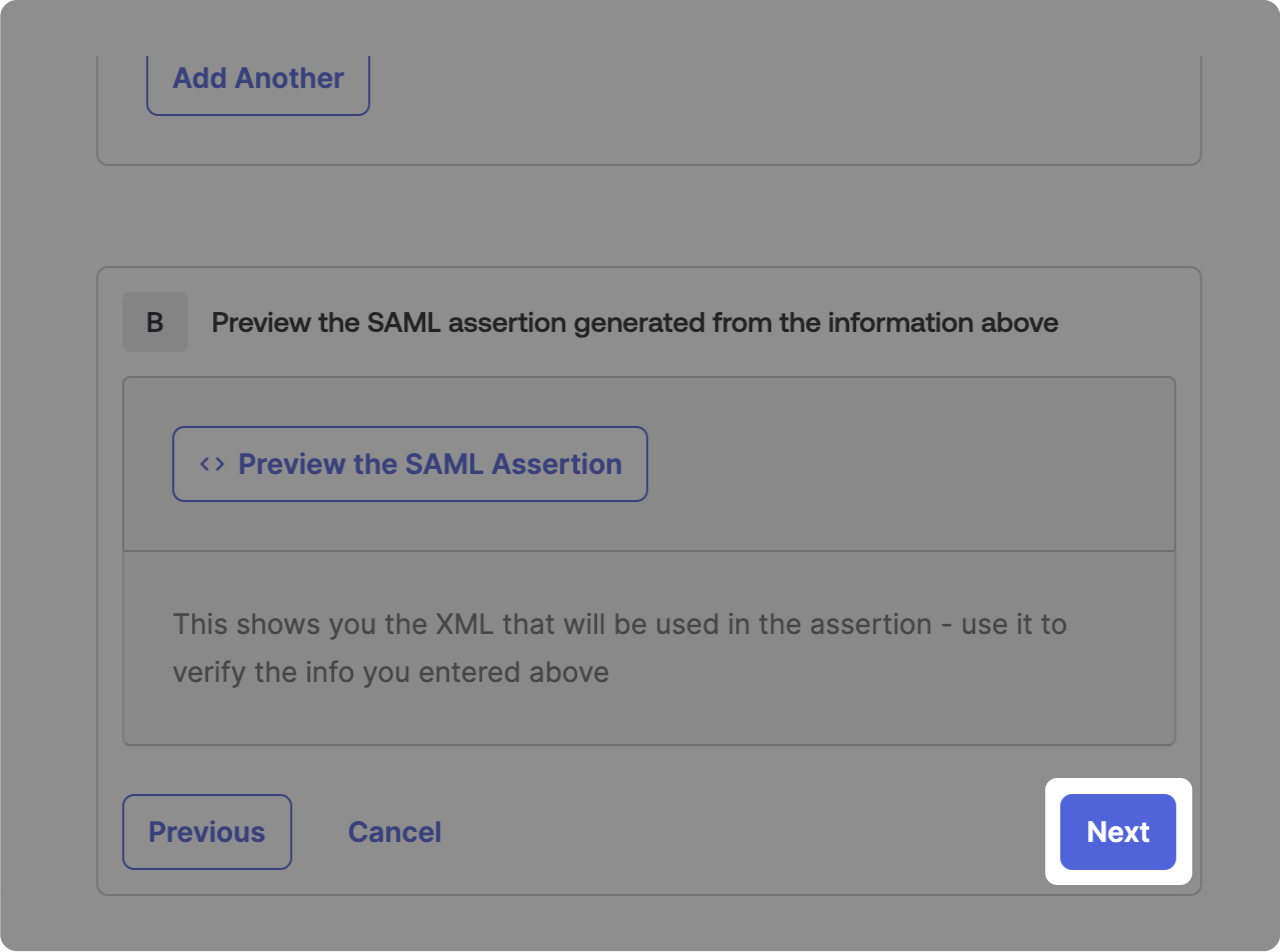
After proceeding by clicking on "Next," you will be redirected to the "Feedback" step.
![SSO Okta integration with Cryptr](https://res.cloudinary.com/cryptr/image/upload/v1705918588/Okta%20Configuration/SSO/V001/sso_okta_img_009_002_e4clul.png)
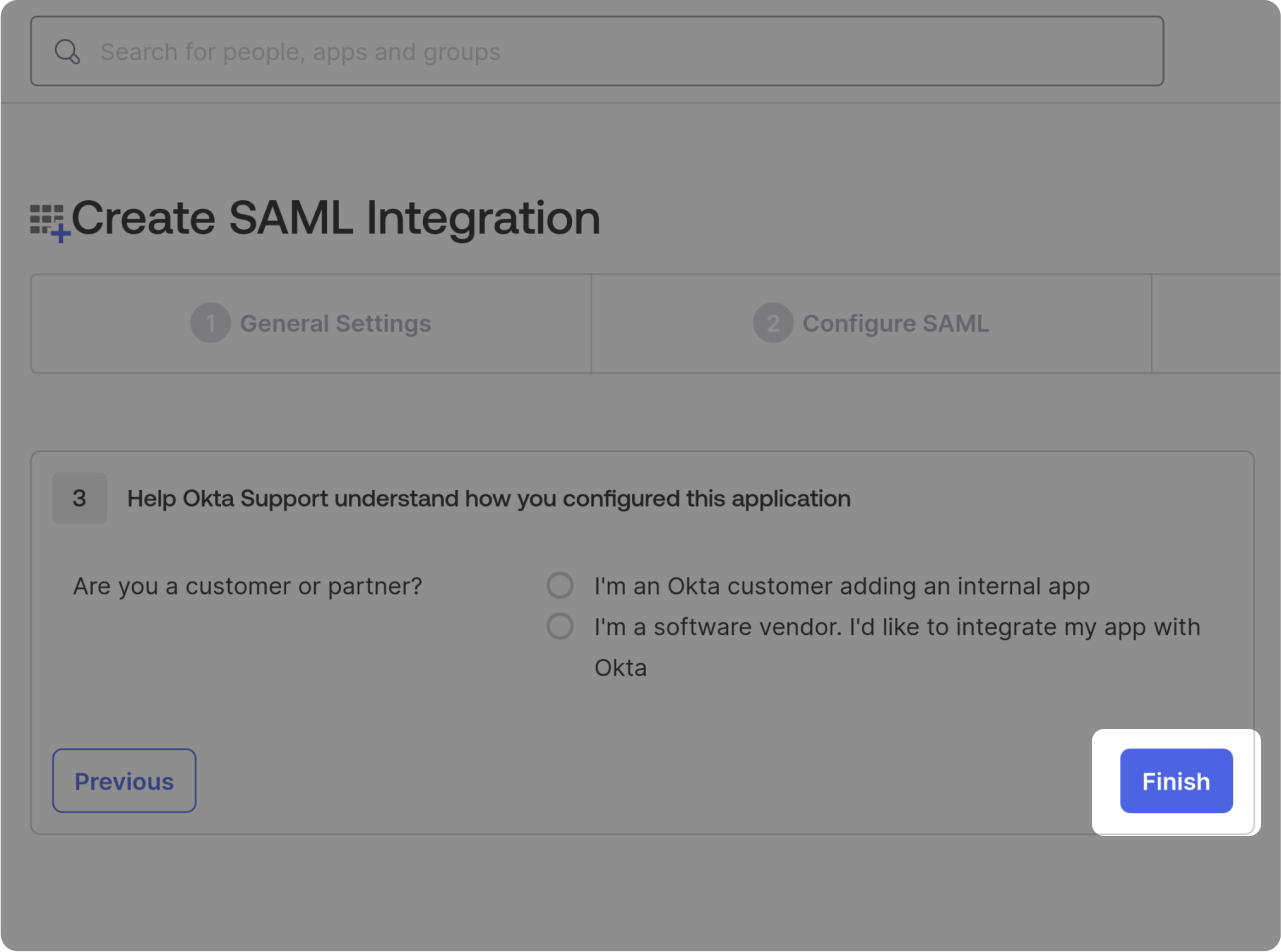
On this screen, select the option that is most suitable for you and then click on "Finish."
XML Metadata fileβ
![SSO Okta integration with Cryptr](https://res.cloudinary.com/cryptr/image/upload/v1705918589/Okta%20Configuration/SSO/V001/sso_okta_img_009_003_dozhe2.png)
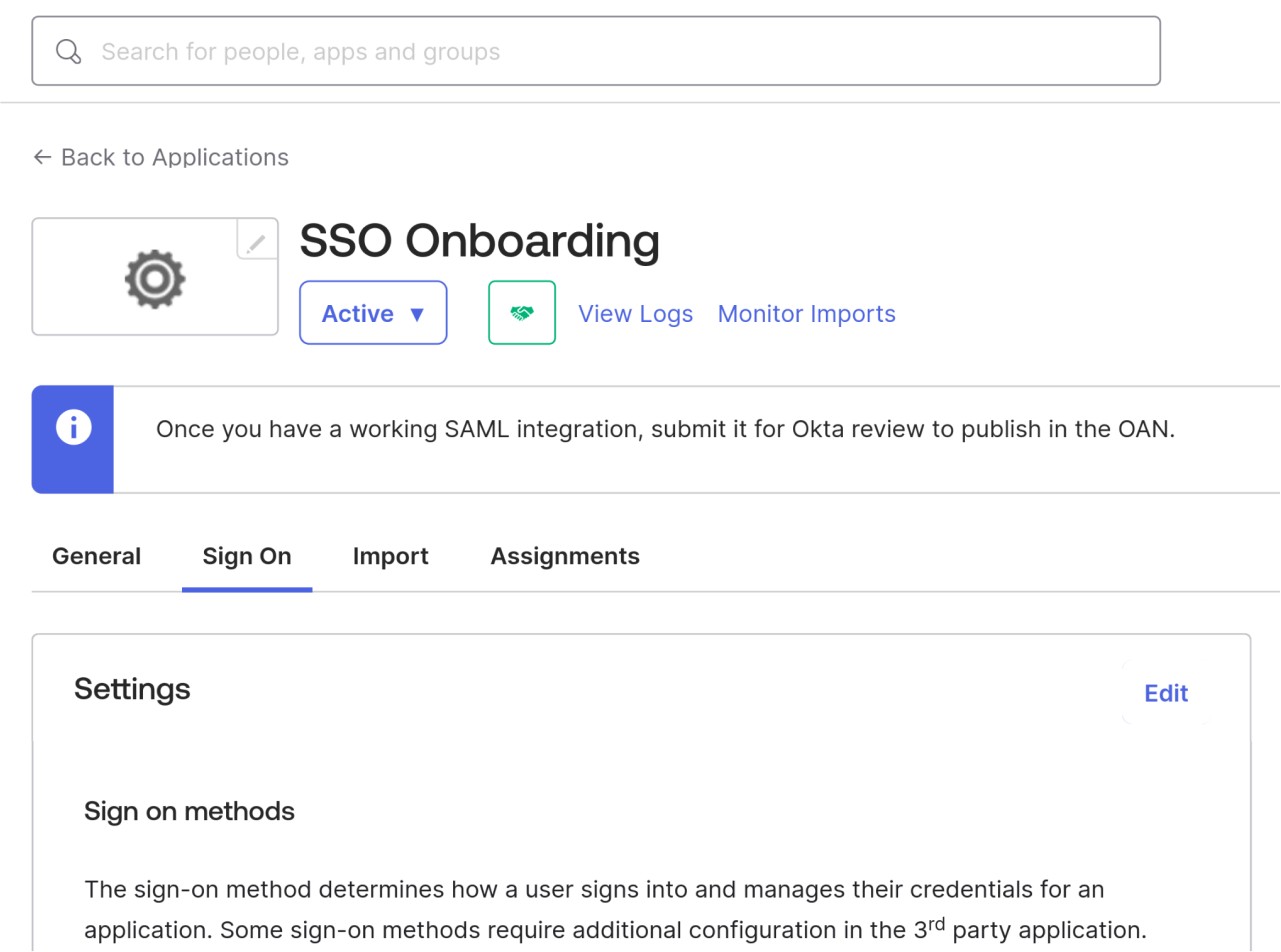
You should now see the "Sign On" tab of your newly created application.
![SSO Okta integration with Cryptr](https://res.cloudinary.com/cryptr/image/upload/v1694622739/Okta%20Configuration/SSO/V001/sso_okta_img_010_zkl0zb.png)
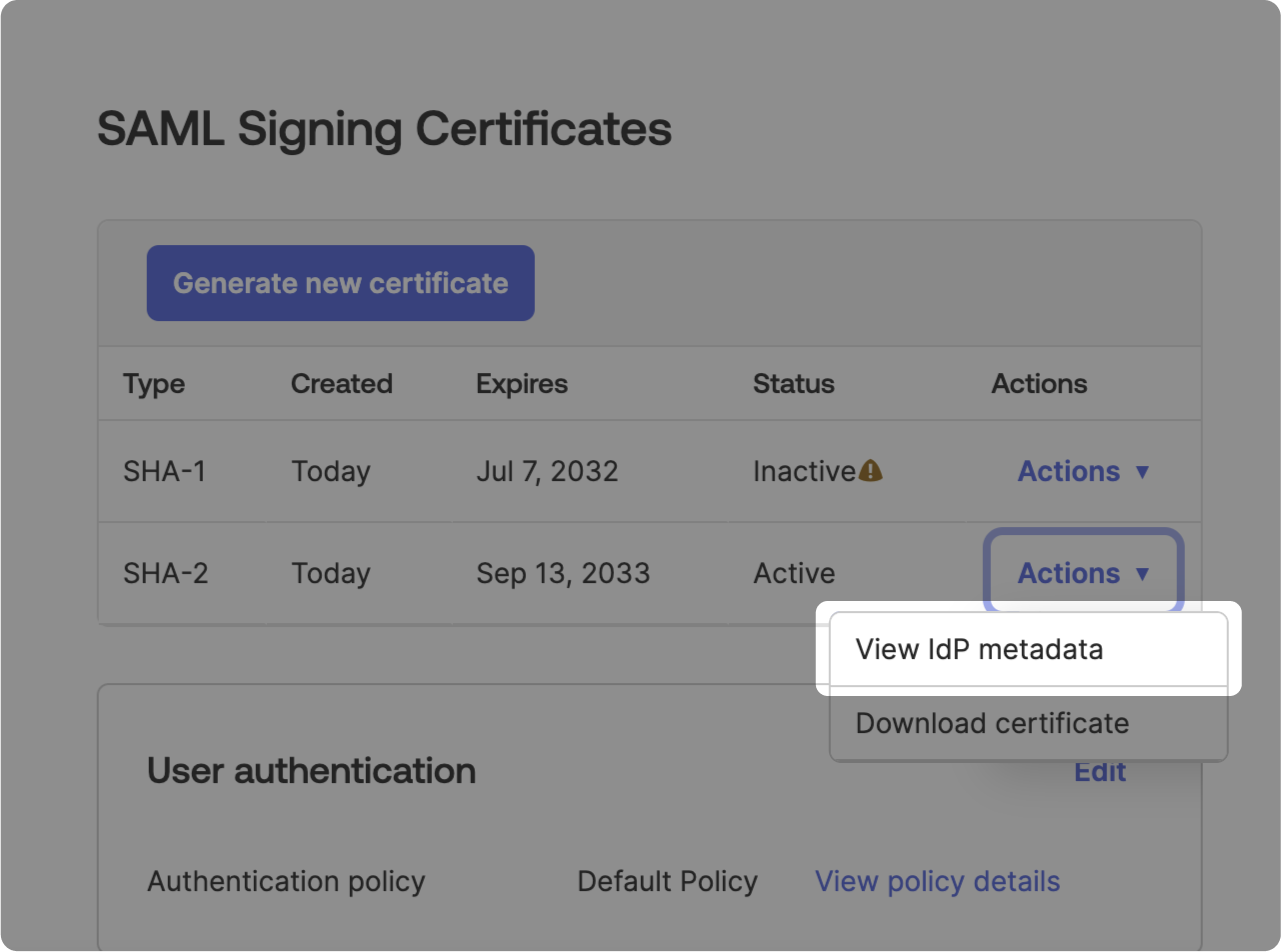
- Scroll down to "SAML Signing Certificates."
- Click "View IdP metadata" for "SHA-2" (opens in a new tab).
- Right-click to "Save" the XML metadata file or copy the link if you prefer.
![SSO Okta integration with Cryptr](https://res.cloudinary.com/cryptr/image/upload/v1694622739/Okta%20Configuration/SSO/V001/sso_okta_img_010_zkl0zb.png)
Upload your downloaded XML metadata file.
Users and groupsβ
![SSO Okta integration with Cryptr](https://res.cloudinary.com/cryptr/image/upload/v1706025326/Onboarding%20V2/Okta/Users%20and%20groups/sso_okta_img_011_ivulwg.png)
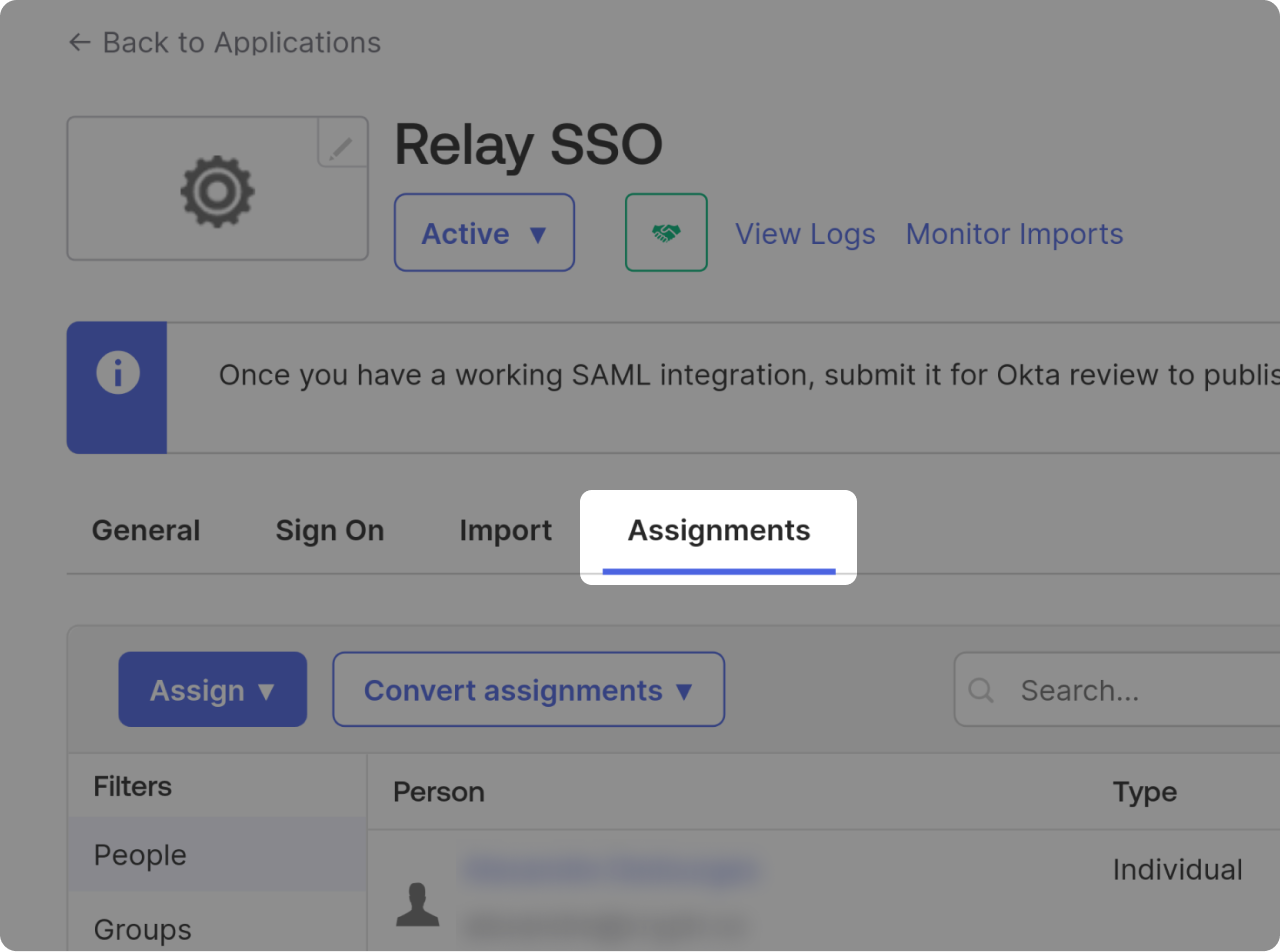
In your app, go to "Assignments."
![SSO Okta integration with Cryptr](https://res.cloudinary.com/cryptr/image/upload/v1706025325/Onboarding%20V2/Okta/Users%20and%20groups/sso_okta_img_012_vq1etg.png)
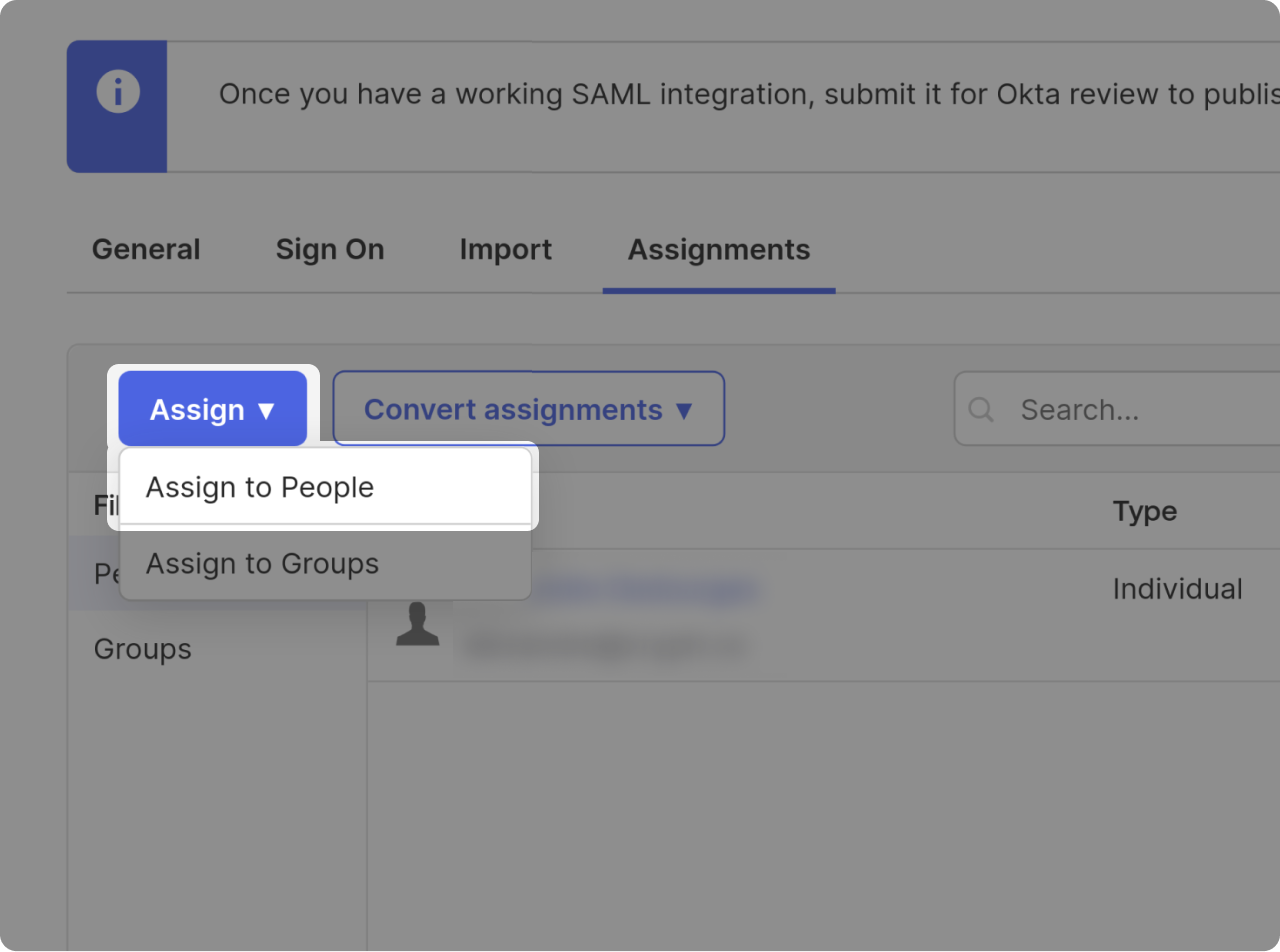
Click on "Assign" > "Assign to People."
![SSO Okta integration with Cryptr](https://res.cloudinary.com/cryptr/image/upload/v1706025324/Onboarding%20V2/Okta/Users%20and%20groups/sso_okta_img_013_mvxmgd.png)
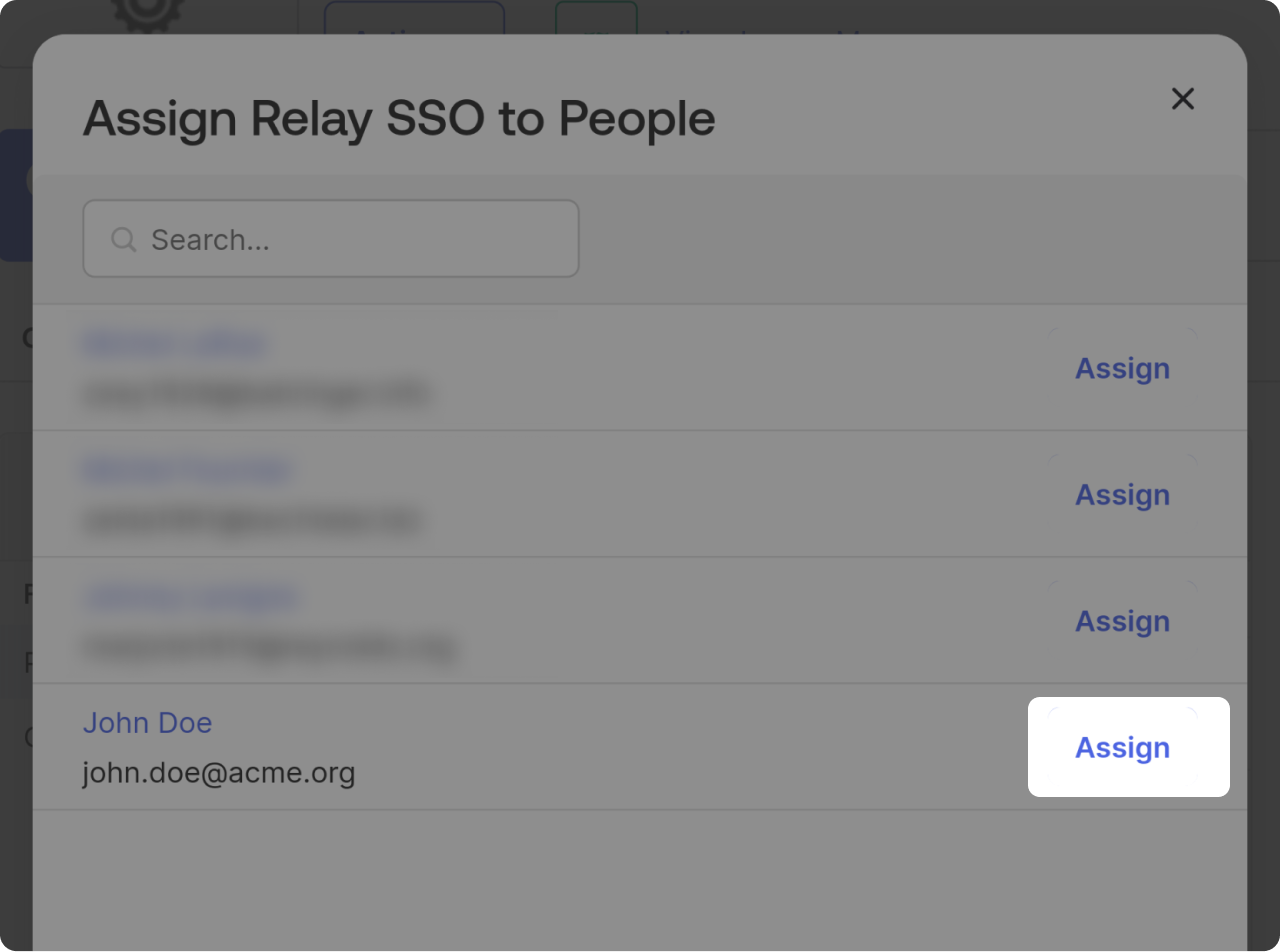
On the right of the user you want to assign, click on "Assign."
![SSO Okta integration with Cryptr](https://res.cloudinary.com/cryptr/image/upload/v1706025324/Onboarding%20V2/Okta/Users%20and%20groups/sso_okta_img_014_qojxqa.png)
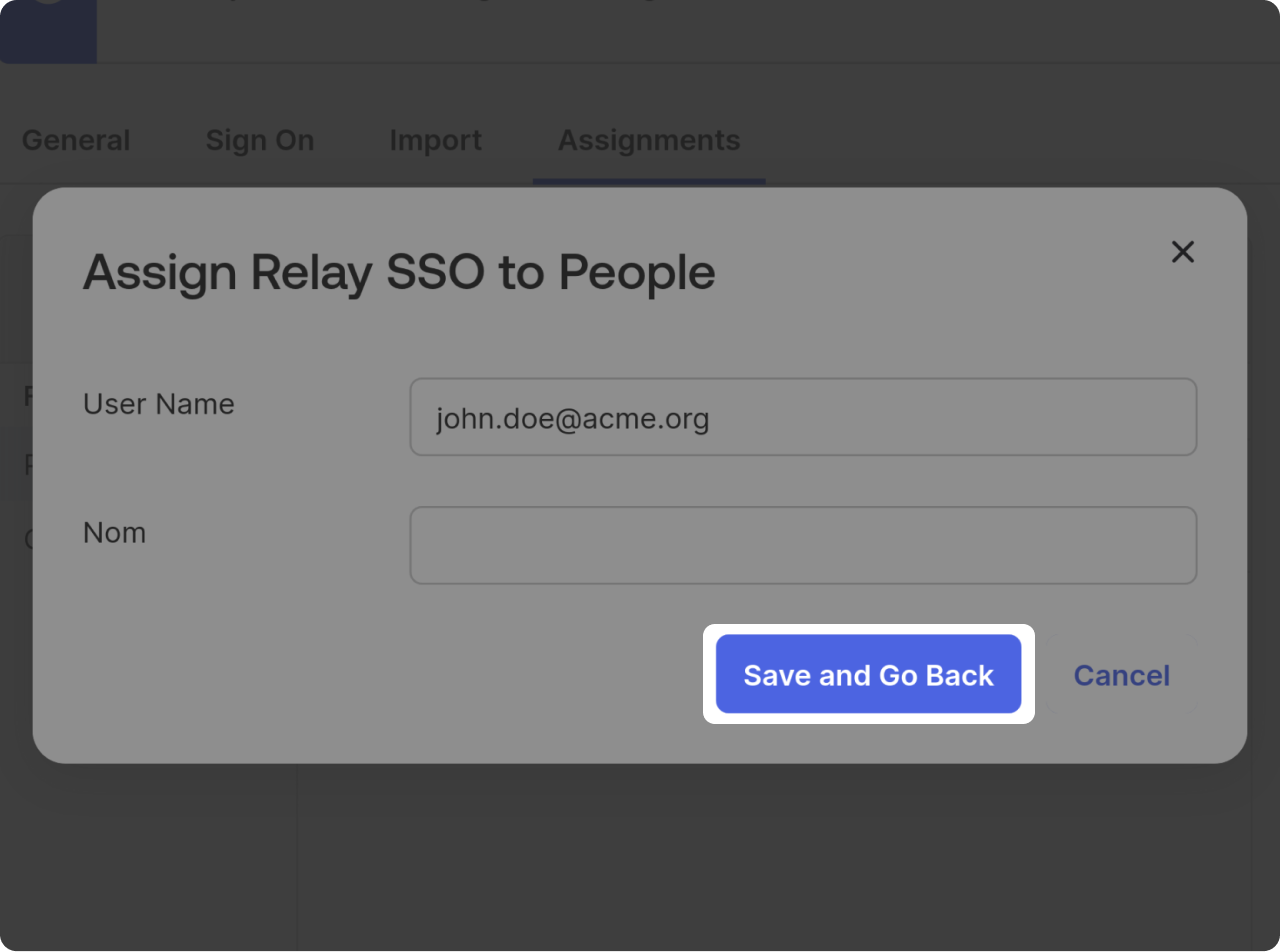
On this screen click on "Save and Go Back."
![SSO Okta integration with Cryptr](https://res.cloudinary.com/cryptr/image/upload/v1706025325/Onboarding%20V2/Okta/Users%20and%20groups/sso_okta_img_015_ge1lim.png)
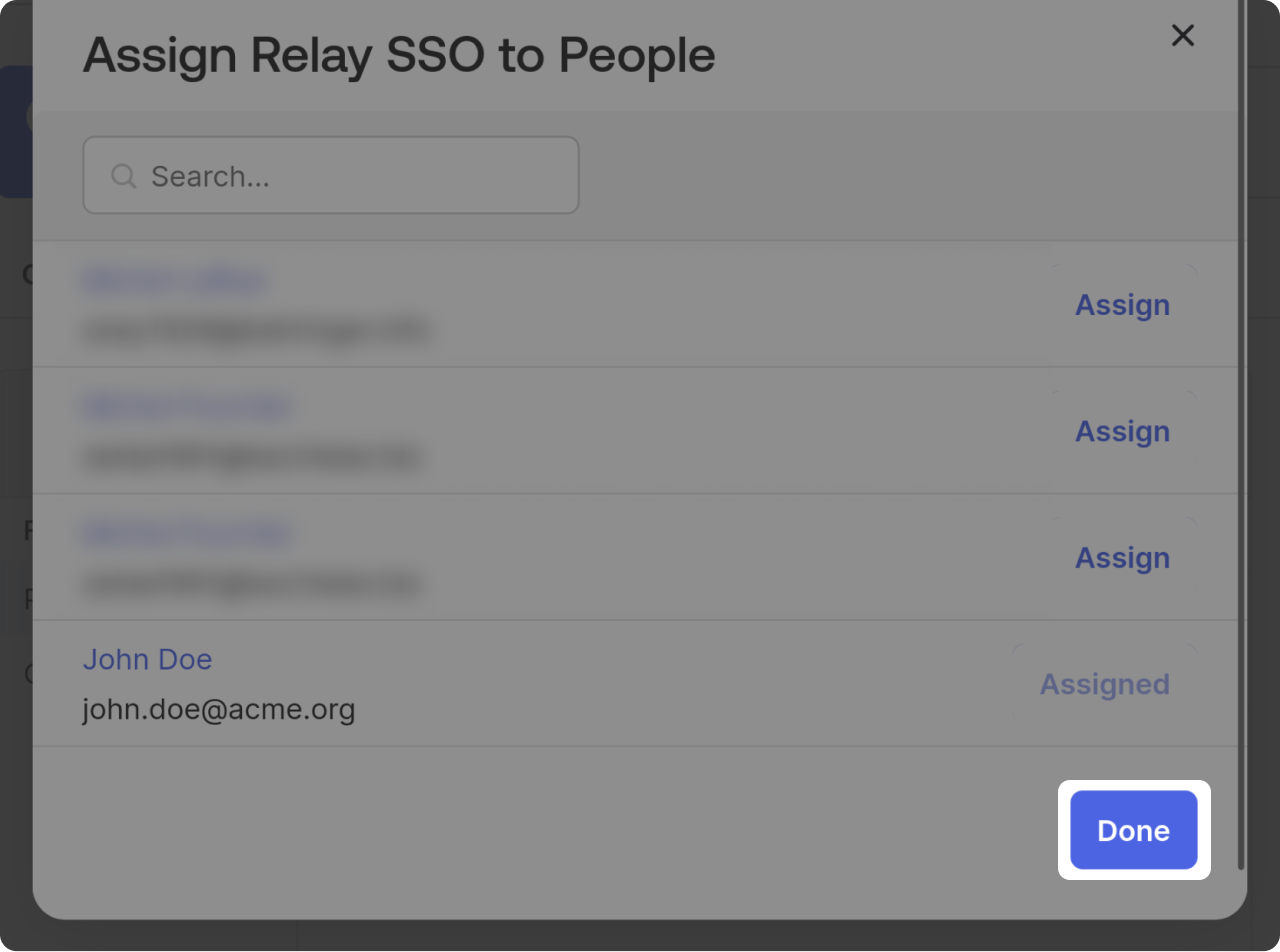
Once you selected all the users you wanted, click on "Done."
Test SSO loginβ
Test SSO login