Azure AD
Discover step-by-step instructions on configuring a connection with Azure AD. Learn how to integrate your application with Azure AD for secure and streamlined SSO authentication.
How to start
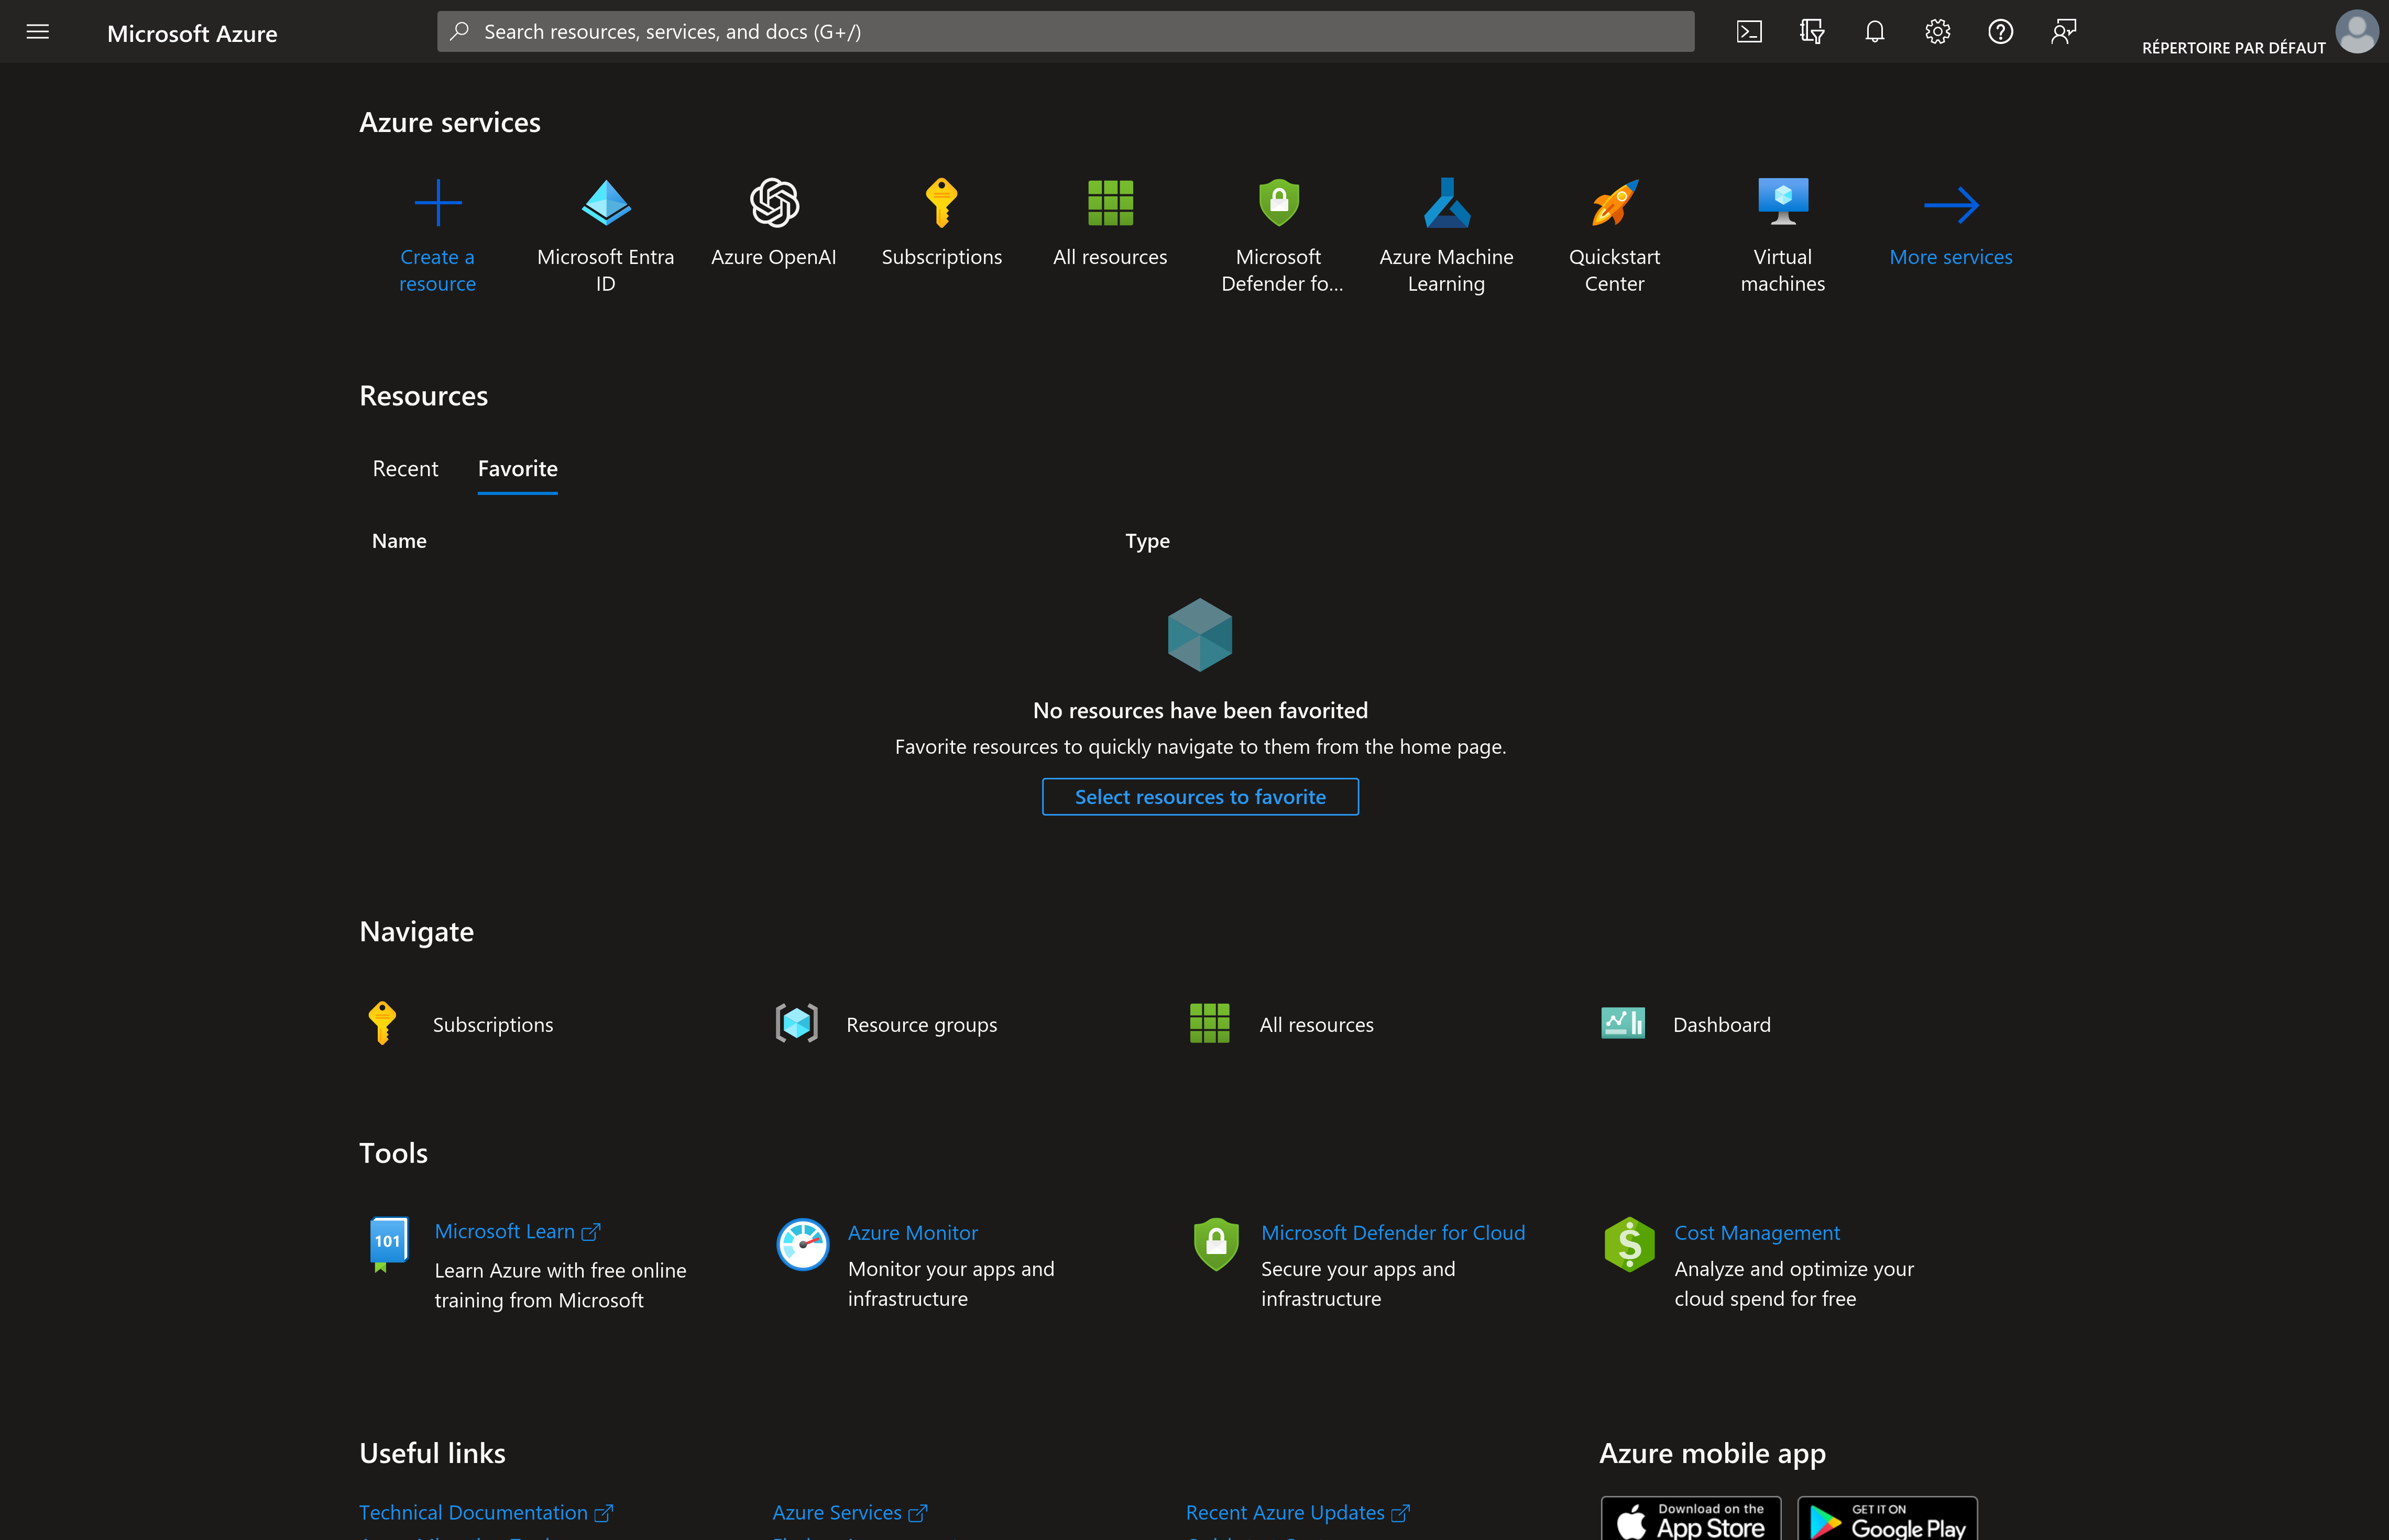
Open portal.azure.com
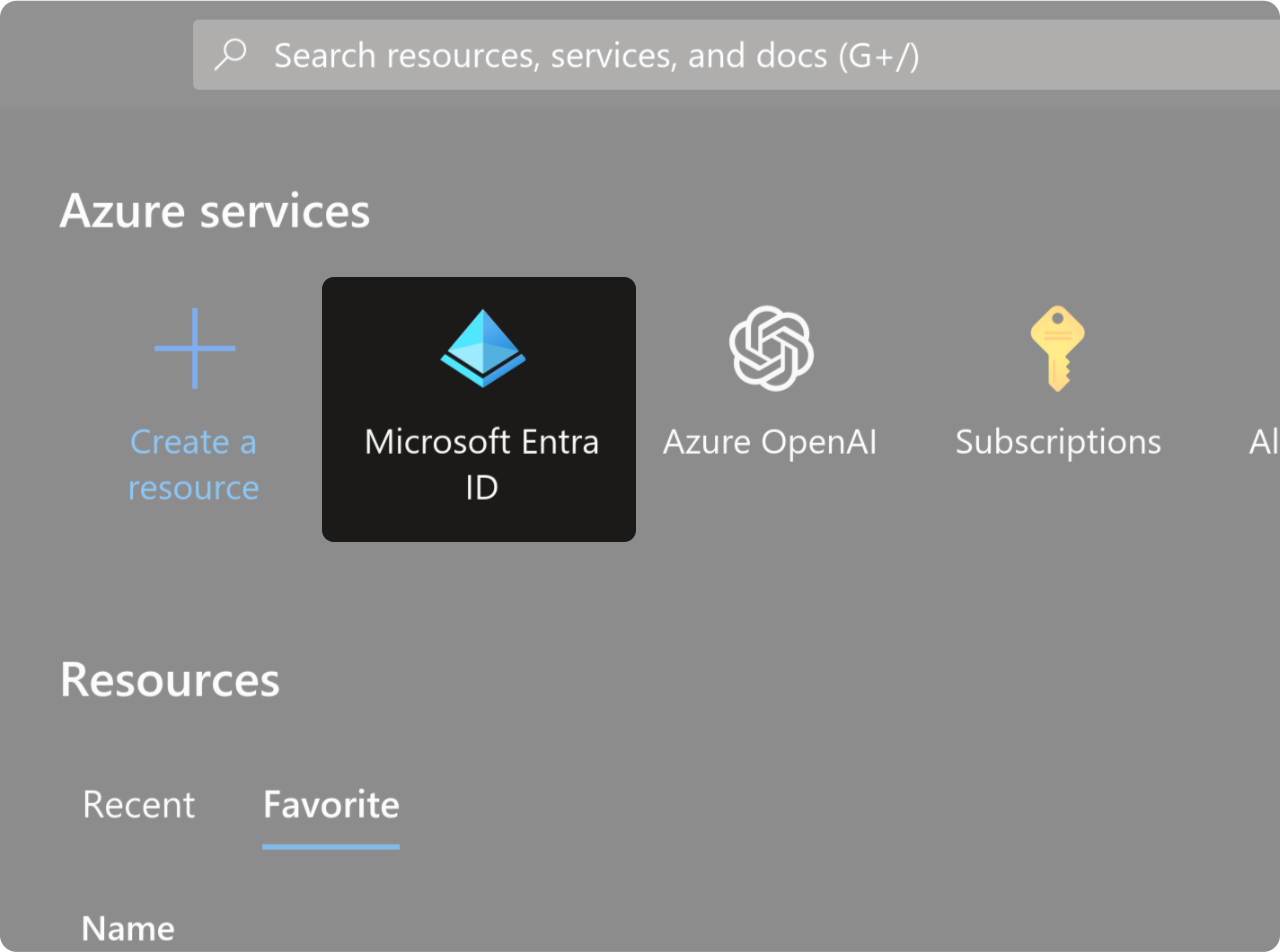
Click on "Microsoft Entra ID"
Declare an application
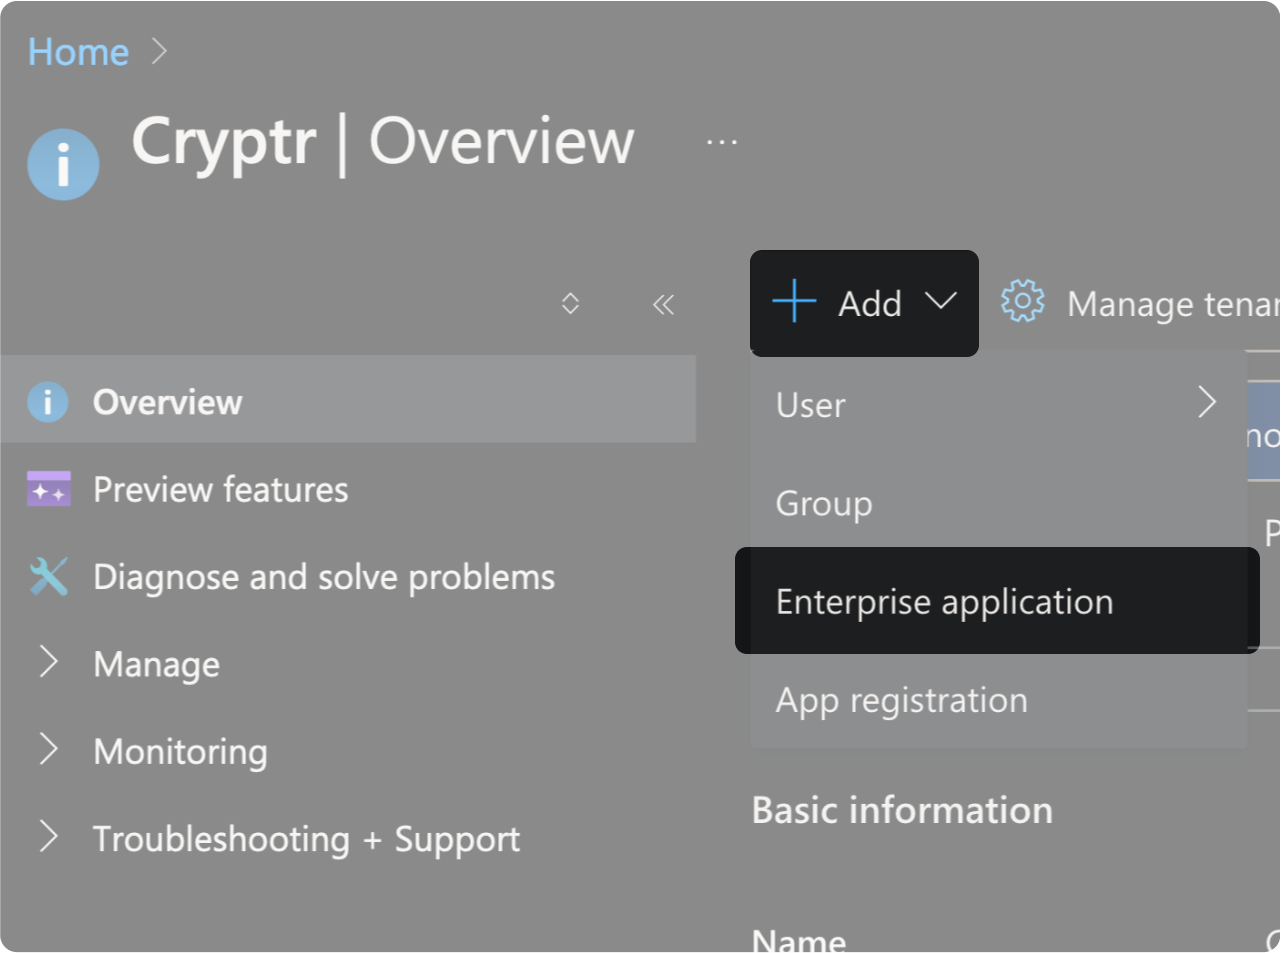
- Click on "Add"
- Select "Enterprise Application"
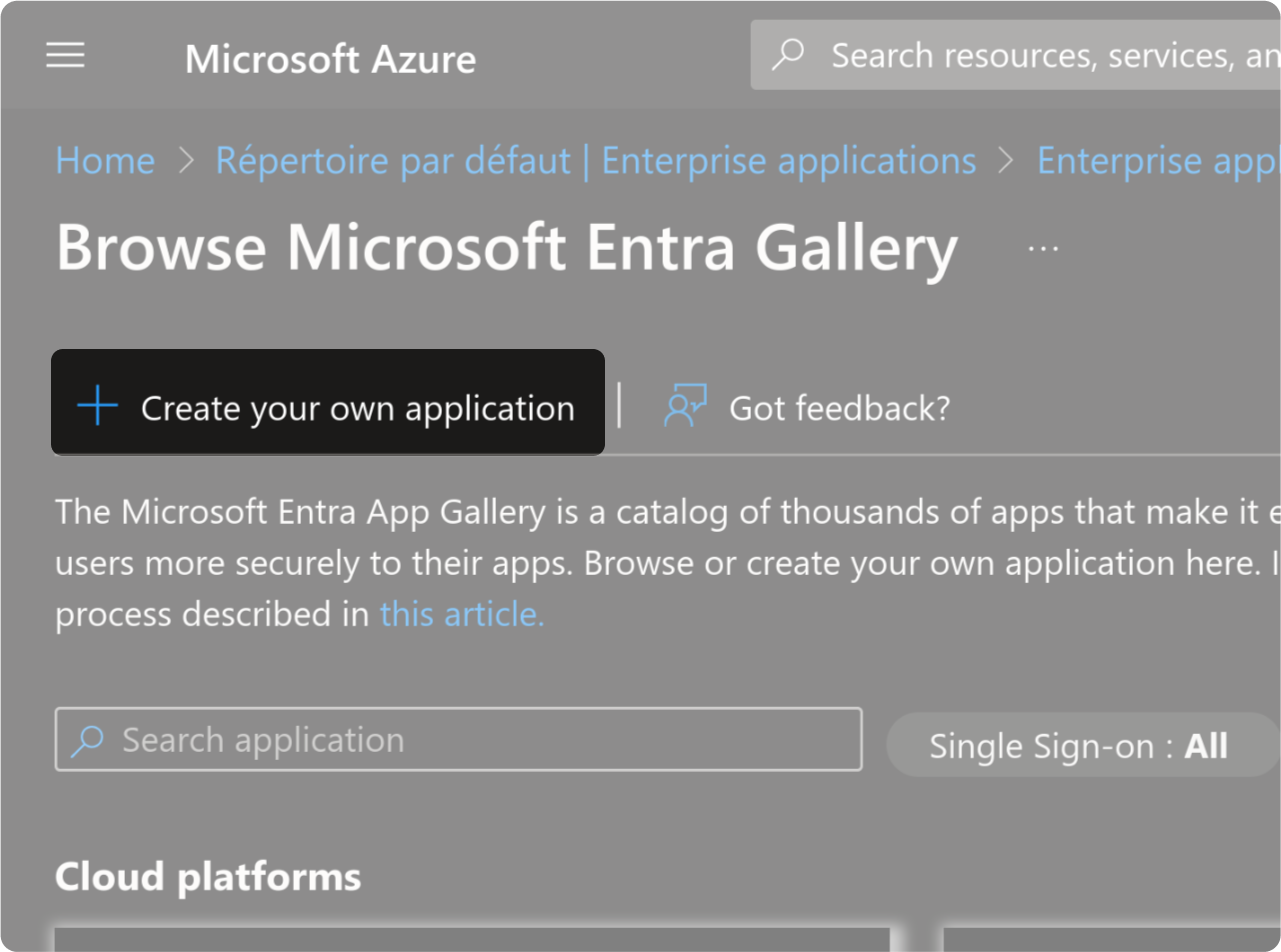
Click on "Create your own application."
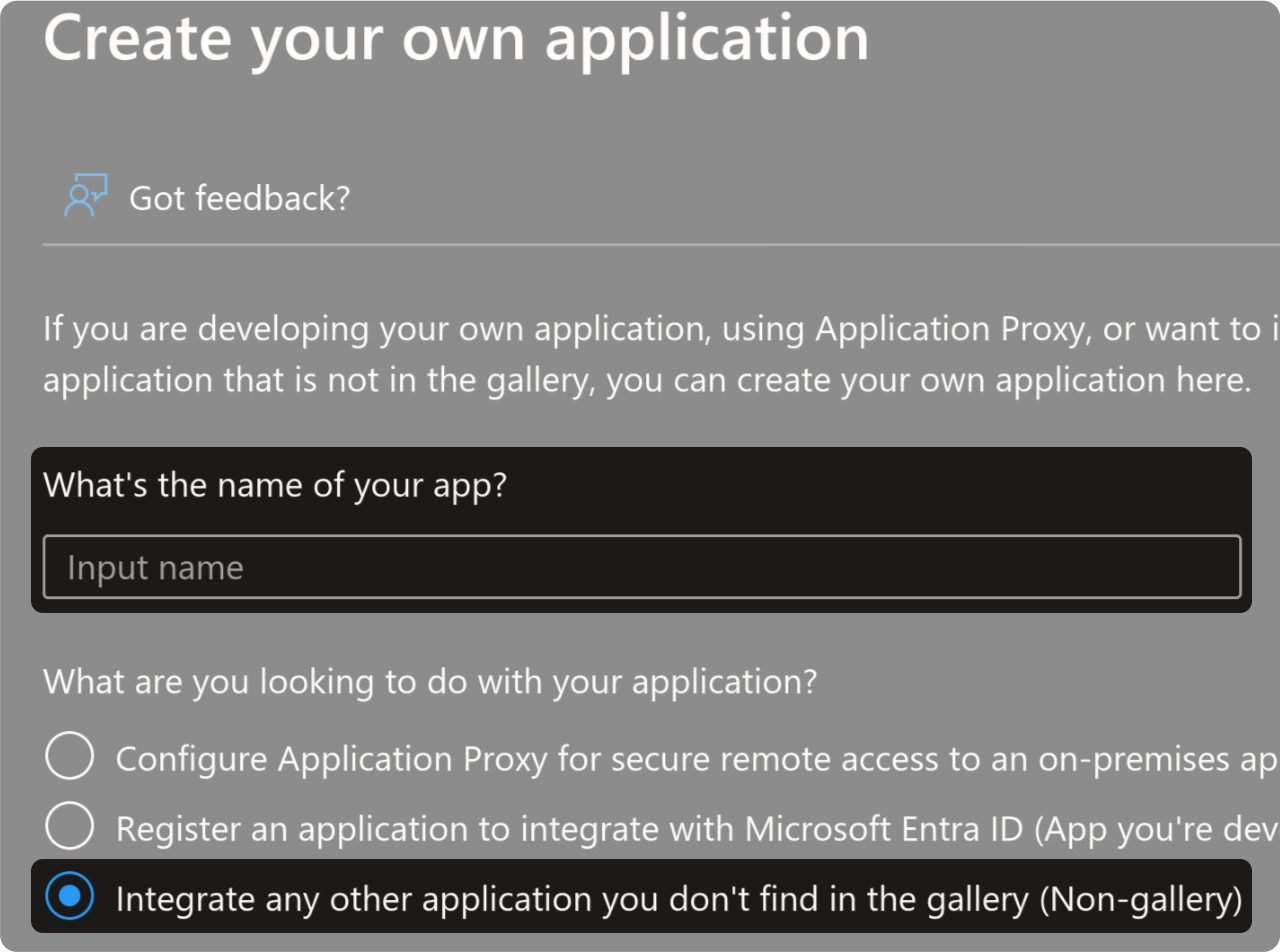
- Choose a name for your app
- Select "Integrate any other application you don’t find in the gallery (Non-Gallery)."
- Click on "Create"
SAML configuration
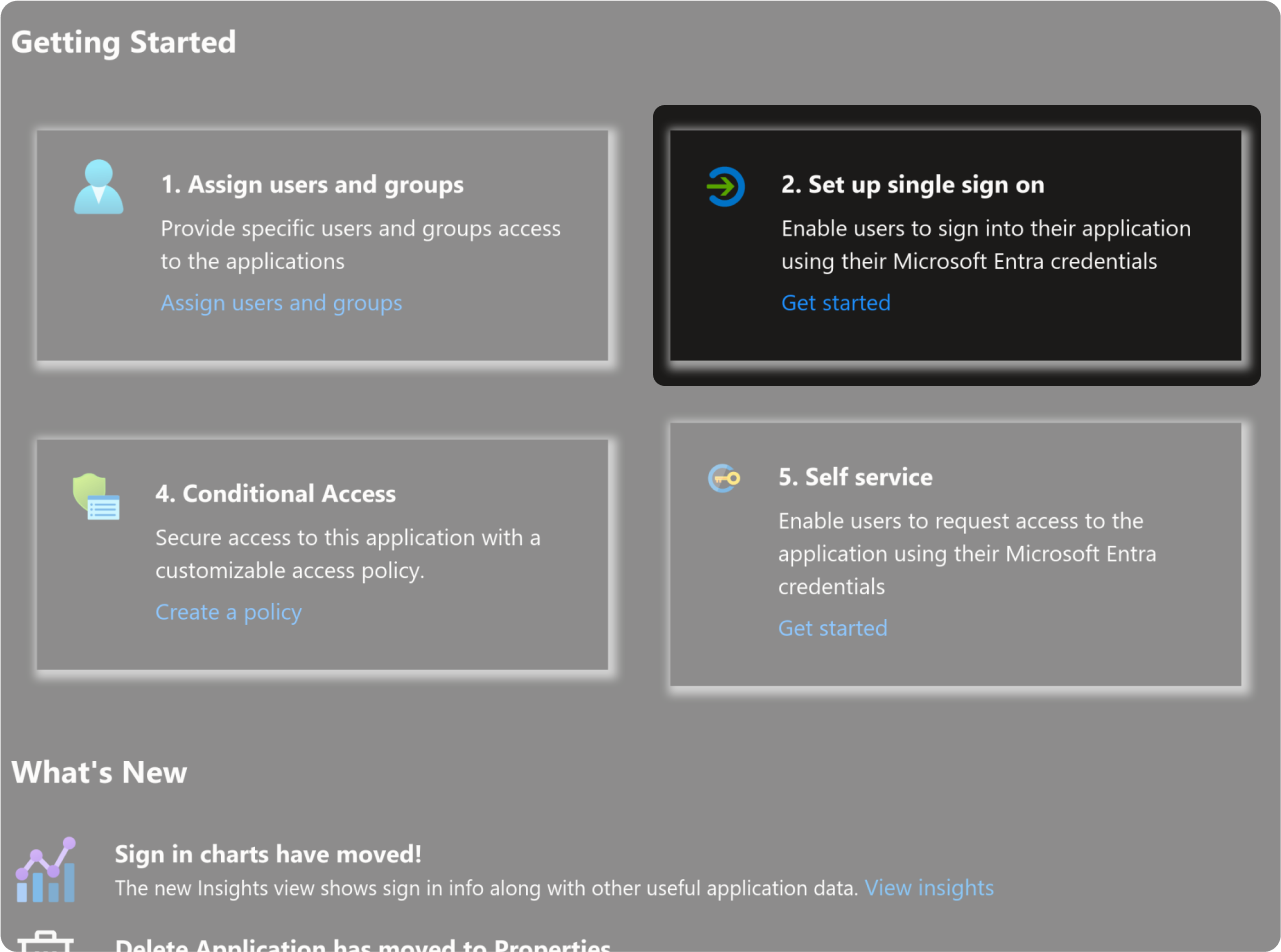
Click on "2. Set up single sign on"
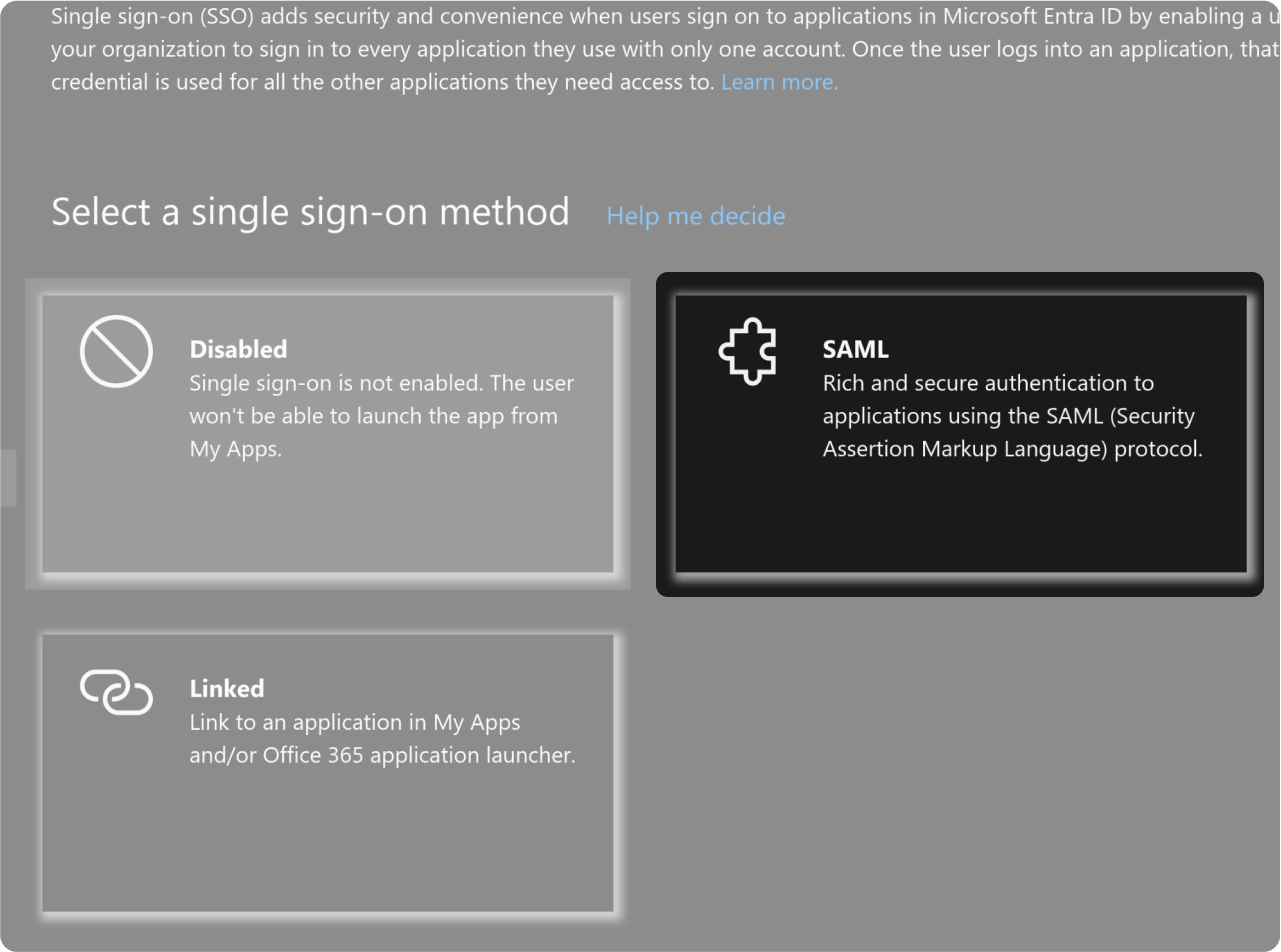
Click on "SAML"
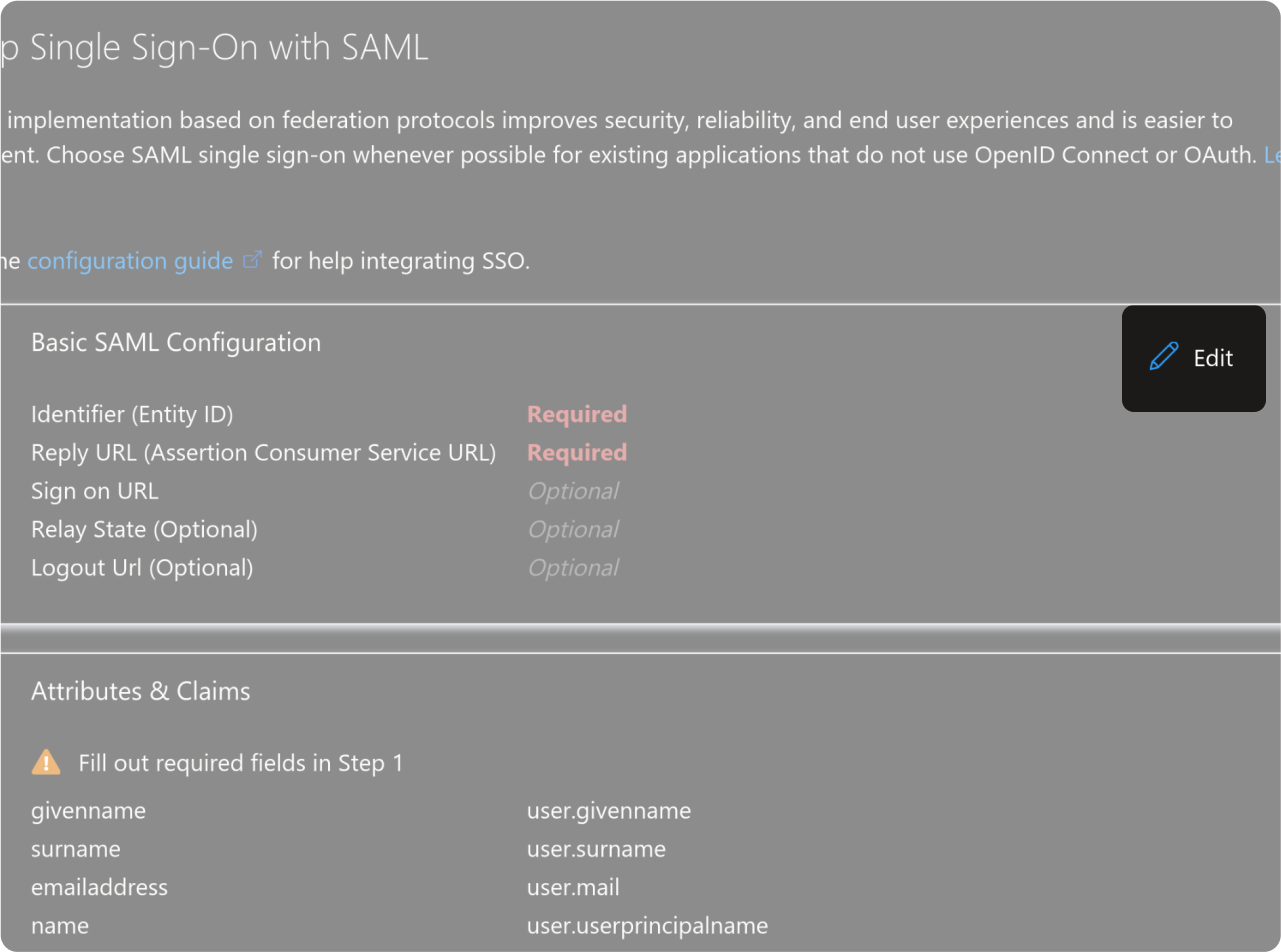
Click on "Edit" in the "Basic SAML Configuration" section.
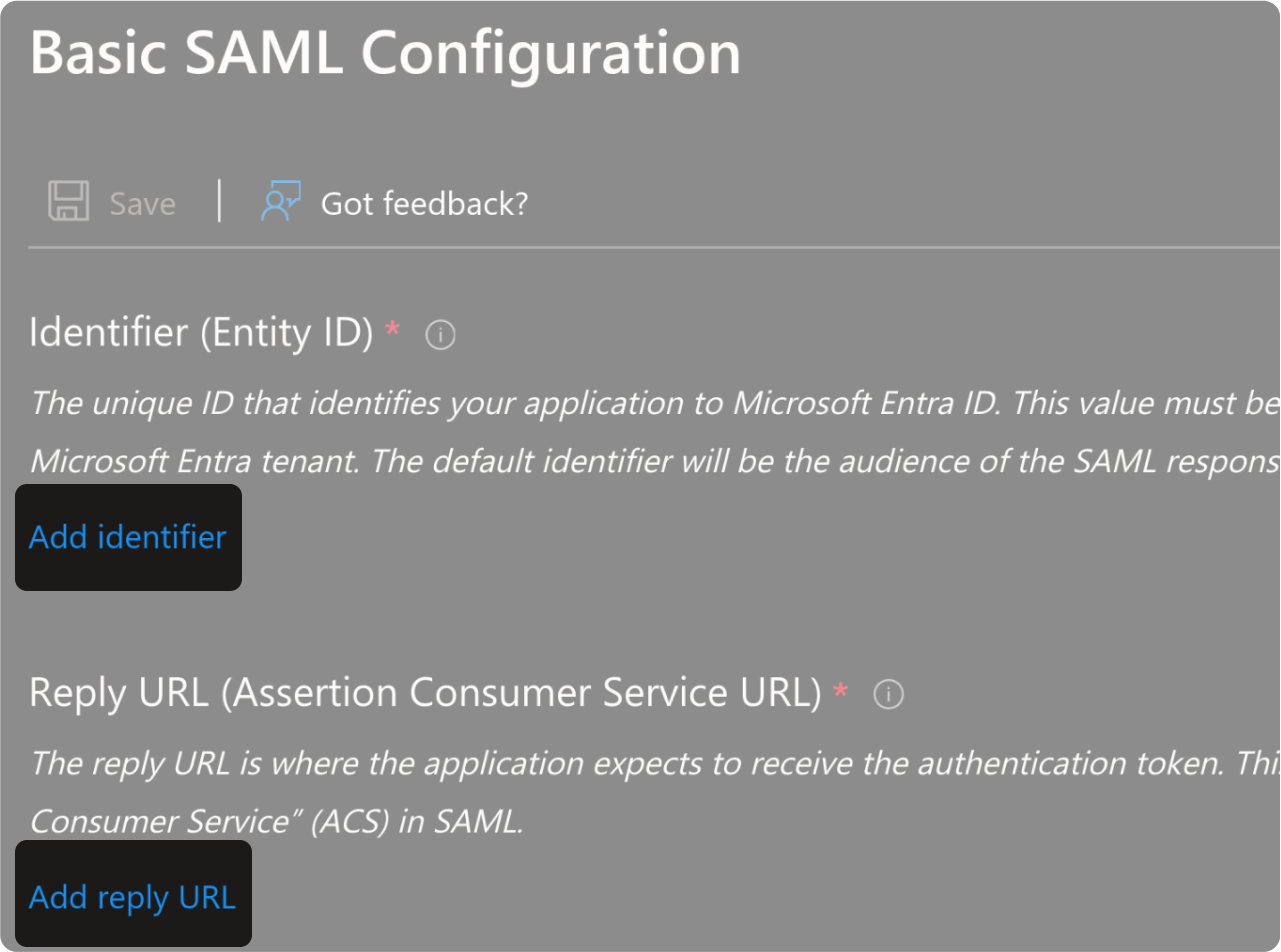
- Click on "Add identifier"
- Click on "Add reply URL."
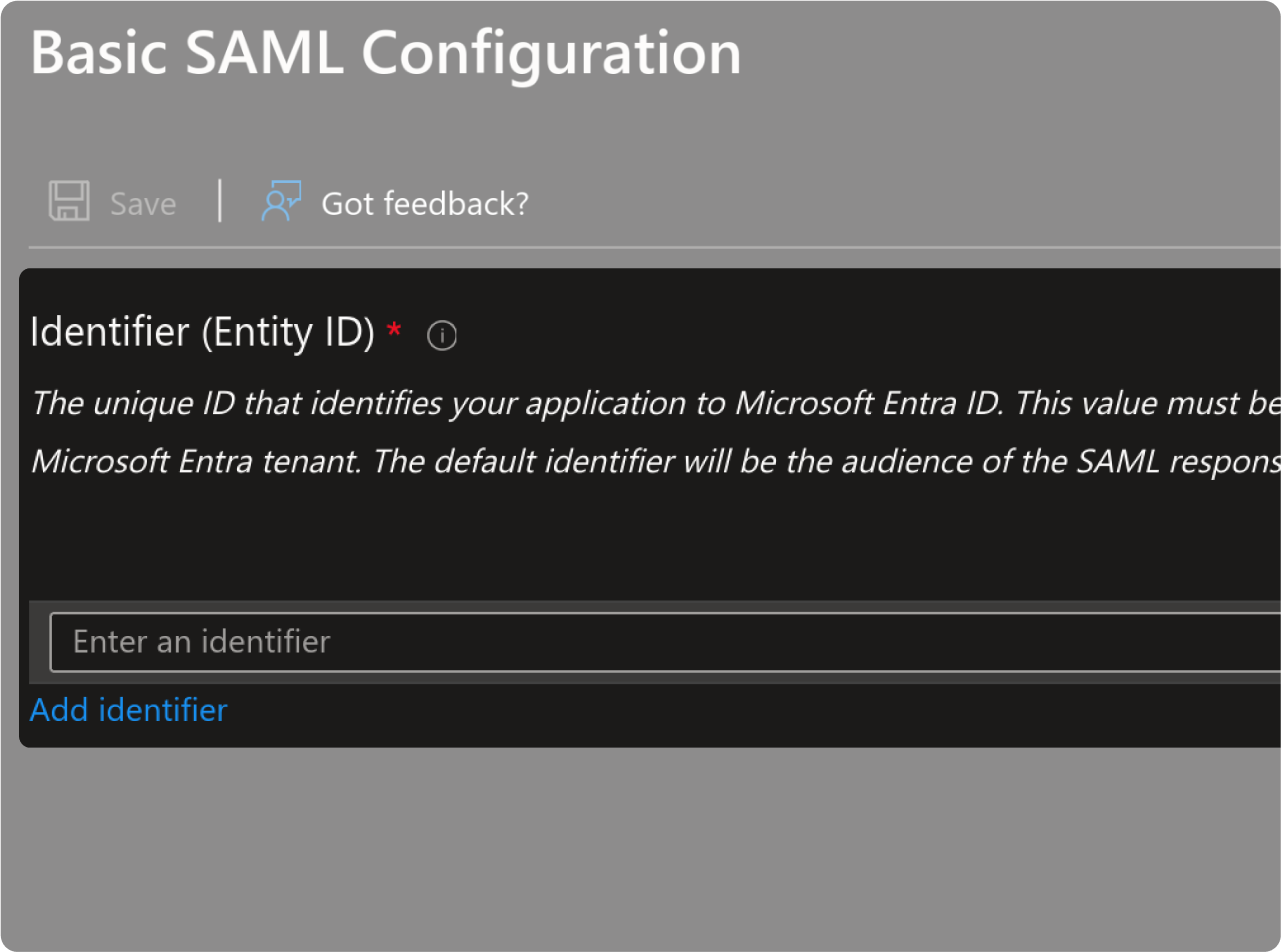
- Paste the "Identifier (Entity ID)" value you find on the right side of this tutorial 👉
- Set this Entity ID as the default.
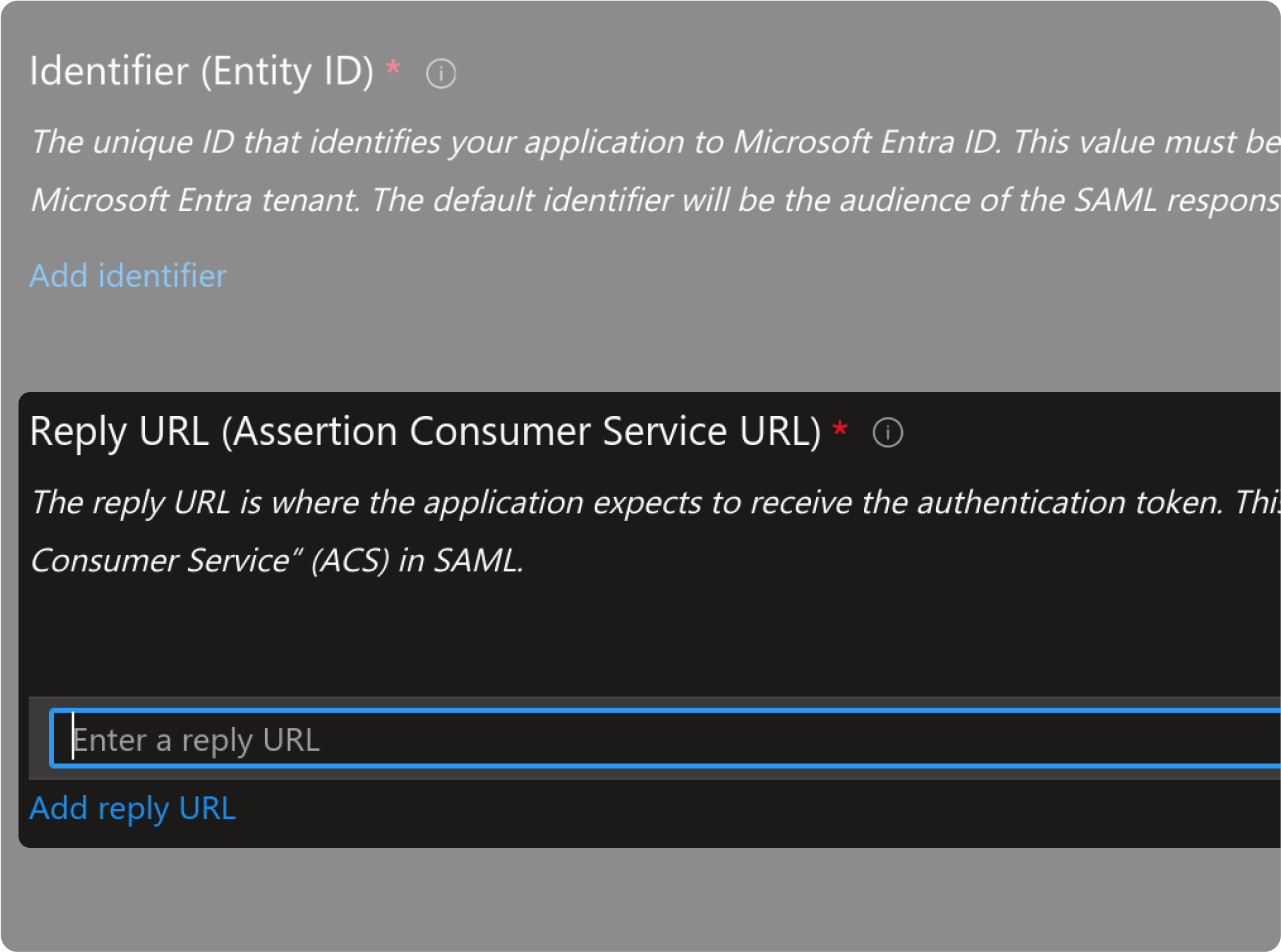
- Paste the "Reply URL (Assertion Consumer Service URL)" value you find on the right side of this tutorial 👉
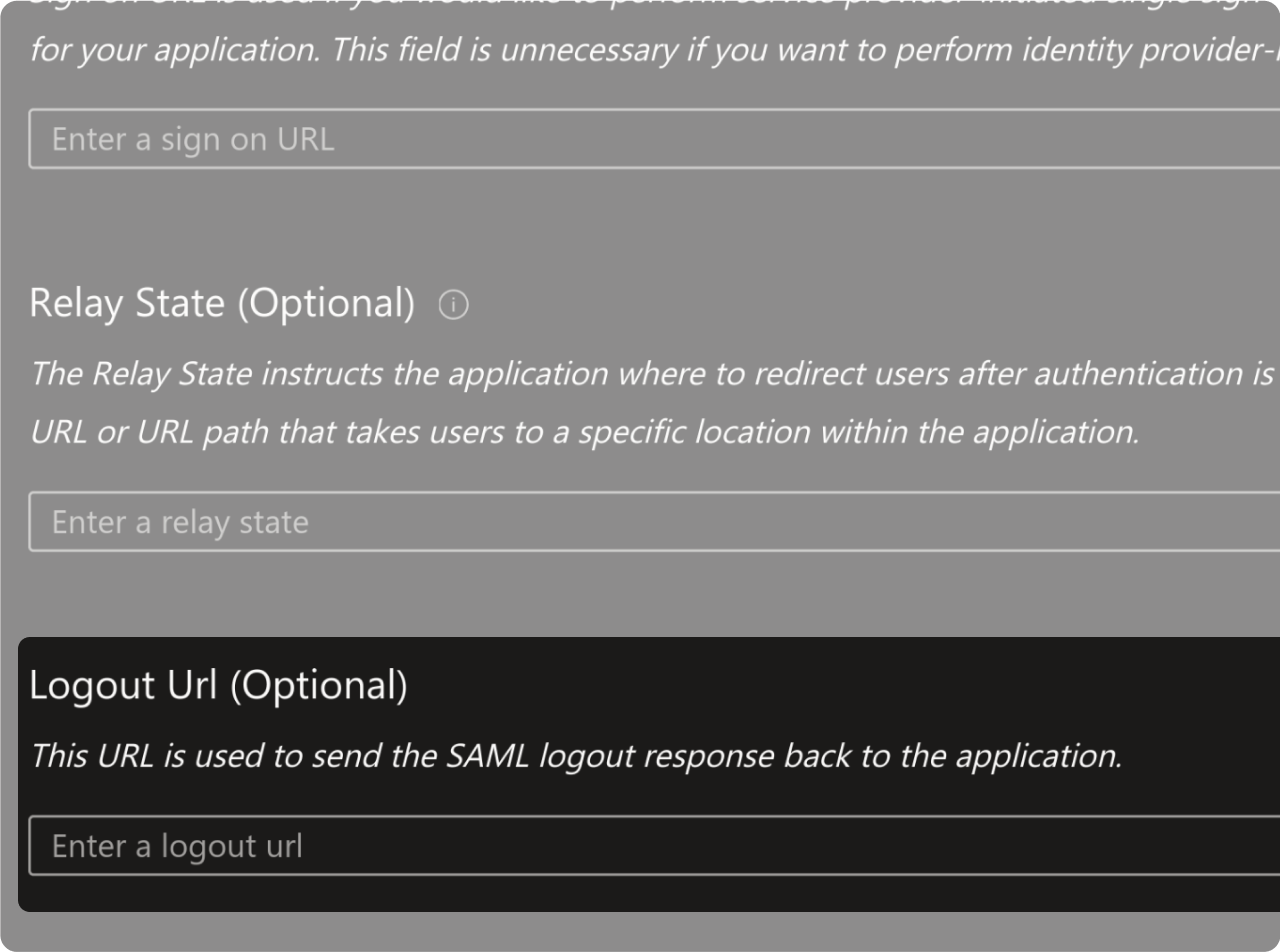
- Paste the "Logout Url" value you find on the right side of this tutorial 👉
- Click on "Save" and close the SAML configuration panel.

If you are asked to test your application, click on "No, I’ll test later."
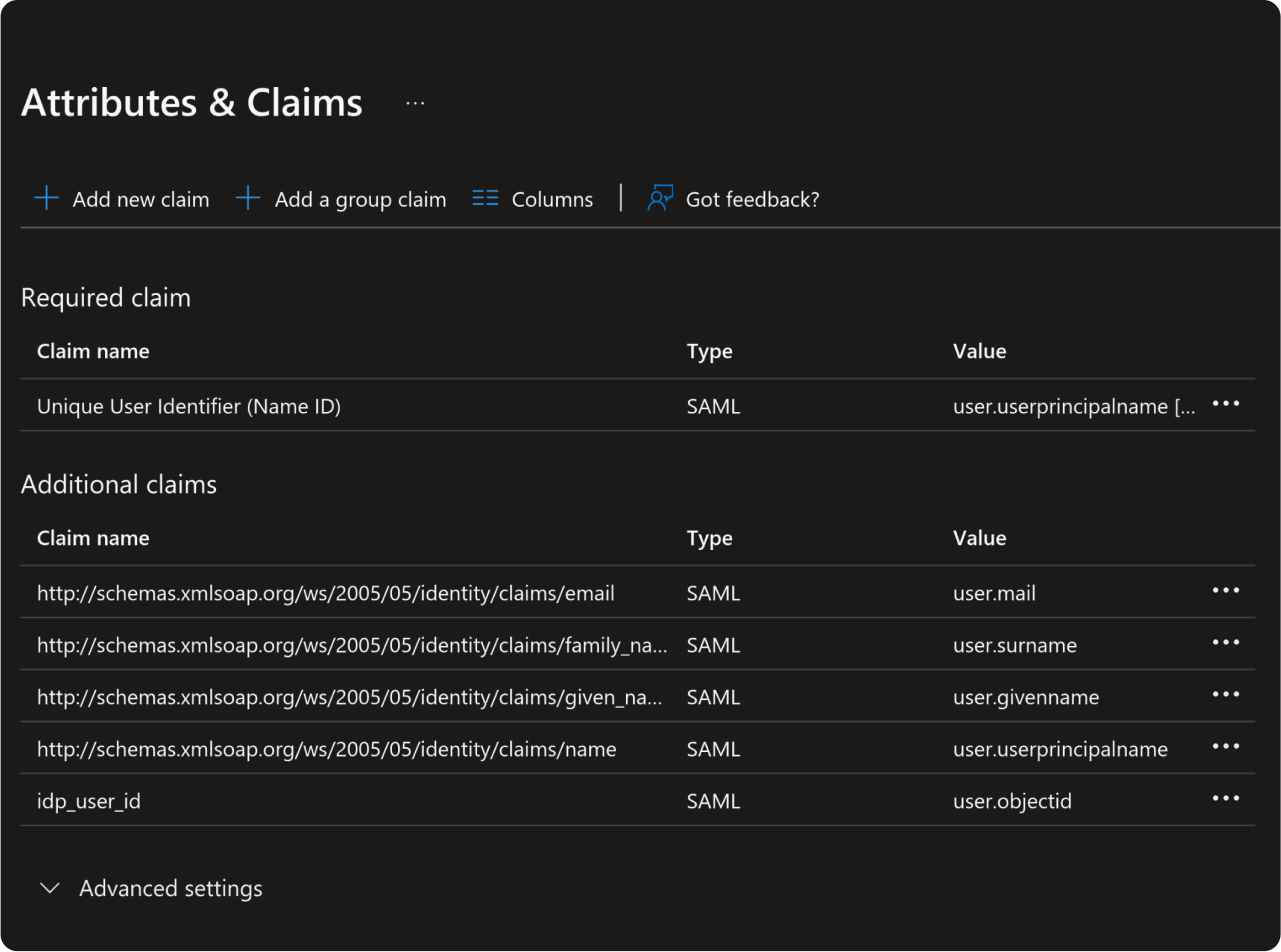
Attributes Mapping
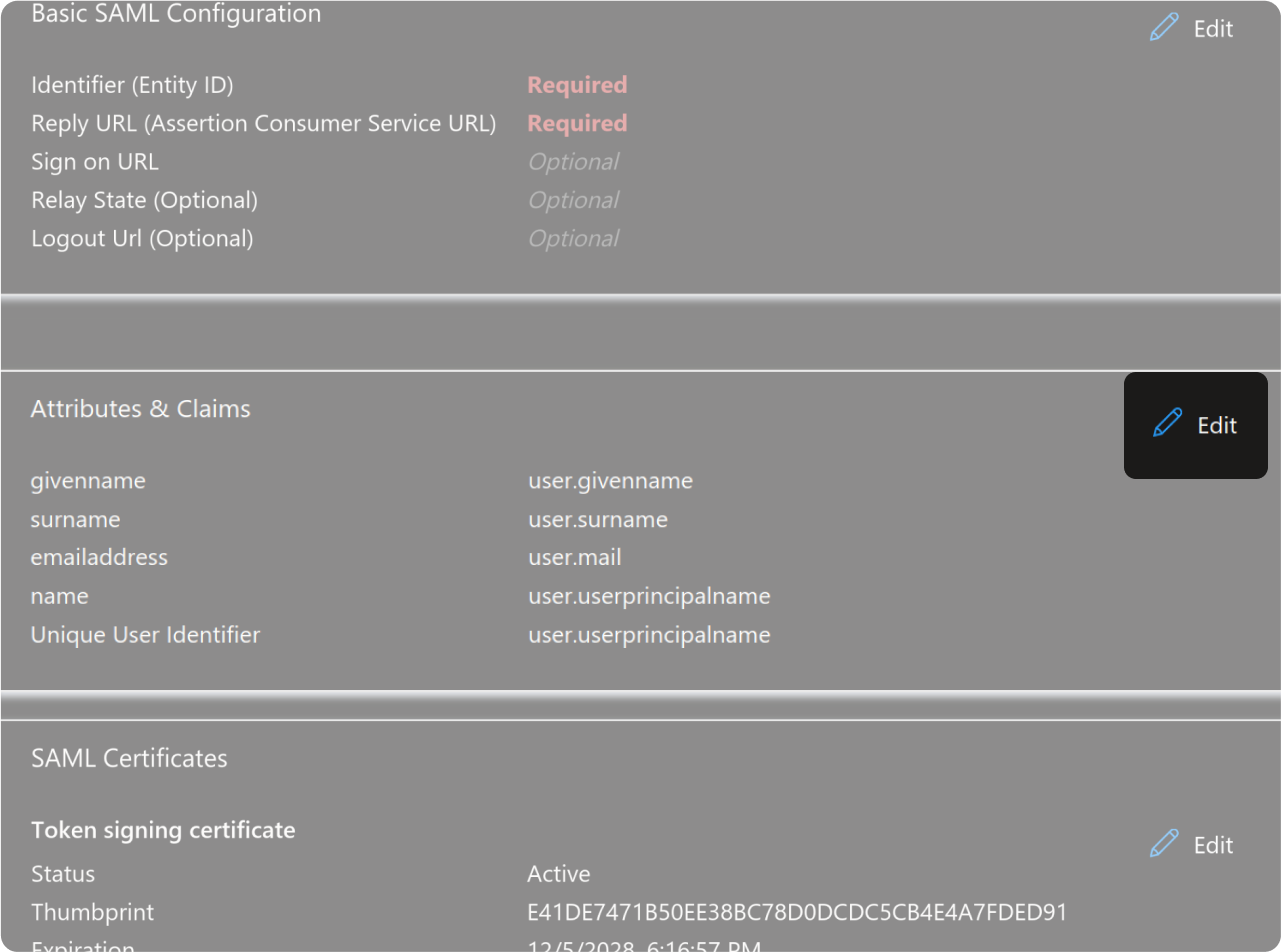
Set the attribute mapping values
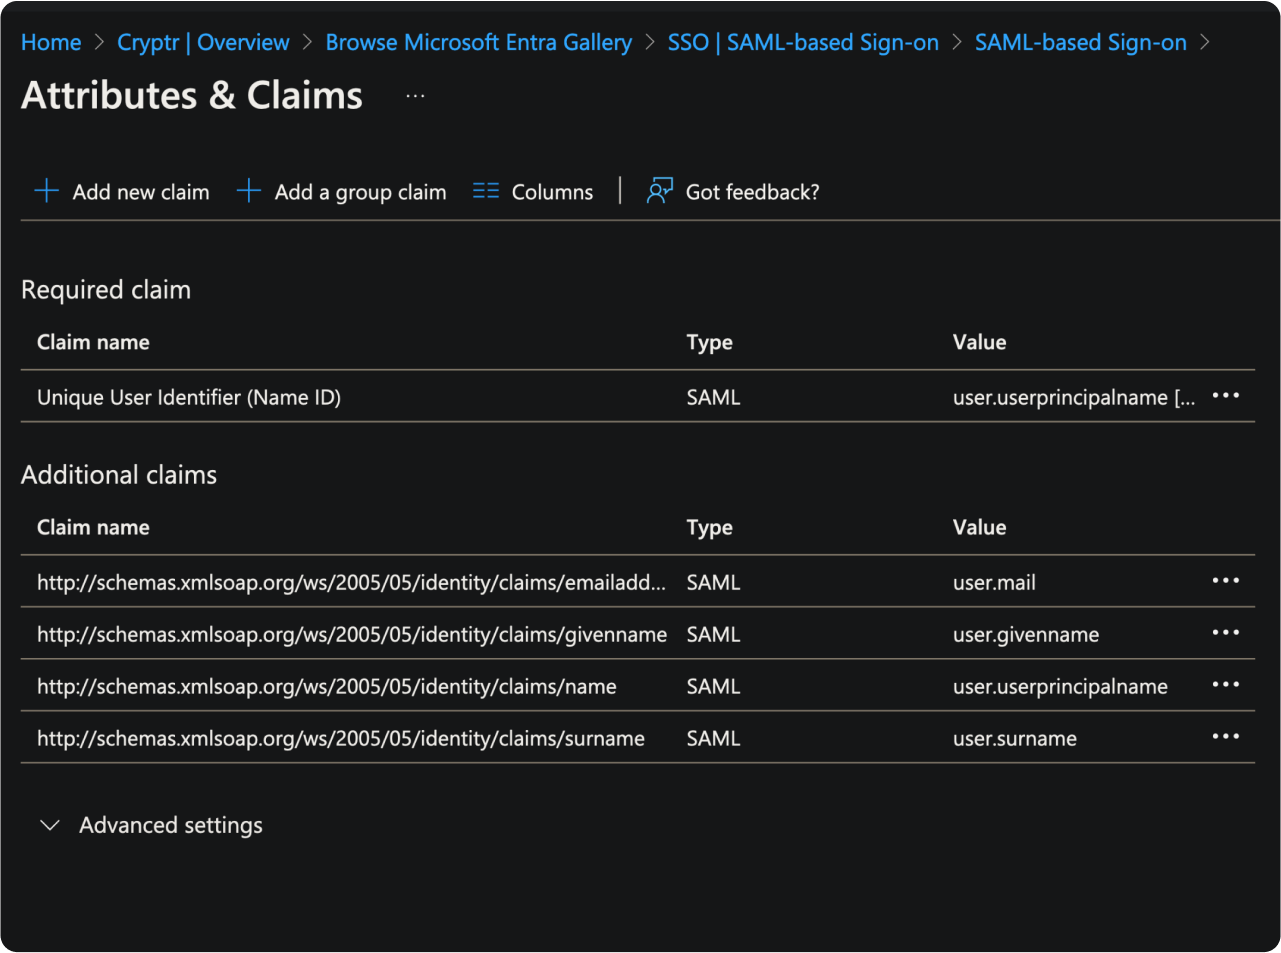
In the next steps of this tutorial, you will be invited to edit the existing mapping by clicking on the corresponding lines.
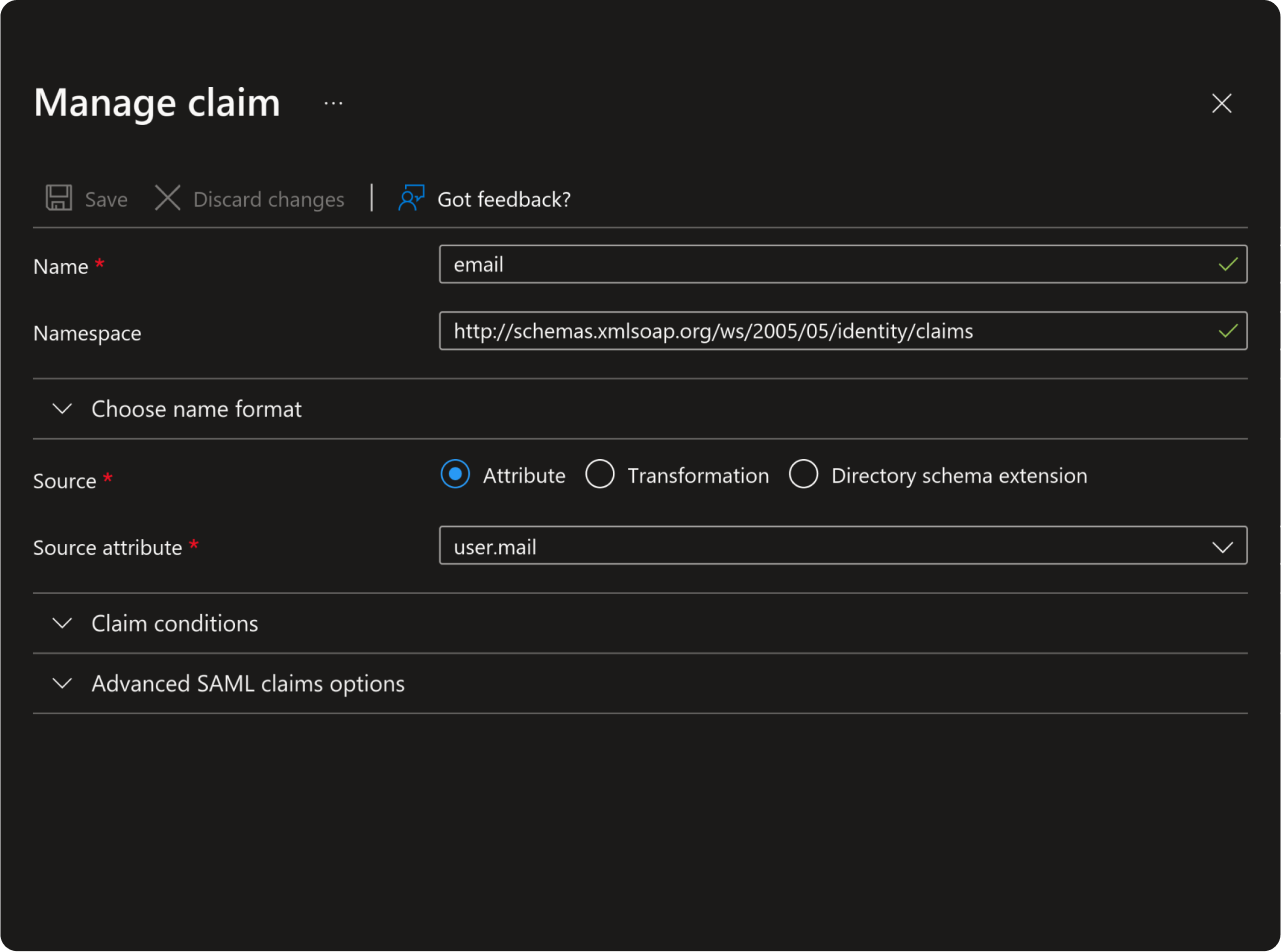
- Edit the
emailaddressmapping - In "Name" 👉
email - In "Source attribute" 👉
user.mail

- Edit the
surnamemapping - In "Name" 👉
family_name - In "Source attribute" 👉
user.surname
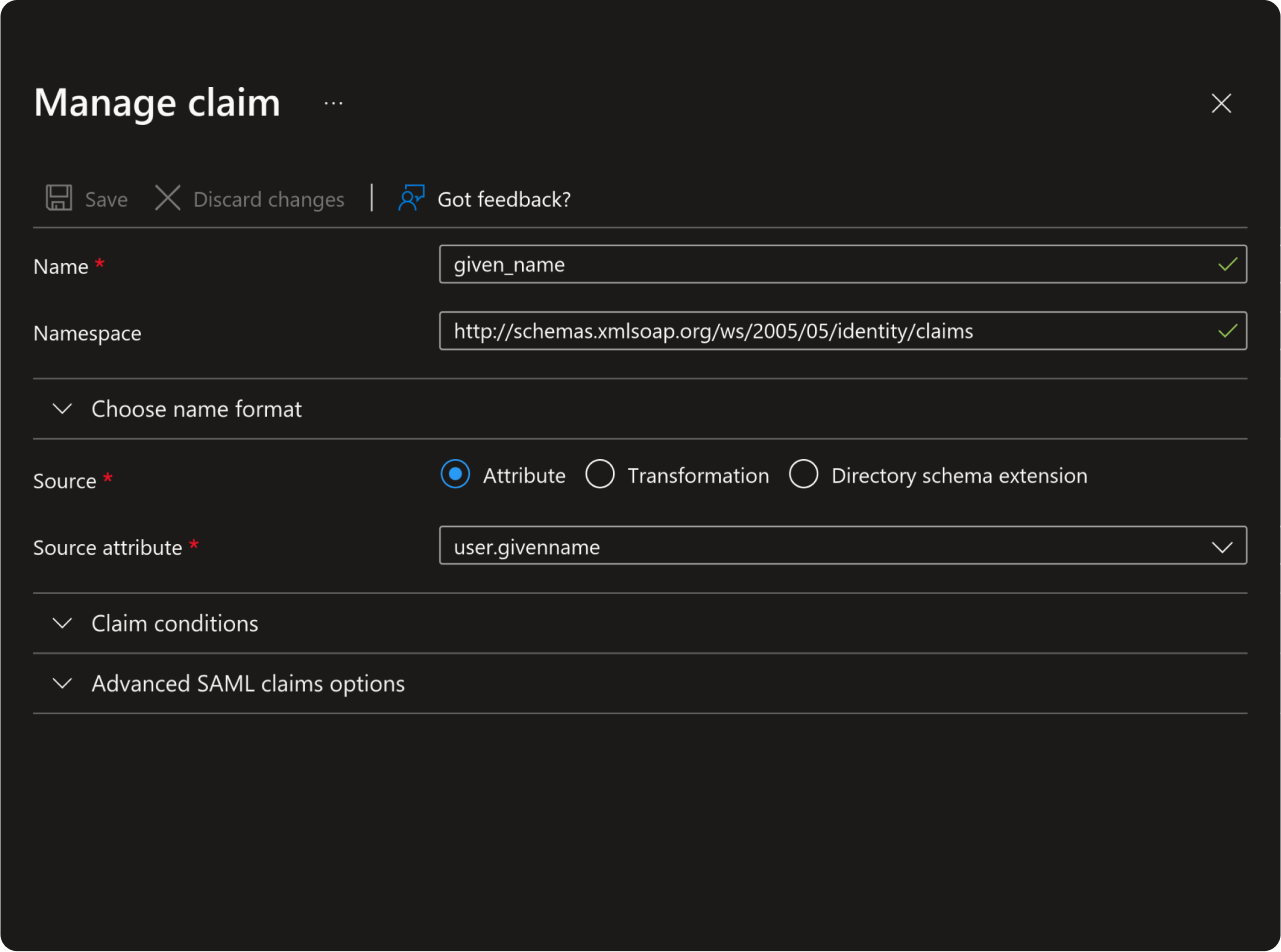
- Edit the
givennamemapping - In "Name" 👉
given_name - In "Source attribute" 👉
user.givenname
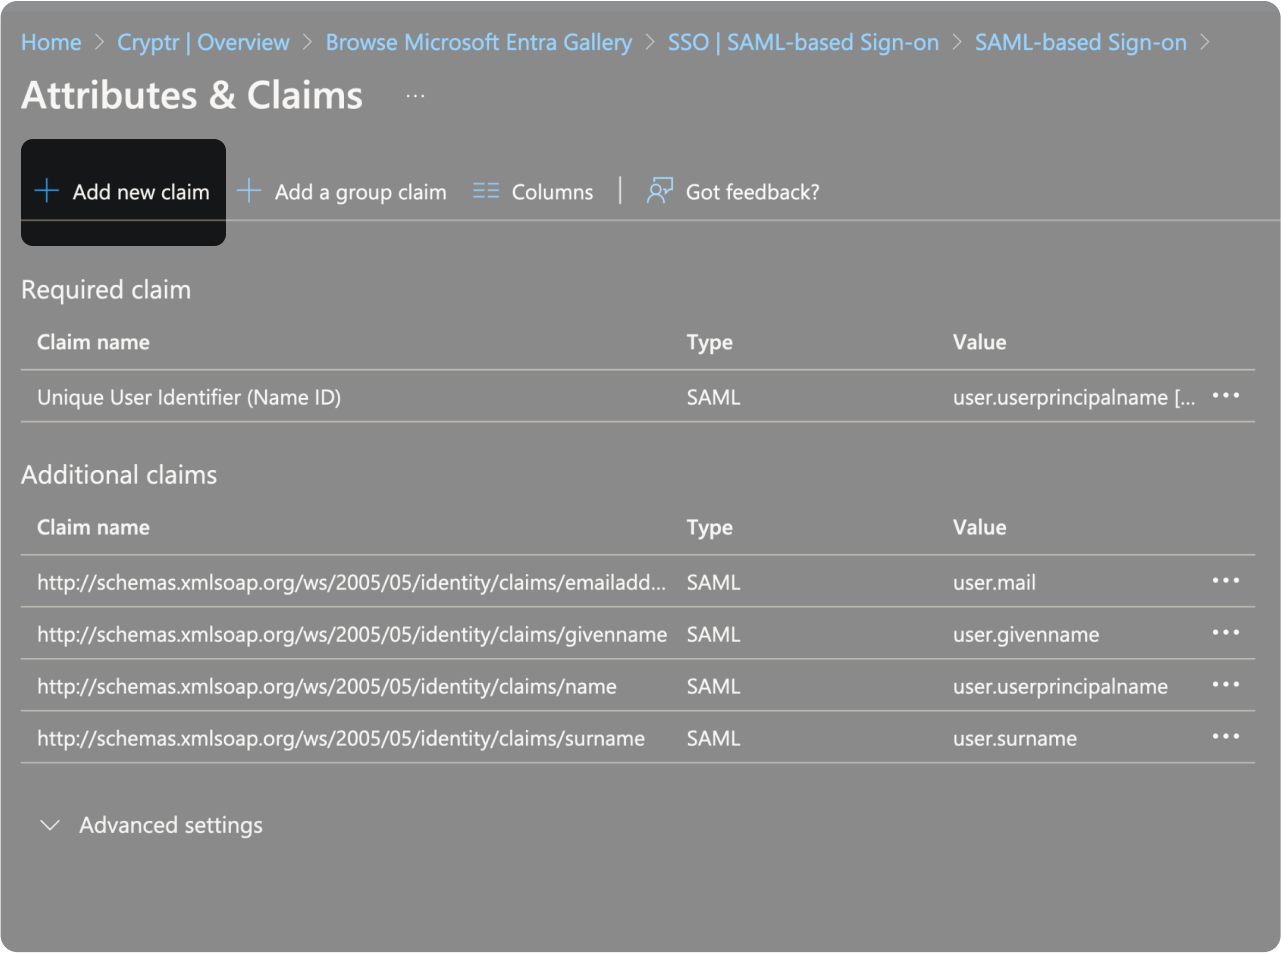
The next mapping does not exist, you will have to create it by clicking on "Add new claim."
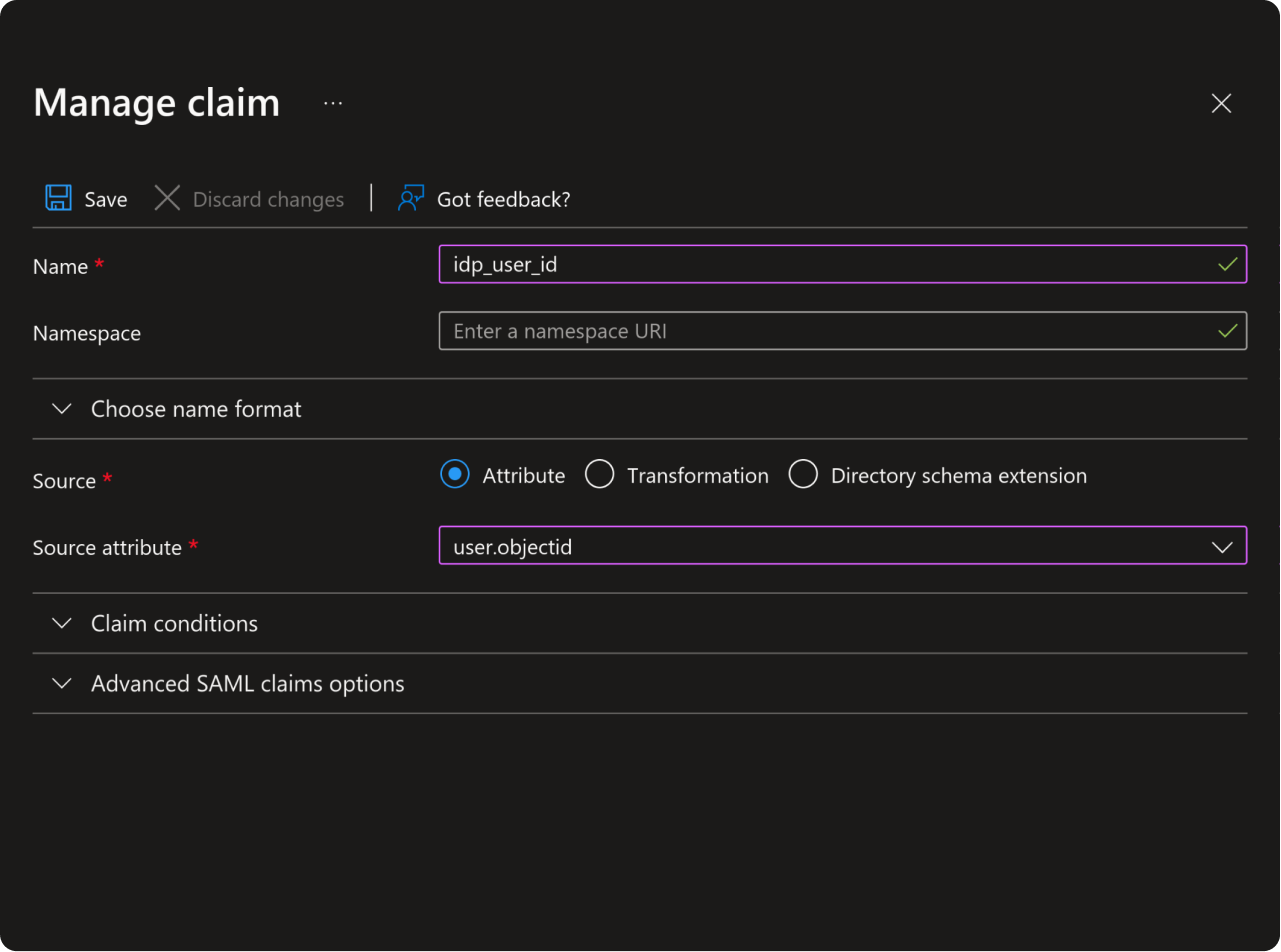
- In "Name" 👉
idp_user_id - In "Source attribute" 👉
user.objectid
Certificate

- Click on "Generate PFX file" in the right sidebar.
- Copy the PFX Password
- Download the PFX File
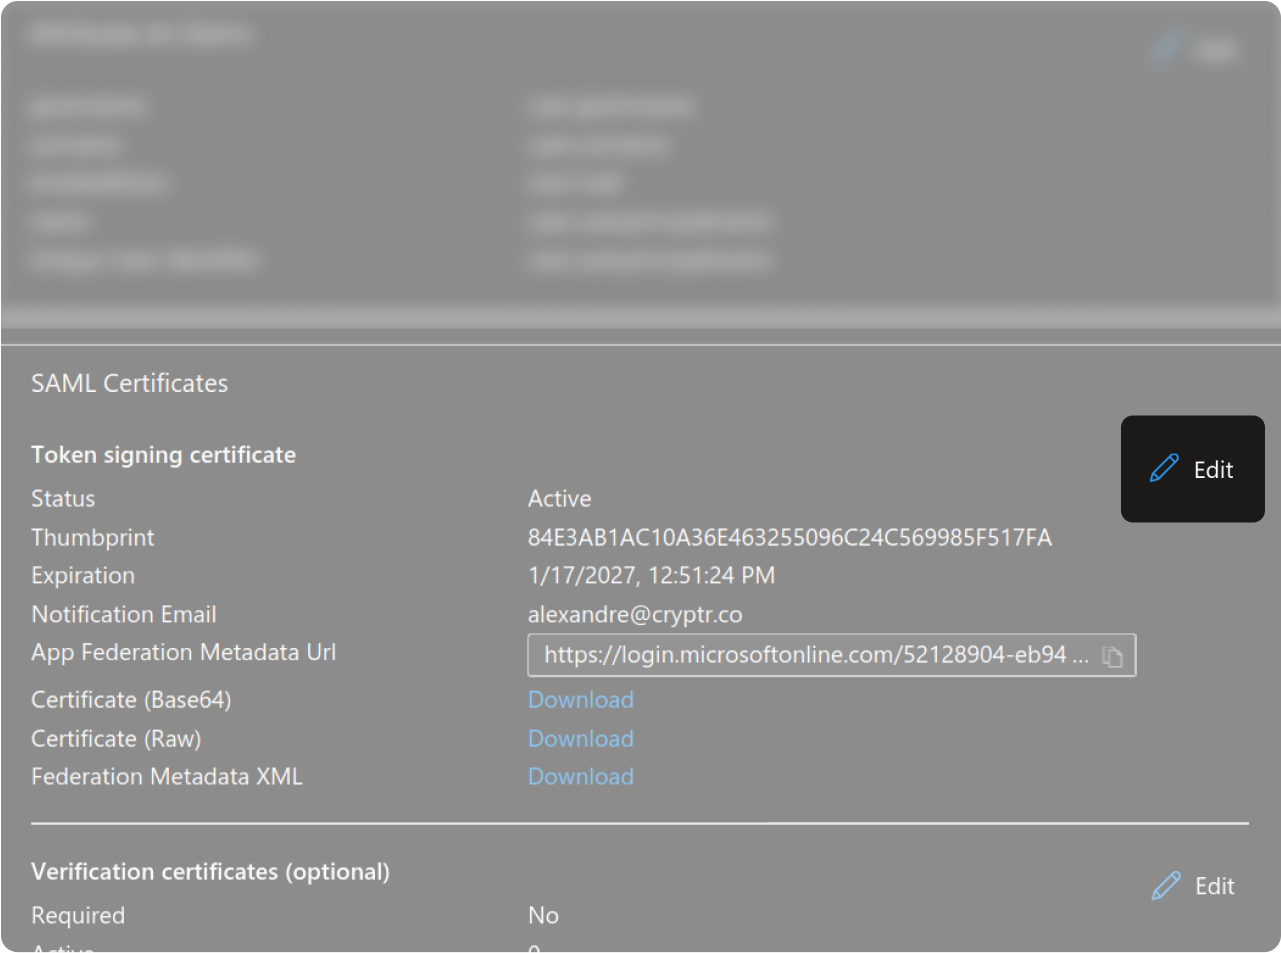
On the Single sign-on SAML main page, click on "Edit" in the "SAML Certificates" section.
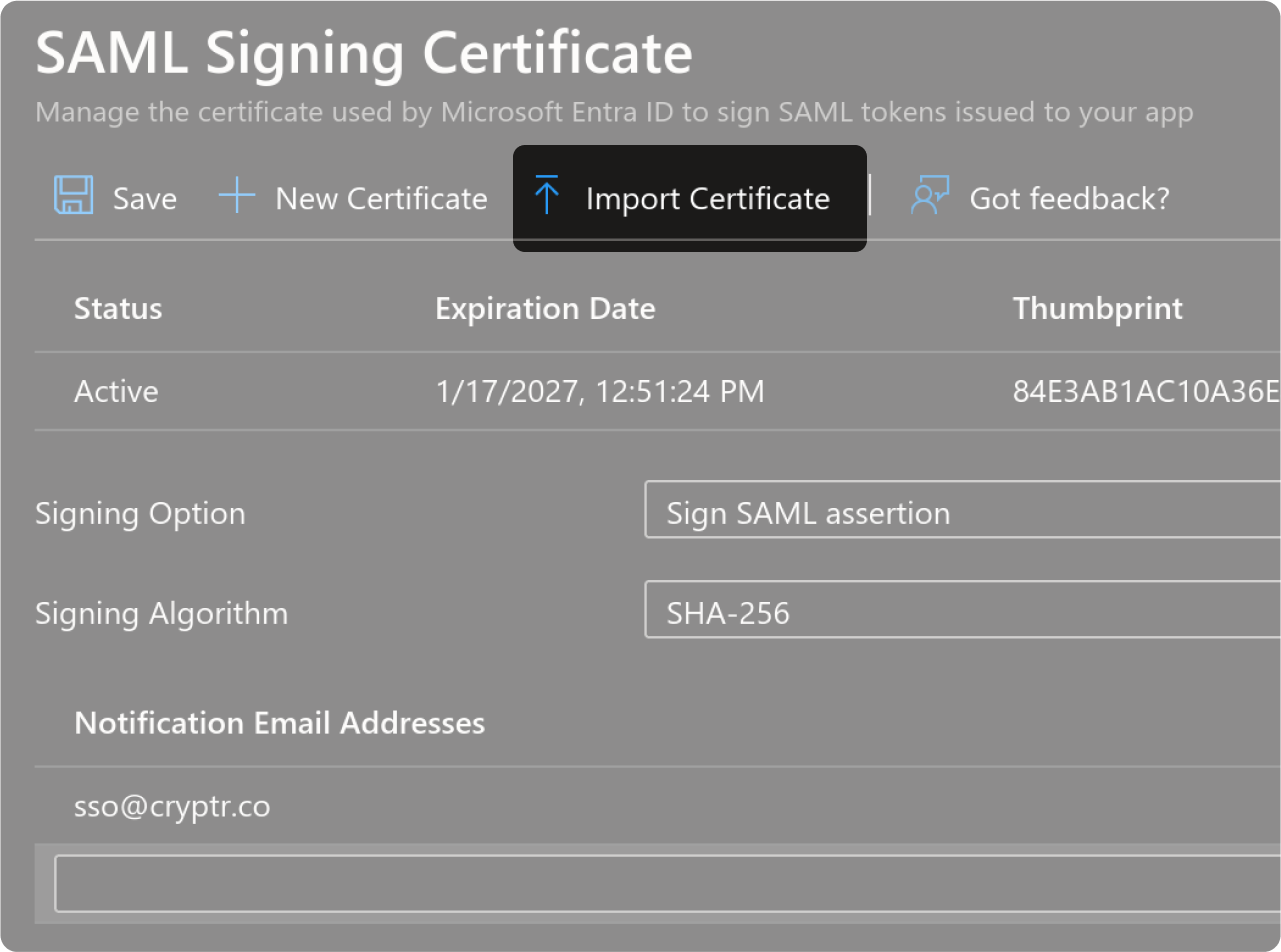
Click on "Import Certificate"

- Upload the downloaded PFX file.
- Provide the password
- Click on "Add"

- On your newly added certificate, click on the three dots action button.
- Click on "Make Certificate active."
- Click on "Save"
Users and groups
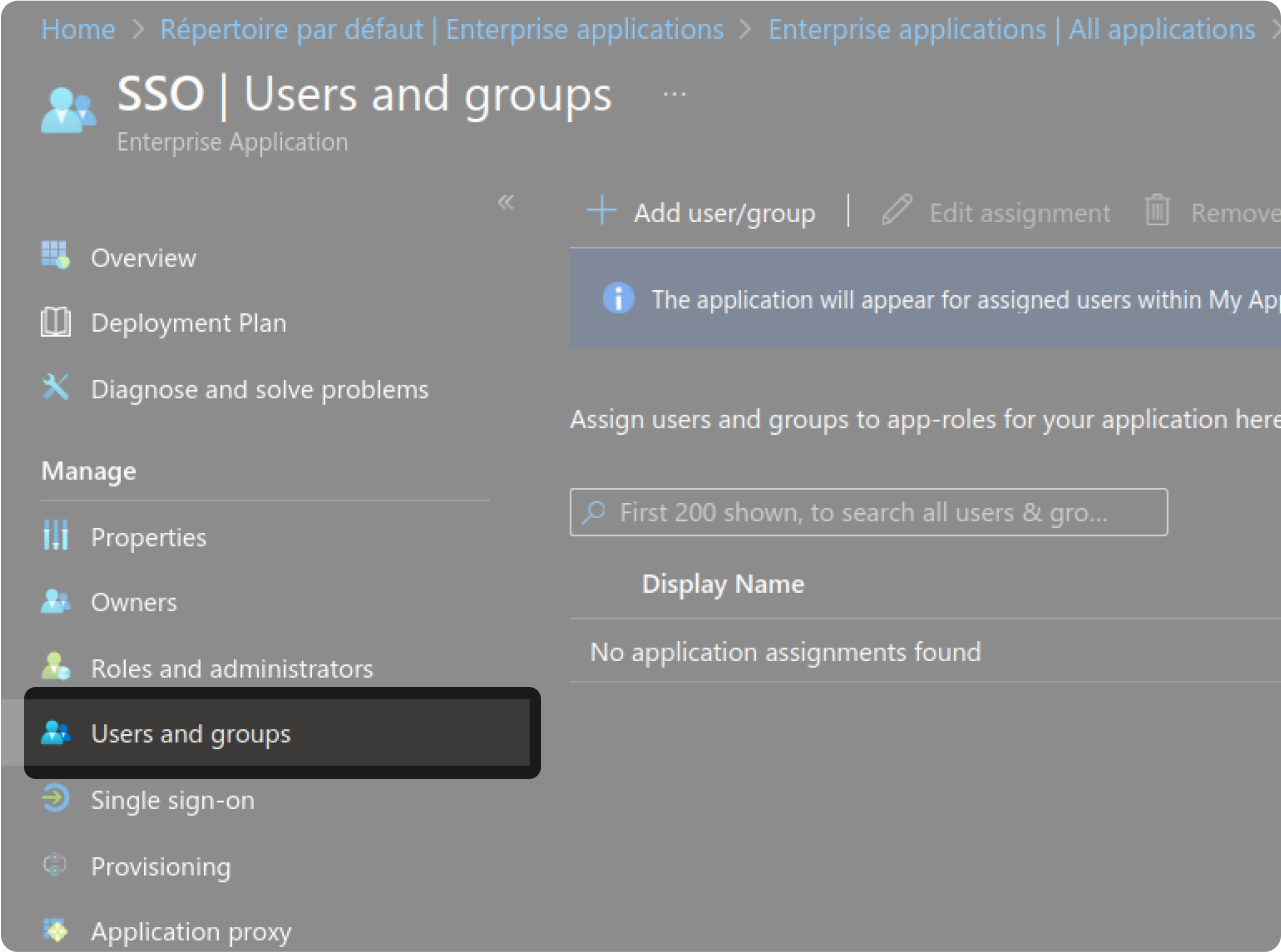
Add some users to this app ("Users and groups" in the left sidebar).
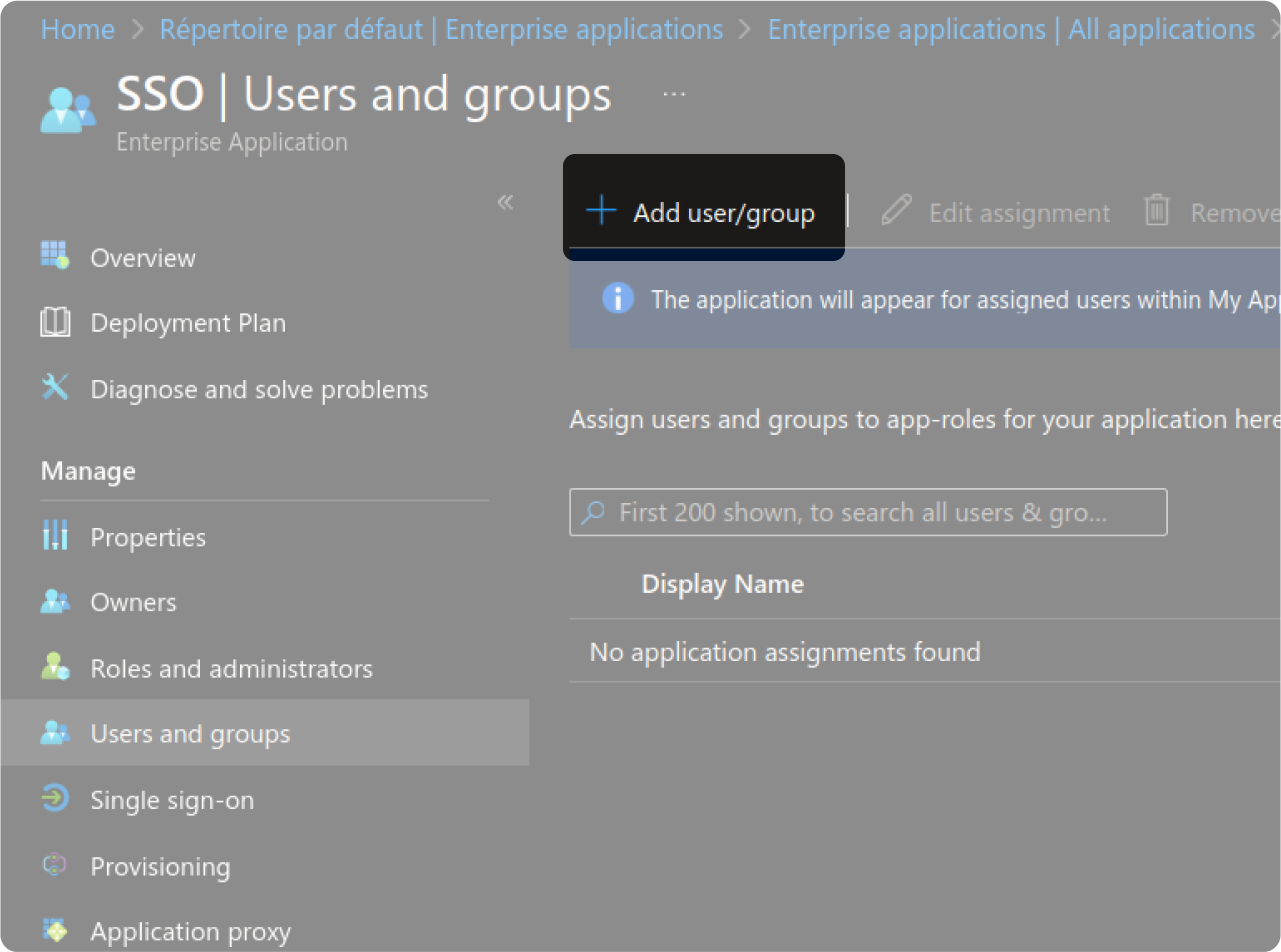
Click on "Add user/group."

Click on "None Selected"

Select yourself and the users you wish to add.

Click on "Select" at the bottom of the screen.

To assigns the users to your app click on "Assign."
XML Metadata file

- Now, go back to your Application Home Page.
- Click on "Single sign-on" in the left sidebar.
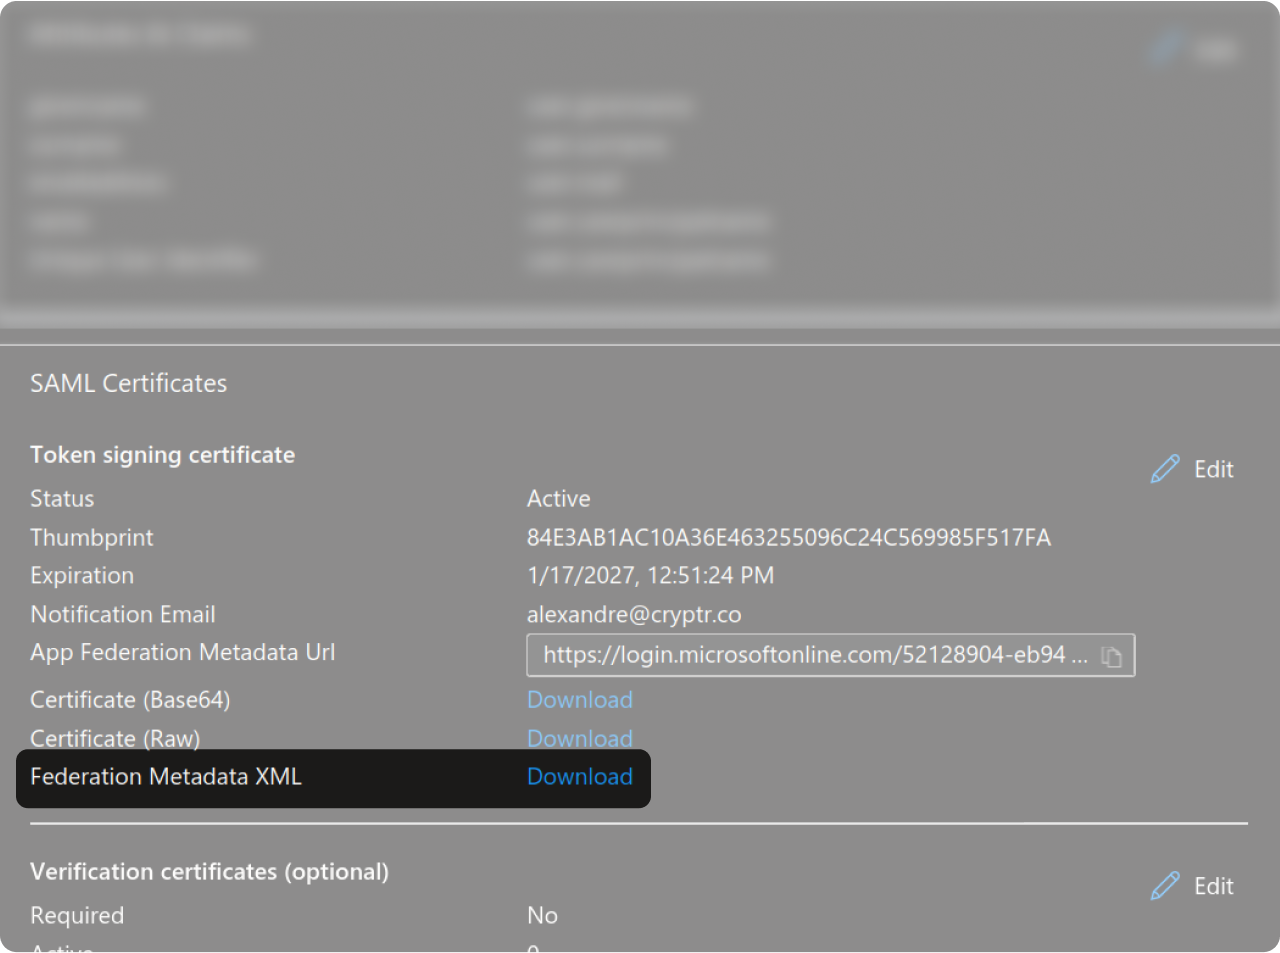
Click on the "Download" link next to the "Federation Metadata XML" label in the "SAML Certificates" section.
Drop your downloaded XML Metadata.
Test SSO login
Test SSO login