

How to Implement Single Sign On: A SSO tutorial
Accelerate adoption of your B2B application. Single sign-on allows organizations to authenticate users to third-party applications using their own identity and access management solution. With this integration, you embed an SSO authentication challenge into your code with only two API requests into your code.
- Quickstart
- 15 min
This guide will walk you throughout your integration, from Single Sign-On setup to your first user authentication.
Before starting
Create your free Cryptr account now, and you will have the three elements needed for this guide.
- API Key: You will receive a
client_idand aclient_secret. Read our guide to learn how to authenticate with these elements to use the Cryptr API. - Organization: You will create your first organization, which could be your customer or yourself for a first test. Learn more about Organization.
- Redirection: A redirect, also called a
redirect_uri, is the URI your user will be sent to after successful authentication.

1. Activate your first SSO login
In order to enable Cryptr SSO between you and your customer’s Identity Provider (IDP), you need to activate an SSO Connection for the organization you previously created in your dashboard.
To do so, navigate to the page dedicated to the organization for which you wish to activate the SSO connection. Select the organization via the User Directory side navigation bar on the left side of your screen.

To initiate the SSO configuration process for the IT administrator of this organization, who will act as the main contact with the identity access management system used by this customer (such as Microsoft, Okta, or Google), click on the TRY FOR FREE button located in the top right-hand corner. This will open the SSO section in the administrator configuration portal for this organization.
2. Setup to test authentication by yourself
If you’re not using an identity manager, you’ll need to create an account with an identity and access management solution, such as those used by your own customers. Even if you already have an identity manager, we recommend creating a free Okta account to test the Cryptr SSO configurator. Okta is a market leader in enterprise SSO.
You will need a fully configured SSO on an enterprise identity provider to test authentication. This means you must act as your own customer administrator and carry out the configuration yourself. This will allow you to grasp the process your customers will undergo during their onboarding. 😎
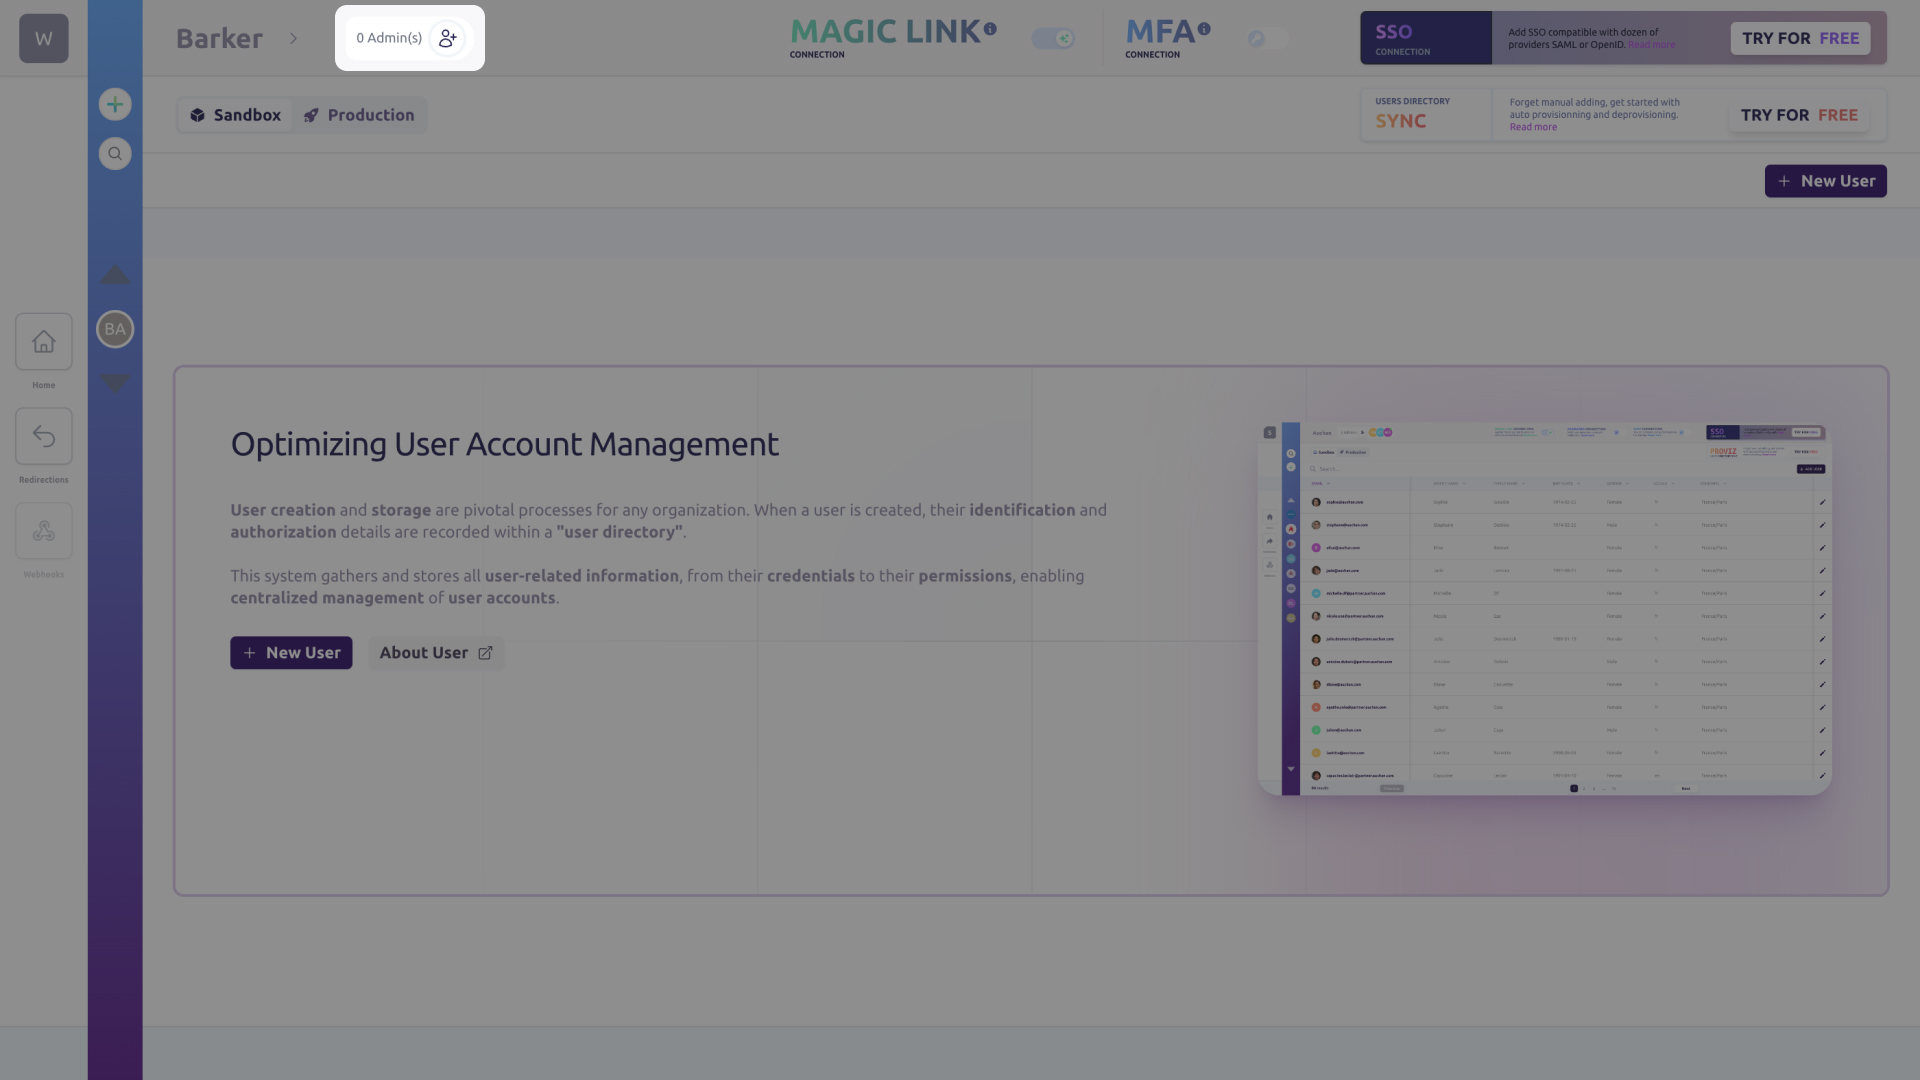
Next, on the Organization screen in your Cryptr dashboard, you must invite yourself with your own email address in order to impersonate the Organization’s IT administrator. To do so, click on the button next to the administrator number at the top of the screen to the right of the Organization name.
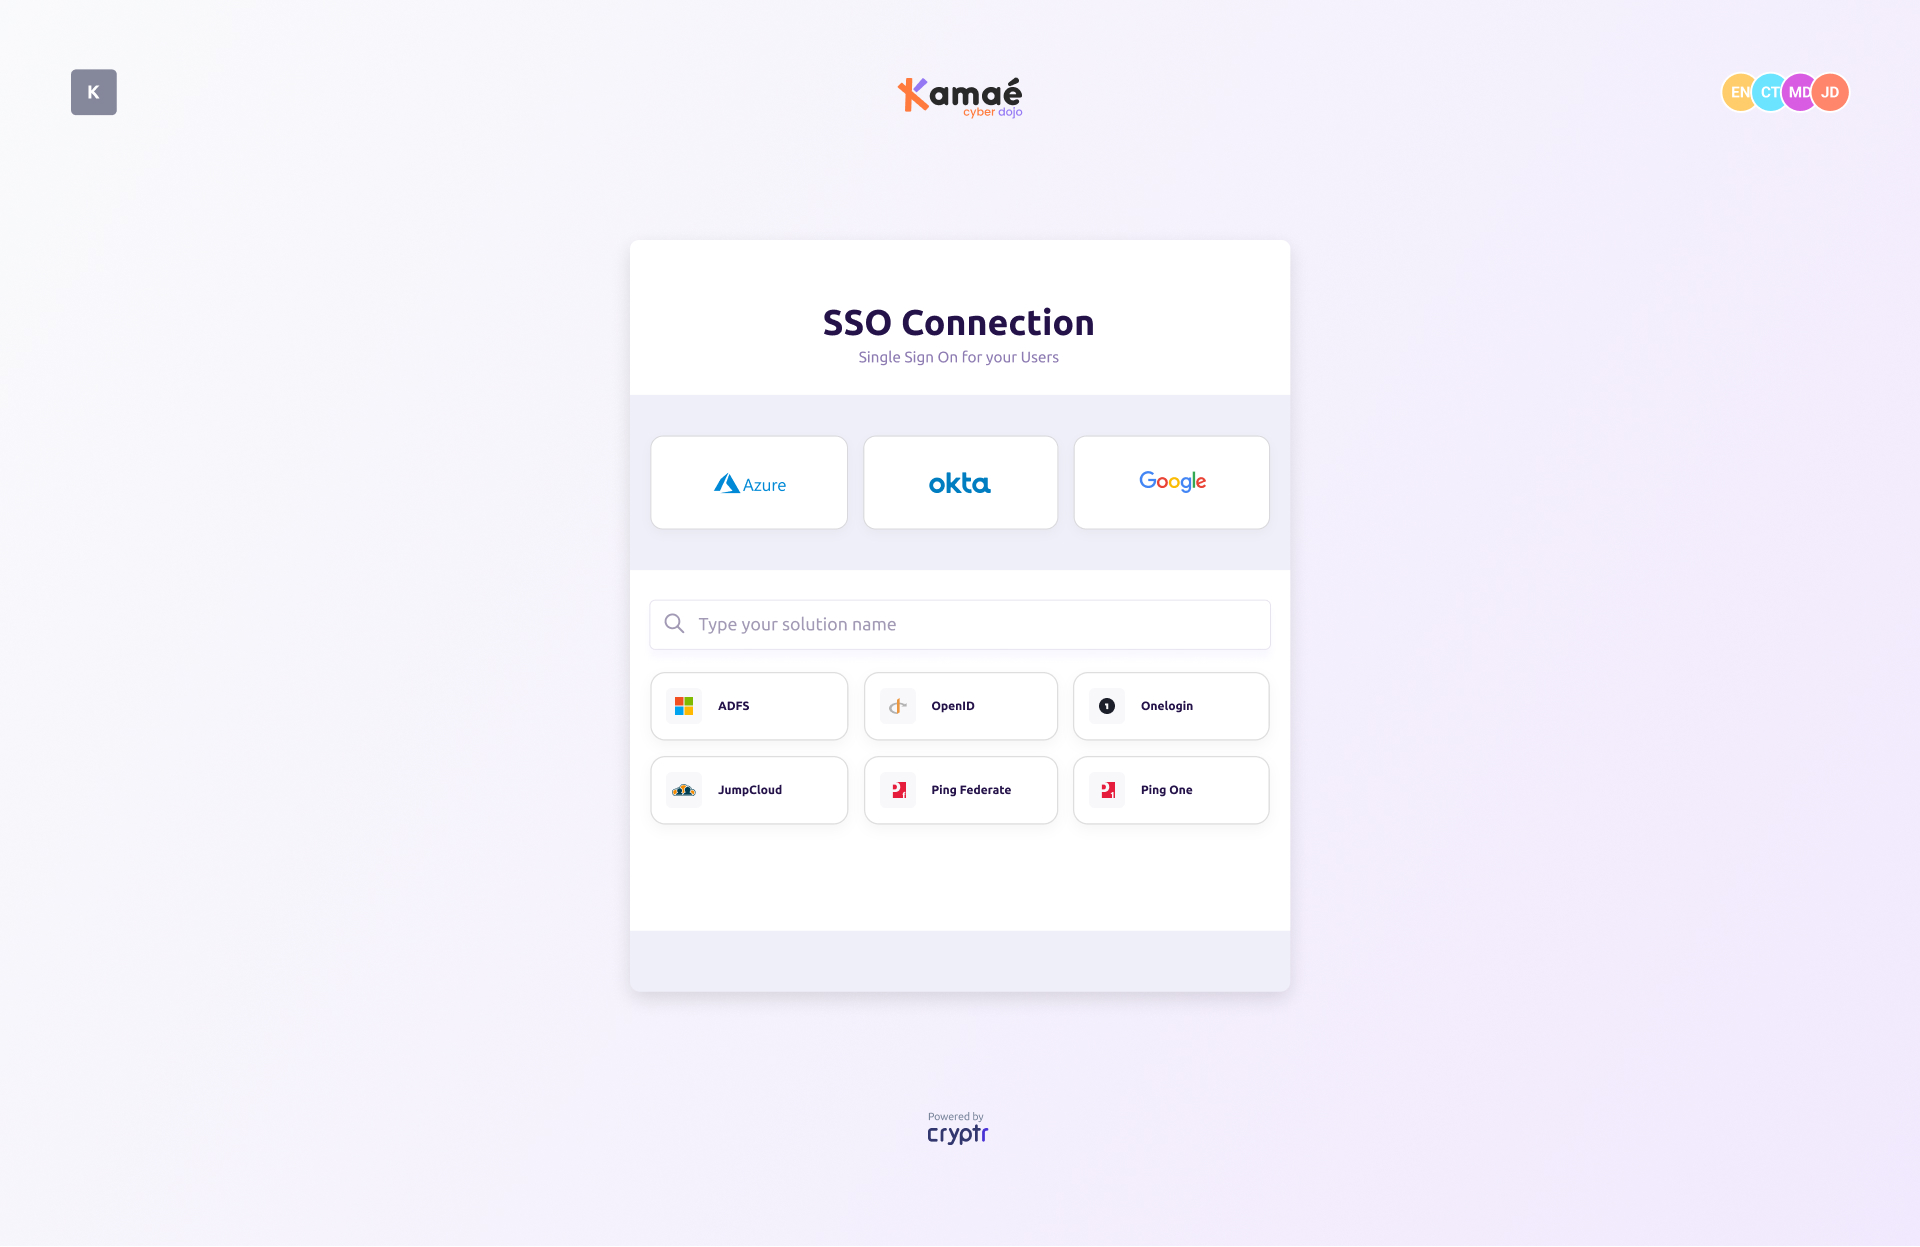
You will receive an access link via email. Simply click on it to access the SSO configuration portal for your organization. This portal is reserved for the IT administrators of your customers, who will be able to configure the SSO with your application autonomously. It allows Cryptr to exchange useful information between Cryptr’s and your customers’ SSO solution, such as configuration secrets and certificates. The Cryptr SSO configurator is an interactive tutorial that is regularly updated.
At the end of your setup, the configurator will prompt you to validate your settings. Your SSO is perfectly configured, and you are ready to integrate Cryptr SSO authentication into your application.
3. Authenticate users
Please be advised that until you have finished the configuration of your Single Sign-On (SSO), it will not be possible to complete a challenge as an end user. In order for the challenges to be usable, you must have completed the login test stage of your onboarding process.
The SSO Challenge process for one of your customer’s employees can be carried out in three steps.

- From your BackEnd, you must request an SSO Challenge with the desired
redirect_uri. This is the address of your application where you want Cryptr to redirect the user after SSO authentication. This API call is protected by your Cryptr API key, so it must never be made from your frontend code. - The SSO Challenge includes the authorization URL for your FrontEnd. This is the URL to which the user is redirected to authenticate via the organization’s SSO identity provider. Please be aware that this URL is single-use.
- Once the user has successfully authenticated via SSO, they will be redirected to the specified
redirect_uri. This will include an authorization code in the query parameters,code, which allows the user to retrieve the final Json Web Tokens (JWTs).
Request an SSO Challenge
To request an SSO Challenge, you will need the following information:
- The user’s email address
- The
redirect_uri, the address in your application (URL) where you want Cryptr to redirect the user after SSO authentication.
You must first specify the authorized redirections (redirect_uri) from your Cryptr dashboard. If you have not provided a redirect in your Challenge request, the default redirects will be used.
Here’s an example request:
- cURL
- Java
- JavaScript
- PHP - Guzzle
- Python
- Ruby
- C#
curl -X POST '${cryptr_service_url}/api/v2/sso-saml-challenge' \
  -d user_email="john@misapret.com" \
  -d redirect_uri="https//example-of_url.com/welcome-back-user"
OkHttpClient client = new OkHttpClient().newBuilder()
  .build();

MediaType mediaType = MediaType.parse("application/x-www-form-urlencoded");
RequestBody body = RequestBody.create(mediaType, "redirect_uri=https//example-of_url.com/welcome-back-user&user_email=john@misapret.com");

Request request = new Request.Builder()
  .url("${cryptr_service_url}/api/v2/sso-saml-challenge")
  .method("POST", body)
  .addHeader("Content-Type", "application/x-www-form-urlencoded")
  .addHeader("Authorization", "Bearer ...")
  .build();

Response response = client.newCall(request).execute();
const myHeaders = new Headers();
myHeaders.append("Content-Type", "application/x-www-form-urlencoded");
myHeaders.append("Authorization", "Bearer ...");

const urlencoded = new URLSearchParams();
urlencoded.append("redirect_uri", "https//example-of_url.com/welcome-back-user");
urlencoded.append("user_email", "john@misapret.com");

const requestOptions = {
  method: "POST",
  headers: myHeaders,
  body: urlencoded,
  redirect: "follow"
};

fetch("${cryptr_service_url}/api/v2/sso-saml-challenge", requestOptions)
  .then((response) => response.text())
  .then((result) => console.log(result))
  .catch((error) => console.error(error));
<?php
$client = new Client();
$headers = [
  'Content-Type' => 'application/x-www-form-urlencoded',
  'Authorization' => 'Bearer ...'
];
$options = [
'form_params' => [
  'redirect_uri' => 'https//example-of_url.com/welcome-back-user',
  'user_email' => 'john@misapret.com'
]];
$request = new Request('POST', '${cryptr_service_url}/api/v2/sso-saml-challenge', $headers);
$res = $client->sendAsync($request, $options)->wait();
echo $res->getBody();
import requests

url = "${cryptr_service_url}/api/v2/sso-saml-challenge"

payload = 'redirect_uri=https%2F%2Fexample-of_url.com%2Fwelcome-back-user&user_email=john@misapret.com'
headers = {
  'Content-Type': 'application/x-www-form-urlencoded',
  'Authorization': 'Bearer ...'
}

response = requests.request("POST", url, headers=headers, data=payload)

print(response.text)
require "uri"
require "net/http"

url = URI("${cryptr_service_url}/api/v2/sso-saml-challenge")

http = Net::HTTP.new(url.host, url.port);
request = Net::HTTP::Post.new(url)
request["Content-Type"] = "application/x-www-form-urlencoded"
request["Authorization"] = "Bearer ..."
request.body = "redirect_uri=https%2F%2Fexample-of_url.com%2Fwelcome-back-user&user_email=john@misapret.com"

response = http.request(request)
puts response.read_body
var client = new HttpClient();
var request = new HttpRequestMessage(HttpMethod.Post, "${cryptr_service_url}/api/v2/sso-saml-challenge");
request.Headers.Add("Authorization", "Bearer ...");

var collection = new List<KeyValuePair<string, string>>();
collection.Add(new("redirect_uri", "https//example-of_url.com/welcome-back-user"));
collection.Add(new("user_email", "john@misapret.com"));

var content = new FormUrlEncodedContent(collection);
request.Content = content;

var response = await client.SendAsync(request);
response.EnsureSuccessStatusCode();

Console.WriteLine(await response.Content.ReadAsStringAsync());
This request will provide you an authorization_url that your user needs to proceed with their SSO authentication process before being redirected to your desired redirect_uri
Additionally, the appropriate SSO connection can be targeted using the organization’s domain.
Request SSO Challenge using Organization’s domain
- cURL
- Java
- JavaScript
- PHP - Guzzle
- Python
- Ruby
- C#
curl -X POST '${cryptr_service_url}/api/v2/sso-saml-challenge' \
  -d org_domain="misapret" \
  -d redirect_uri="https//example-of_url.com/welcome-back-user"
OkHttpClient client = new OkHttpClient().newBuilder()
  .build();

MediaType mediaType = MediaType.parse("application/x-www-form-urlencoded");
RequestBody body = RequestBody.create(mediaType, "redirect_uri=https//example-of_url.com/welcome-back-user&org_domain=misapret");

Request request = new Request.Builder()
  .url("${cryptr_service_url}/api/v2/sso-saml-challenge")
  .method("POST", body)
  .addHeader("Content-Type", "application/x-www-form-urlencoded")
  .addHeader("Authorization", "Bearer ...")
  .build();

Response response = client.newCall(request).execute();
const myHeaders = new Headers();
myHeaders.append("Content-Type", "application/x-www-form-urlencoded");
myHeaders.append("Authorization", "Bearer ...");

const urlencoded = new URLSearchParams();
urlencoded.append("redirect_uri", "https//example-of_url.com/welcome-back-user");
urlencoded.append("org_domain", "misapret");

const requestOptions = {
  method: "POST",
  headers: myHeaders,
  body: urlencoded,
  redirect: "follow"
};

fetch("${cryptr_service_url}/api/v2/sso-saml-challenge", requestOptions)
  .then((response) => response.text())
  .then((result) => console.log(result))
  .catch((error) => console.error(error));
<?php
$client = new Client();
$headers = [
  'Content-Type' => 'application/x-www-form-urlencoded',
  'Authorization' => 'Bearer ...'
];
$options = [
'form_params' => [
  'redirect_uri' => 'https//example-of_url.com/welcome-back-user',
  'org_domain' => 'misapret'
]];
$request = new Request('POST', '${cryptr_service_url}/api/v2/sso-saml-challenge', $headers);
$res = $client->sendAsync($request, $options)->wait();
echo $res->getBody();
import requests

url = "${cryptr_service_url}/api/v2/sso-saml-challenge"

payload = 'redirect_uri=https%2F%2Fexample-of_url.com%2Fwelcome-back-user&org_domain=misapret'
headers = {
  'Content-Type': 'application/x-www-form-urlencoded',
  'Authorization': 'Bearer ...'
}

response = requests.request("POST", url, headers=headers, data=payload)

print(response.text)
require "uri"
require "net/http"

url = URI("${cryptr_service_url}/api/v2/sso-saml-challenge")

http = Net::HTTP.new(url.host, url.port);
request = Net::HTTP::Post.new(url)
request["Content-Type"] = "application/x-www-form-urlencoded"
request["Authorization"] = "Bearer ..."
request.body = "redirect_uri=https%2F%2Fexample-of_url.com%2Fwelcome-back-user&org_domain=misapret"

response = http.request(request)
puts response.read_body
var client = new HttpClient();
var request = new HttpRequestMessage(HttpMethod.Post, "${cryptr_service_url}/api/v2/sso-saml-challenge");
request.Headers.Add("Authorization", "Bearer ...");

var collection = new List<KeyValuePair<string, string>>();
collection.Add(new("redirect_uri", "https//example-of_url.com/welcome-back-user"));
collection.Add(new("org_domain", "misapret"));

var content = new FormUrlEncodedContent(collection);
request.Content = content;

var response = await client.SendAsync(request);
response.EnsureSuccessStatusCode();

Console.WriteLine(await response.Content.ReadAsStringAsync());
Redirecting the user to their challenge
To initiate the authentication process, you will need to redirect the user to the authorization URL. This will allow them to authenticate via their organization’s identity provider before being redirected to your application (via redirect_uri). Please see the example of the payload below:
  {
    "__environment__": "sandbox",
    "__type__": "SsoChallenge",
    "authorization_url": "https//your-cryptr-service-url.com/org/loirama/oauth2/saml?request_id=8d814d02-35d8-48a9-a033-291fd5959a0c",
    "expired_at": 1684774623,
    "redirect_uri": "https://loirama.com/welcome-back-user",
    "request_id": "8d814d02-35d8-48a9-a033-291fd5959a0c",
    "sso_connection_id": "loirama_VqiFf3Y5ogaYRbyEyazDWn"
  }
Please be aware that this authorization_url is only valid for a limited period. To ensure an optimal user experience, we recommend either redirecting the user as soon as the challenge is generated or generating the challenge only when the user is ready to connect.
Get tokens after user authentication success
Once the user has successfully authenticated via the SSO connection, they will be redirected to the redirect_uri provided, where Cryptr will provide an authorization code (code) to retrieve the final tokens containing the user data provided by your customer’s SSO provider during the SSO Challenge. To facilitate this process, please request as follows:
- cURL
- Java
- JavaScript
- PHP - Guzzle
- Python
- Ruby
- C#
# ... your user finishes their SSO authentication,

# In your app, the user is redirected to your service,
# via the "redirect_uri" provided when you created the challenge (or the default one),
# with the query parameter "code" that we need to fetch the tokens.

curl -X POST '${cryptr_service_url}/oauth/token' \
  -d code={code} \
  -d grant_type="authorization_code"

# if result.success is true, then
## 1. you get the result.access_token,
## 2. and result.id_token, which contains signed user data.
# else
## your user is unauthorized
# end
OkHttpClient client = new OkHttpClient().newBuilder()
  .build();

MediaType mediaType = MediaType.parse("application/x-www-form-urlencoded");
RequestBody body = RequestBody.create(mediaType, "code=your_code&grant_type=authorization_code");

Request request = new Request.Builder()
  .url("${cryptr_service_url}/oauth/token")
  .method("POST", body)
  .addHeader("Content-Type", "application/x-www-form-urlencoded")
  .build();

Response response = client.newCall(request).execute();
const myHeaders = new Headers();
myHeaders.append("Content-Type", "application/x-www-form-urlencoded");

const urlencoded = new URLSearchParams();
urlencoded.append("code", "your_code");
urlencoded.append("grant_type", "authorization_code");

const requestOptions = {
  method: "POST",
  headers: myHeaders,
  body: urlencoded,
  redirect: "follow"
};

fetch("${cryptr_service_url}/oauth/token", requestOptions)
  .then((response) => response.text())
  .then((result) => console.log(result))
  .catch((error) => console.error(error));
<?php
$client = new Client();
$headers = [
  'Content-Type' => 'application/x-www-form-urlencoded'
];
$options = [
'form_params' => [
  'code' => 'your_code',
  'grant_type' => 'authorization_code'
]];
$request = new Request('POST', '${cryptr_service_url}/oauth/token', $headers);
$res = $client->sendAsync($request, $options)->wait();
echo $res->getBody();
import requests

url = "${cryptr_service_url}/oauth/token"

payload = 'code=your_code&grant_type=authorization_code'
headers = {
  'Content-Type': 'application/x-www-form-urlencoded'
}

response = requests.request("POST", url, headers=headers, data=payload)

print(response.text)
require "uri"
require "net/http"

url = URI("${cryptr_service_url}/oauth/token")

http = Net::HTTP.new(url.host, url.port);
request = Net::HTTP::Post.new(url)
request["Content-Type"] = "application/x-www-form-urlencoded"
request.body = "code=your_code&grant_type=authorization_code"

response = http.request(request)
puts response.read_body
var client = new HttpClient();
var request = new HttpRequestMessage(HttpMethod.Post, "${cryptr_service_url}/oauth/token");
var collection = new List<KeyValuePair<string, string>>();

collection.Add(new("code", "your_code"));
collection.Add(new("grant_type", "authorization_code"));

var content = new FormUrlEncodedContent(collection);
request.Content = content;

var response = await client.SendAsync(request);
response.EnsureSuccessStatusCode();

Console.WriteLine(await response.Content.ReadAsStringAsync());
We will respond to this request with the user’s JSON Web Tokens (JWTs): an access_token and an id_token. The latter contains the user’s identity information transmitted by the organization’s access and identity management solution (e.g., your customer).
What’s next
To verify tokens and ensure data trust, you can use our guide: How to validate a JWT
You can also refer to our API references to perform these actions via the Rest API.