Okta Account Creation
1. Visit Okta’s Website and Choose the Developer Edition
Go to the Okta website at https://developer.okta.com/signup/. On the page, you’ll see three options. Select the one on the far right under “Workforce Identity Cloud” and click “Sign Up Free for Developer Edition.”
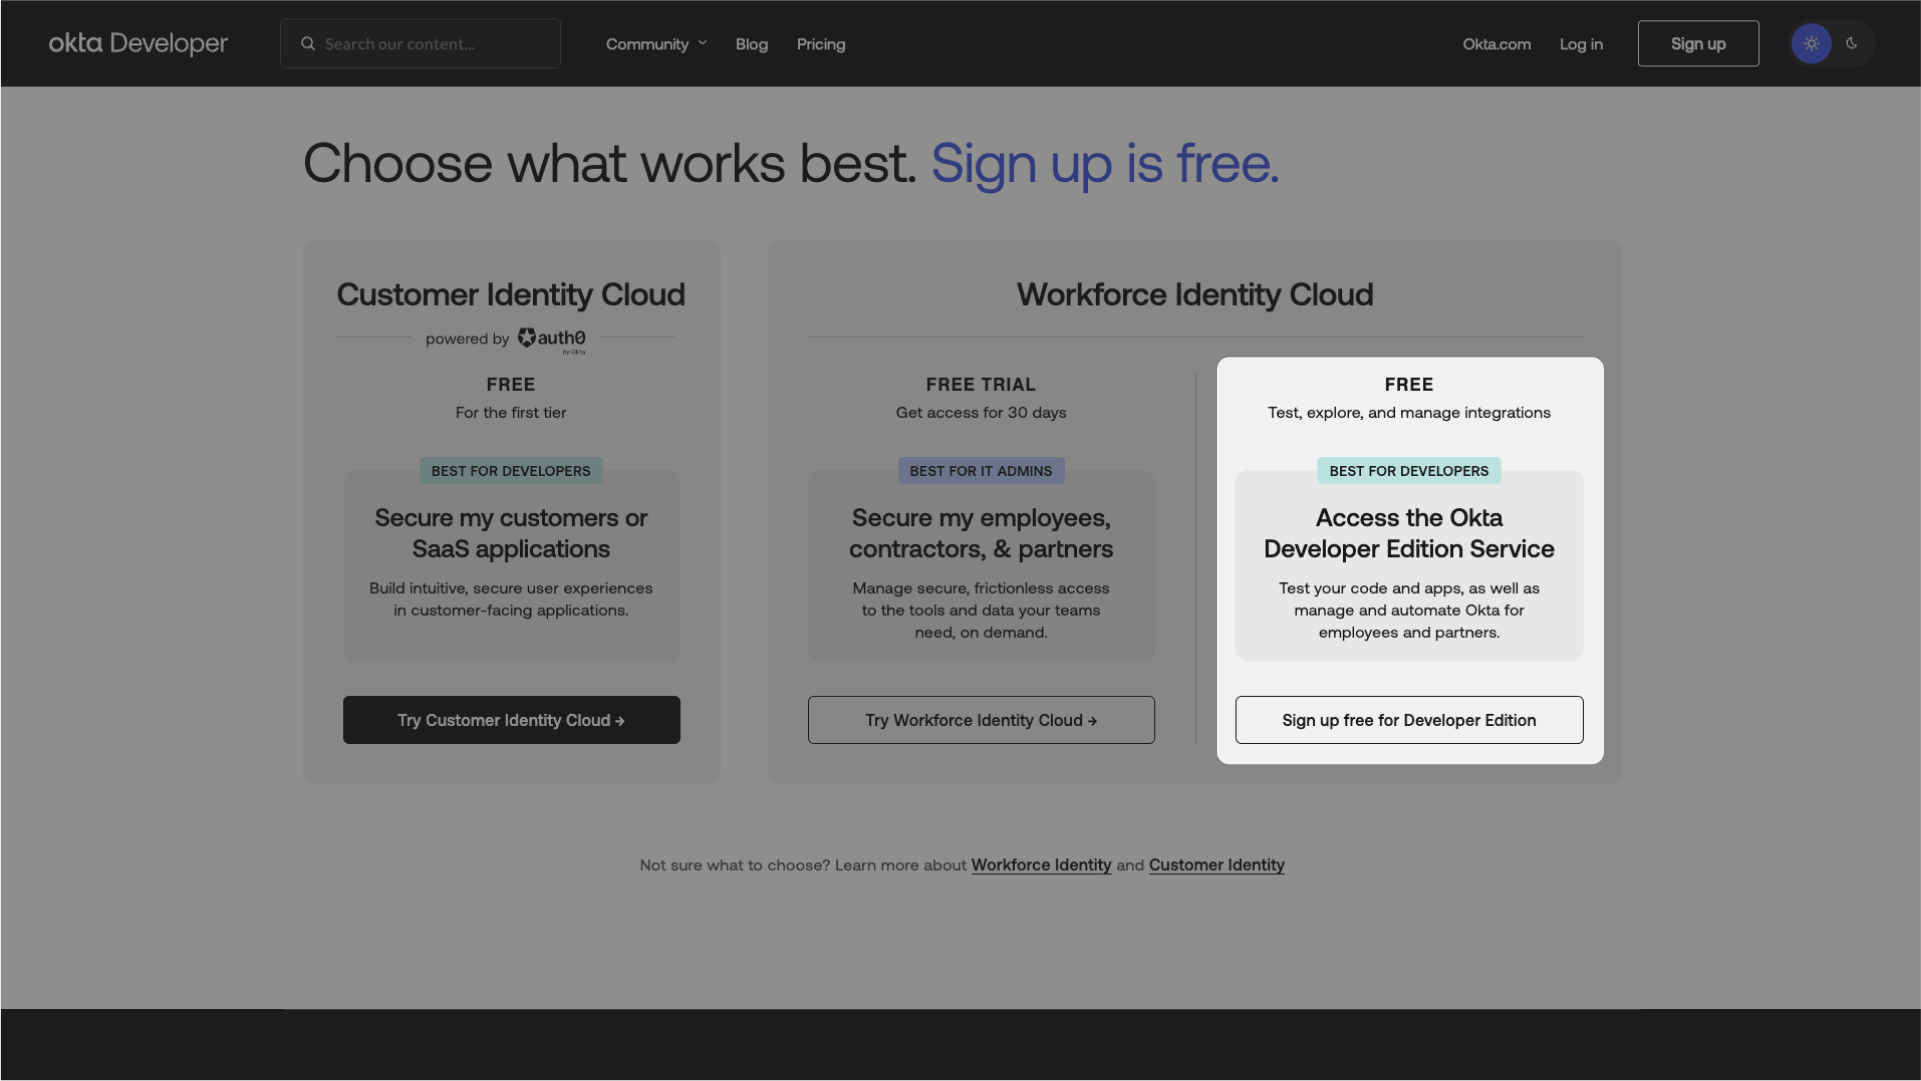
2. Fill Out the Form
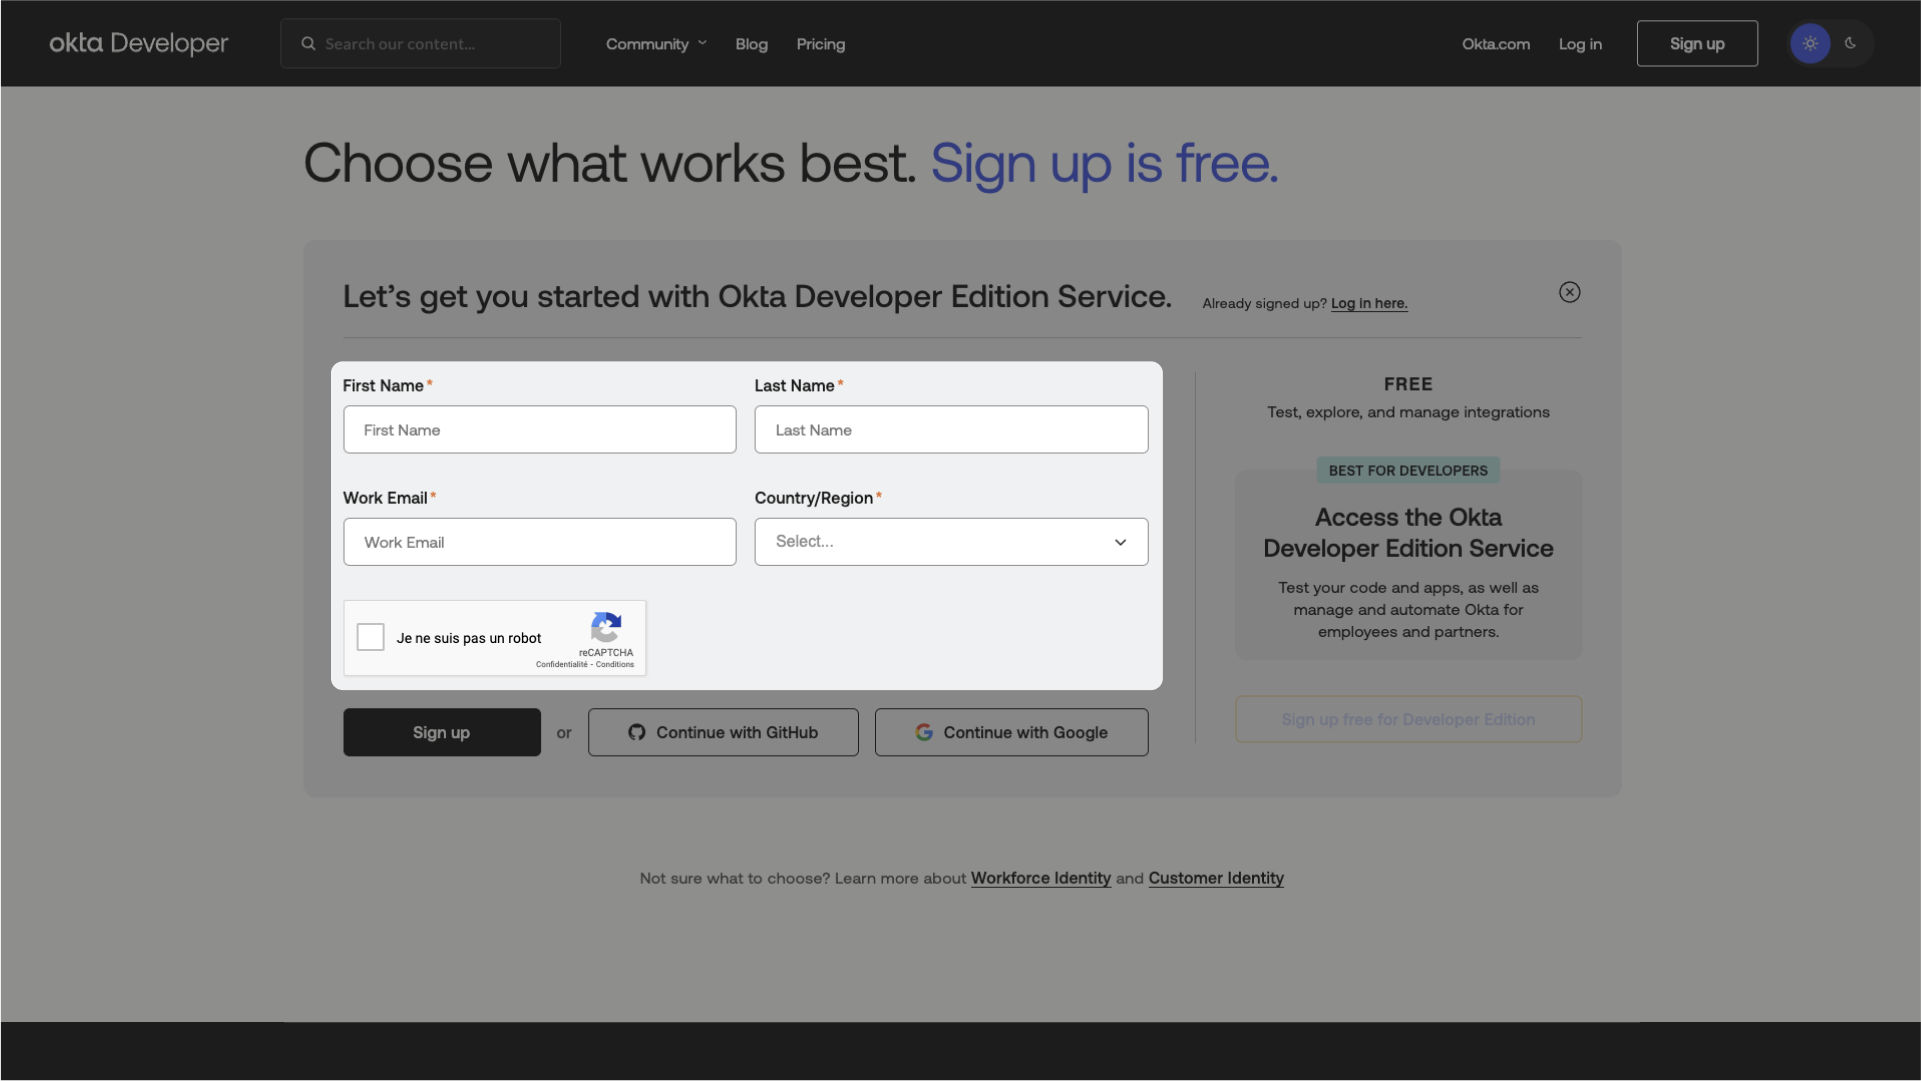
After clicking the button, a form will appear. Fill in your first name, last name, work email, country/region, and check the “I’m not a robot” (“Je ne suis pas un robot”) box.
3. Click “Sign Up”
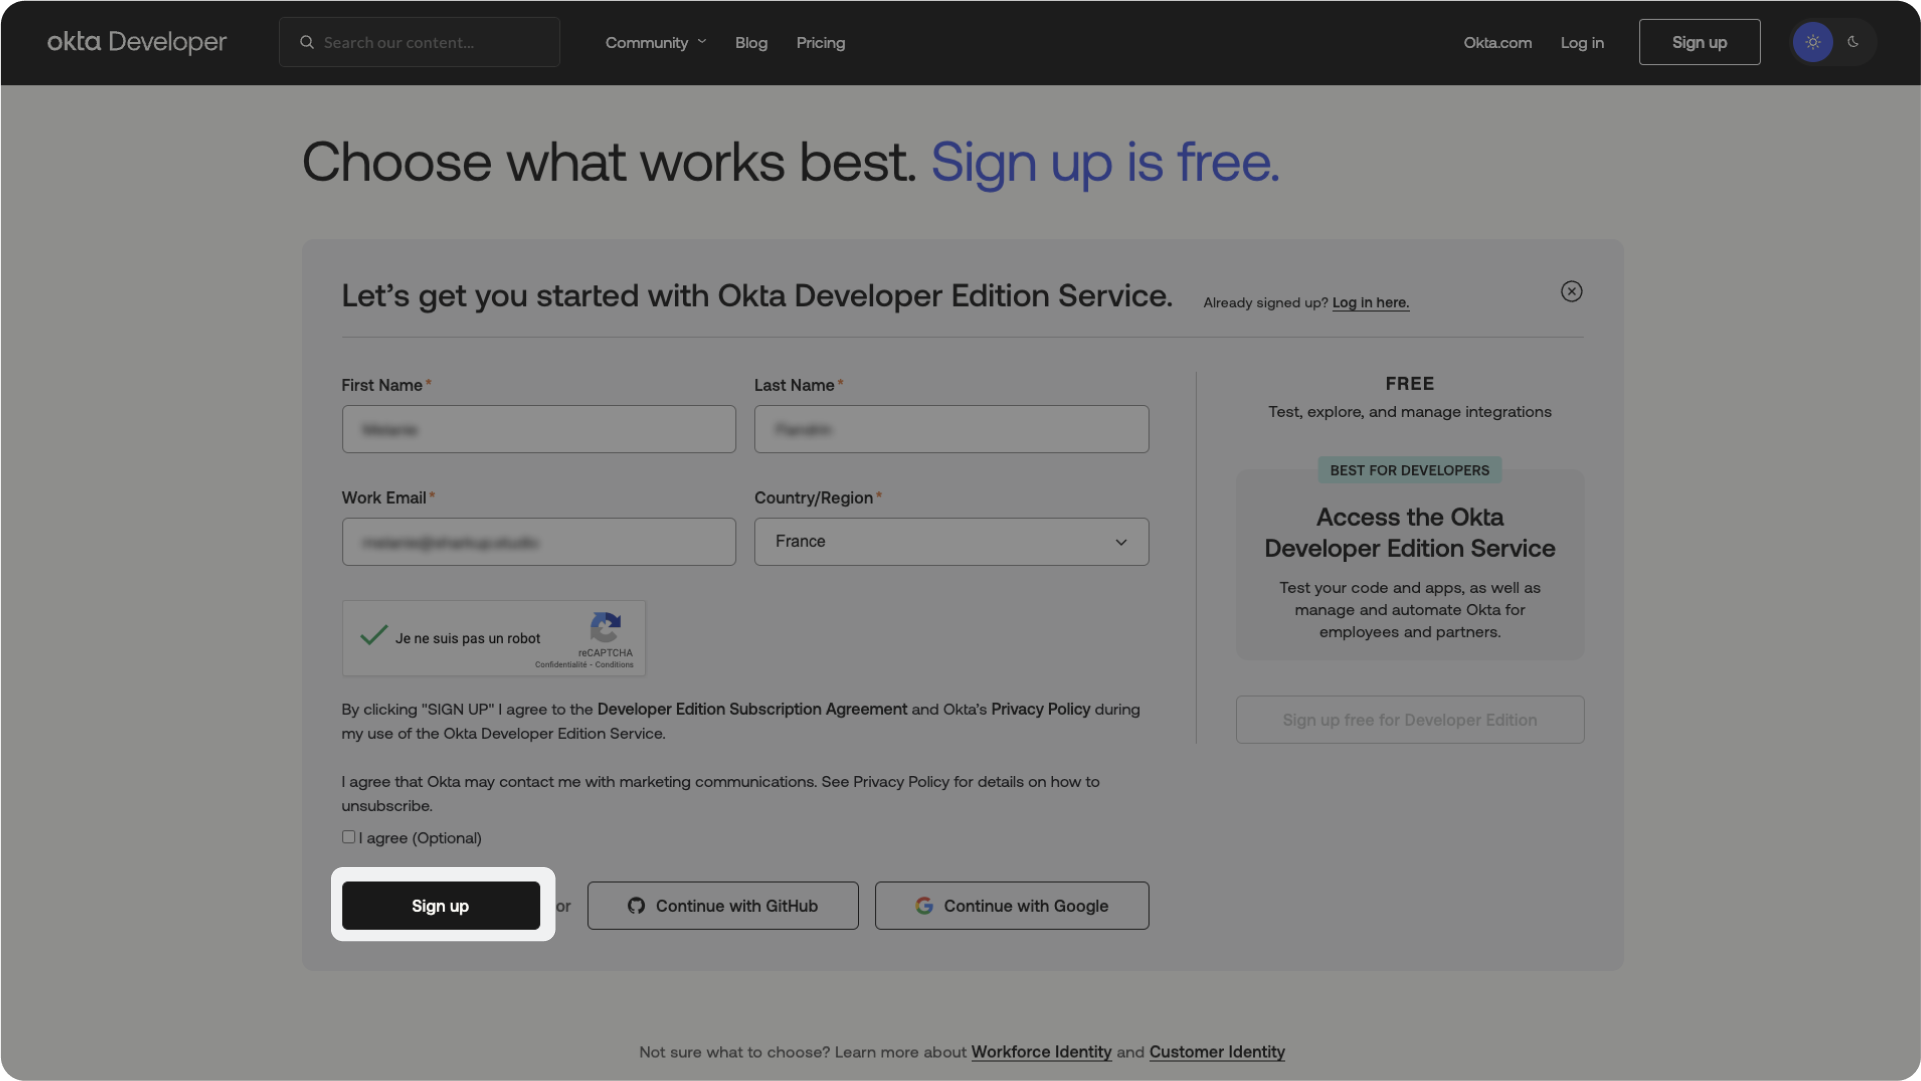
Once you’ve filled out the form, click the “Sign Up” button.
4. Check Your Email
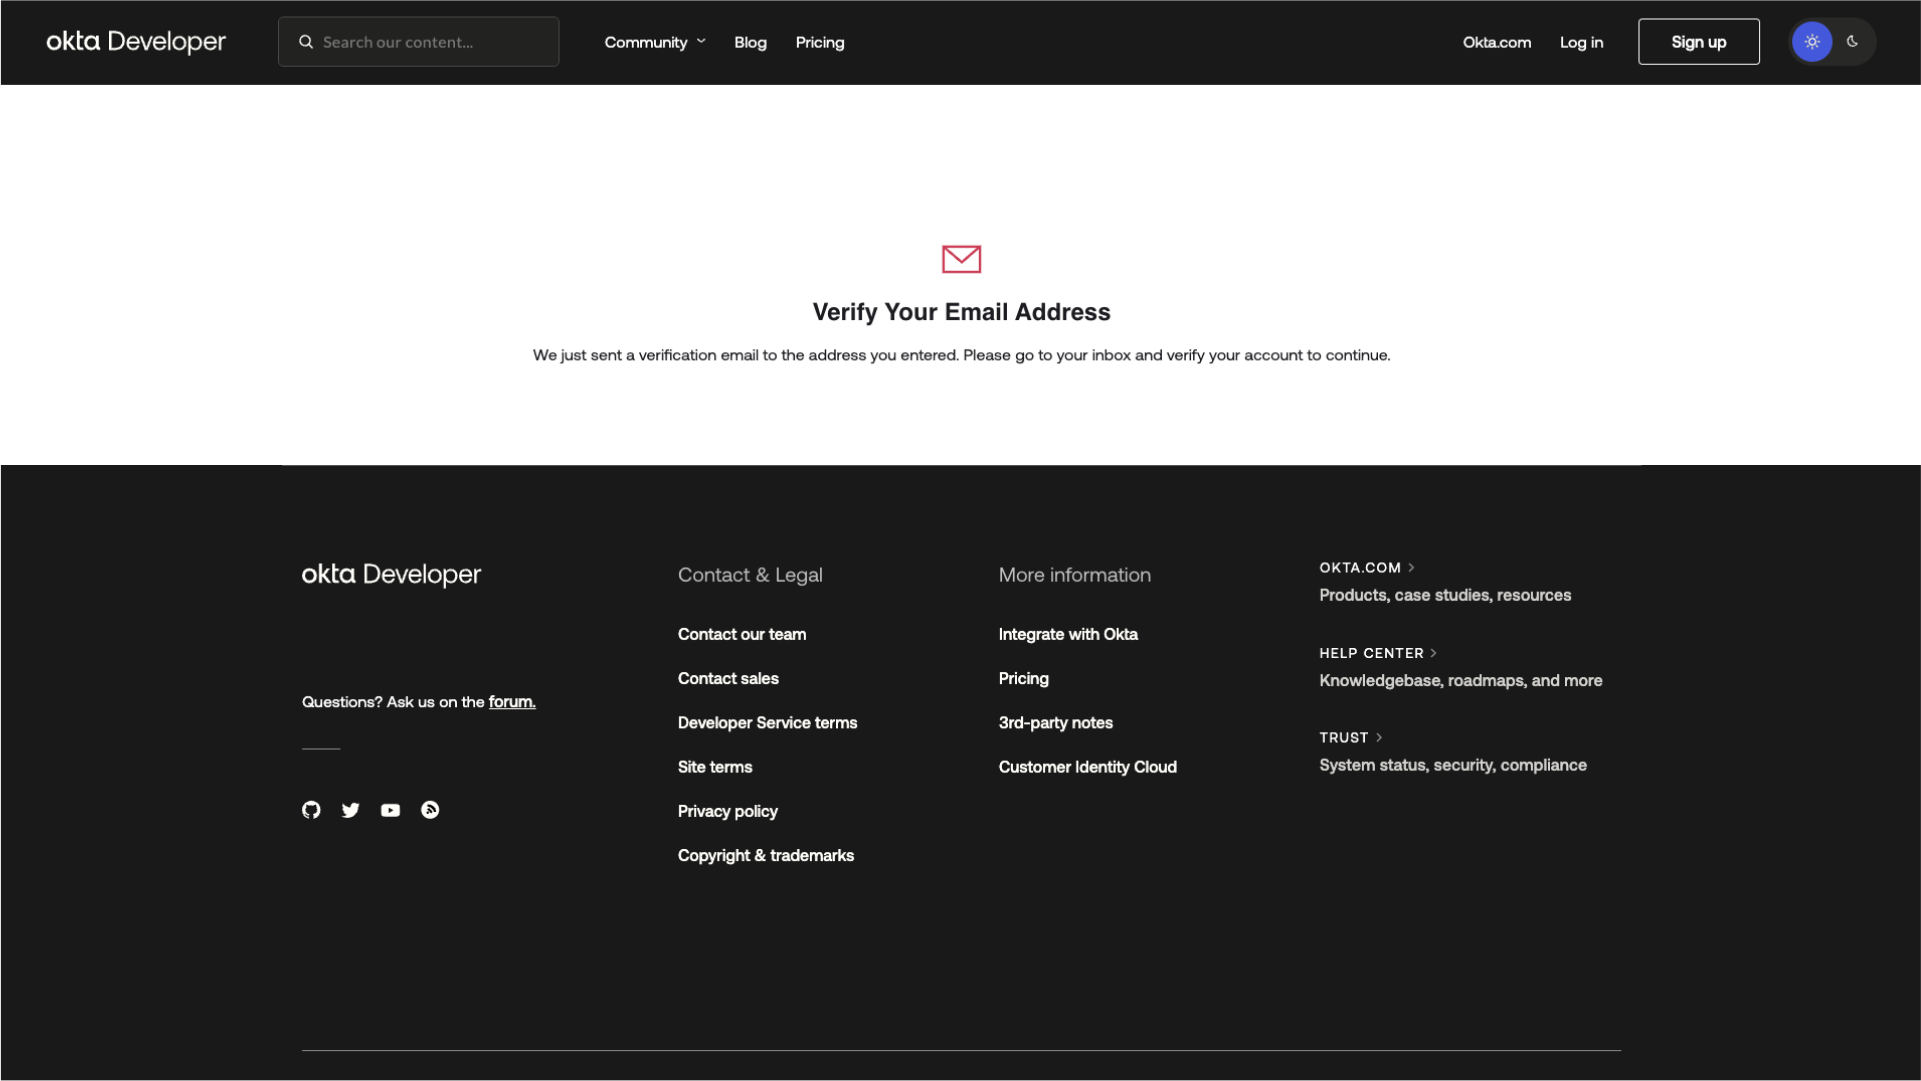
A window will prompt you to check your email. Go to the email inbox associated with the address you provided.
5. Activate Your Account and Set a Password
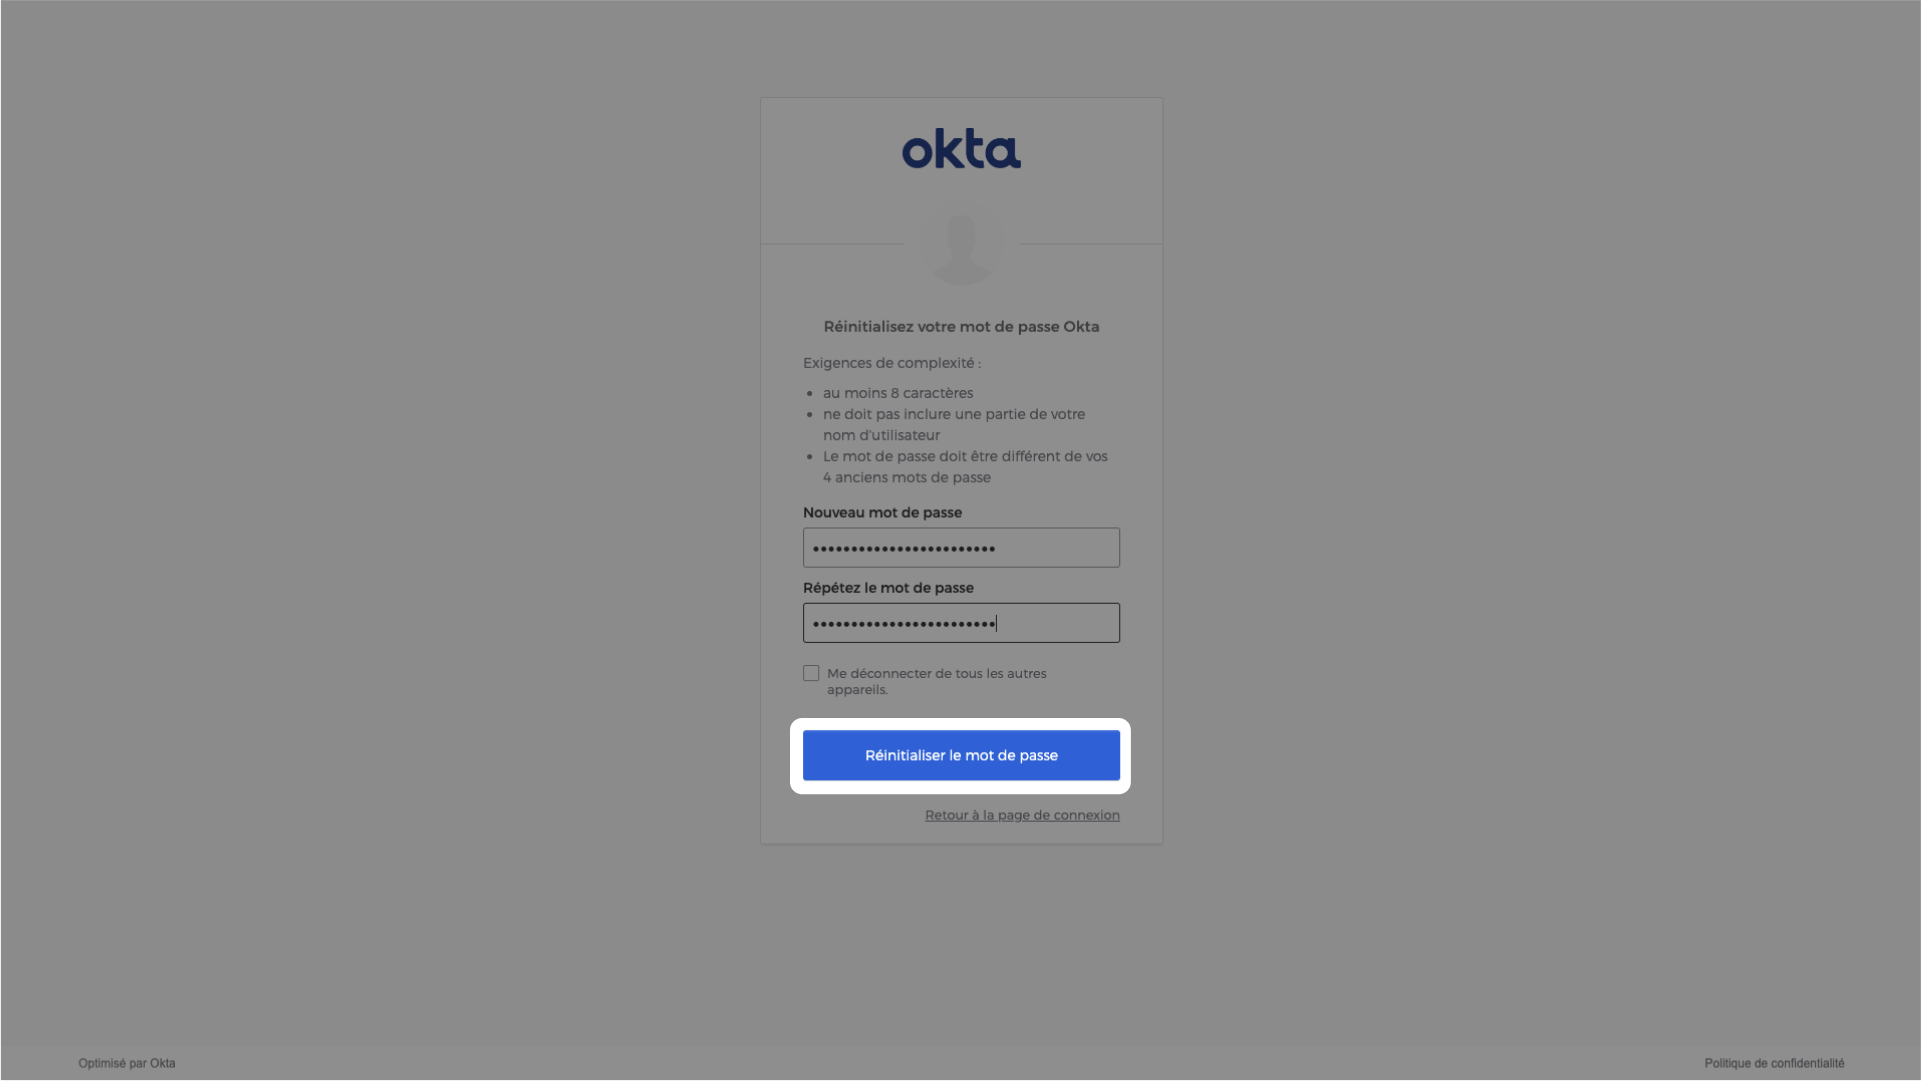
Open welcome email from Okta Developer, where you can activate your account and set up your password by following the link provided. Once your password is chosen and confirmed, click “Reset Password” (“Réinitialiser le mot de passe”) to proceed.
6. Access the “Getting Started” Page
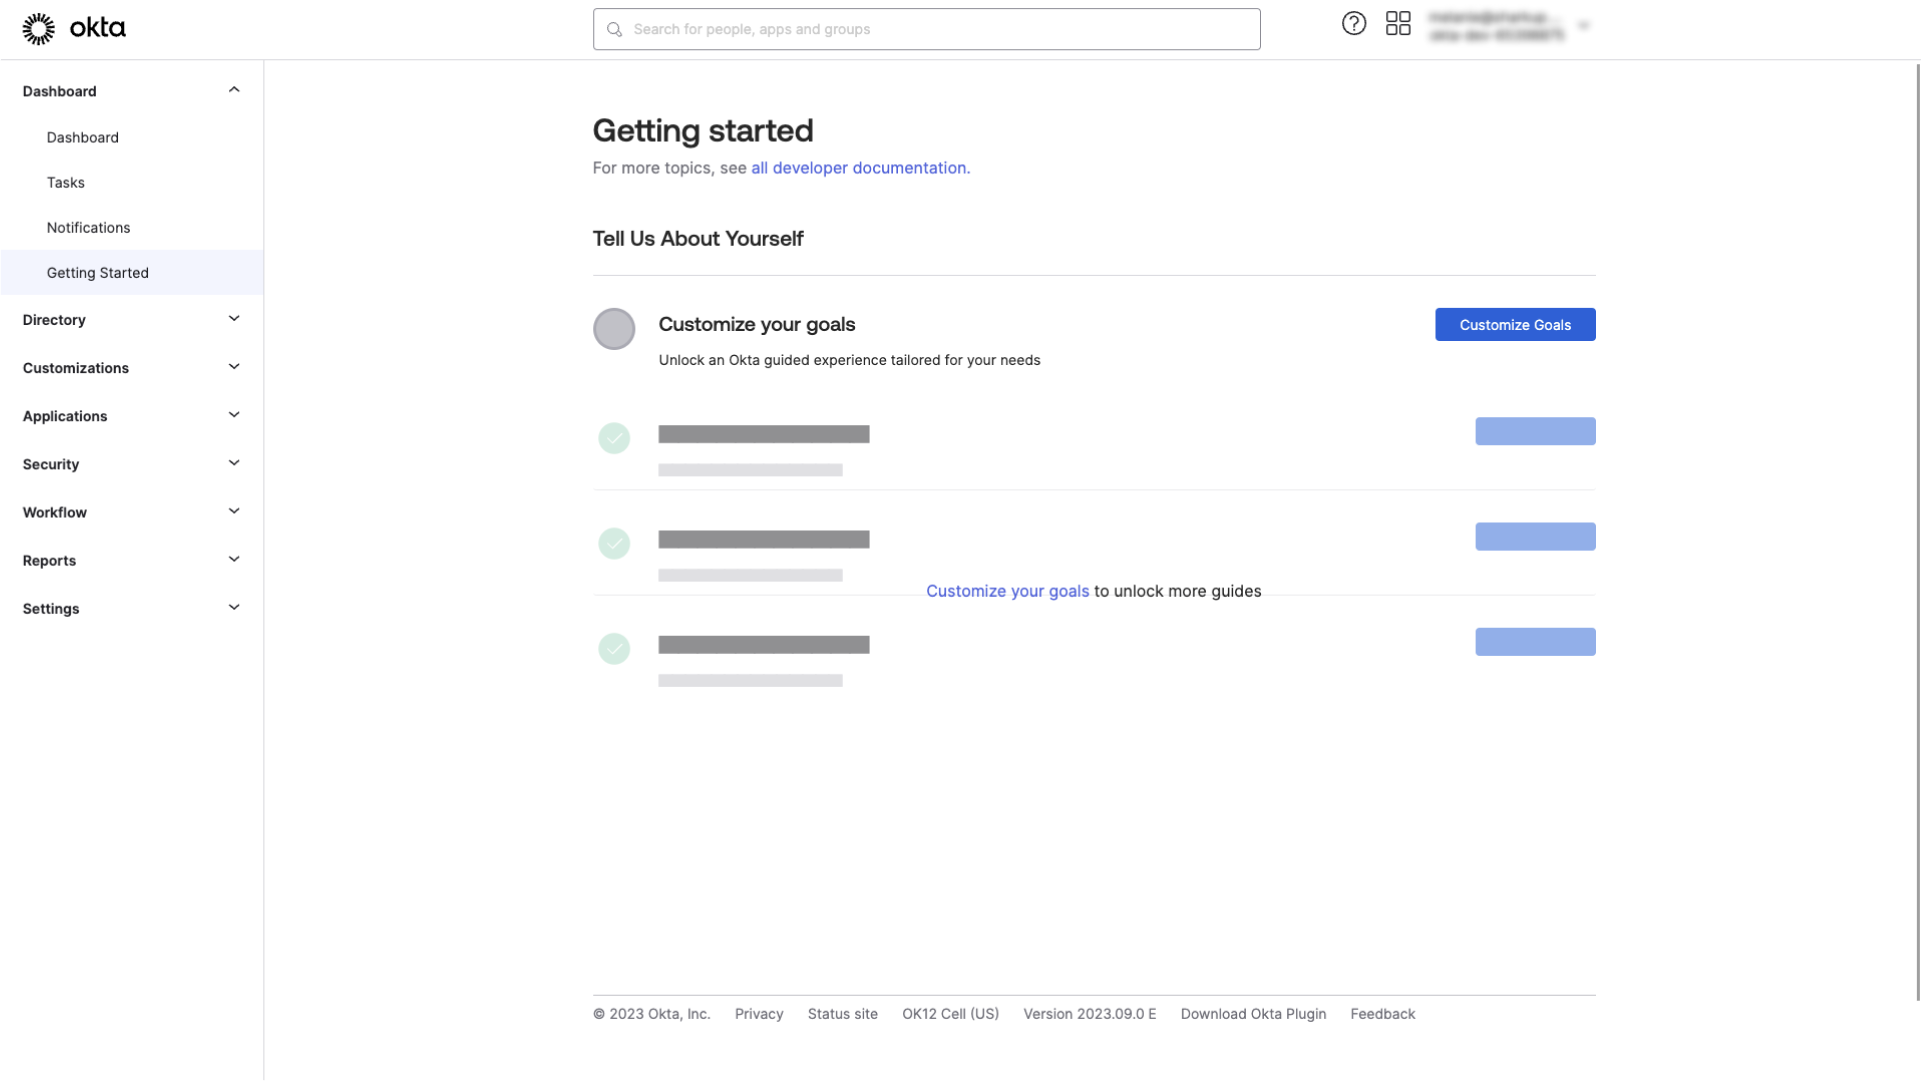
You’ll be redirected to Okta’s “Getting Started” page. Congratulations, you’ve successfully created your account. 👌 You are now ready to proceed with the IT admin onboarding using Okta as your provider.
What’s Next
IT Admin Onboarding
Having successfully created your Okta account, you’re now ready to move on to the next step with our IT Admin Onboarding tutorial. Explore this guide to learn how IT administrators can set up SSO connections, implement user synchronization, and much more.