IT Admin Onboarding
Before you start
There are a few essential elements to consider:
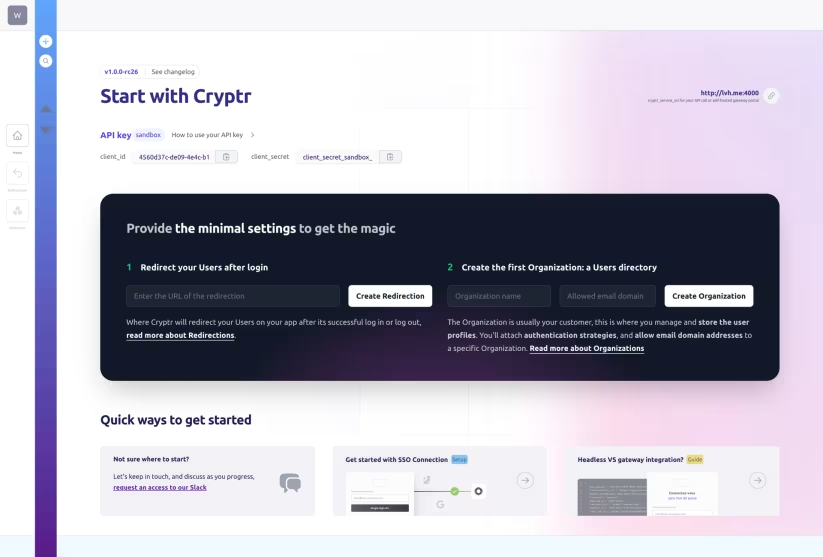
- Cryptr Account: Create your free Cryptr account now 🔥. With a Cryptr account, you’ll be able to create an SSO and/or SYNC (Directory Sync) Connection.
- Organization: An organization that represents your customer. Follow this link to learn more about Organization.
- Redirection: A redirection also called
redirect_uriis the URL to which your user will be redirected after authentication. - SSO Connection: To handle SSO communications between Cryptr and your customer’s Identity Provider (Idp), you’ll need to create an SSO Connection. Follow this guide to find out more.
- SYNC (Directory Sync) Connection: To handle Directory Synchronization between Cryptr and your customer’s Identity Provider (Idp). You’ll need to create a SYNC (Directory Sync) Connection. Follow this guide to find out more.
Introduction
IT admin onboarding has been designed to provide IT administrators with a convenient and secure configuration interface via an access link, allowing them to configure an SSO and Directory Sync connection with all the necessary information and certificates.
With step-by-step instructions for each identity provider, the goal is to make it easier for IT admins to onboard their organization without a third party.
Due to its simplicity, IT admin onboarding is a quick and easy solution to integrate an SSO and Directory Sync, also offering a live test at the end of the configuration.
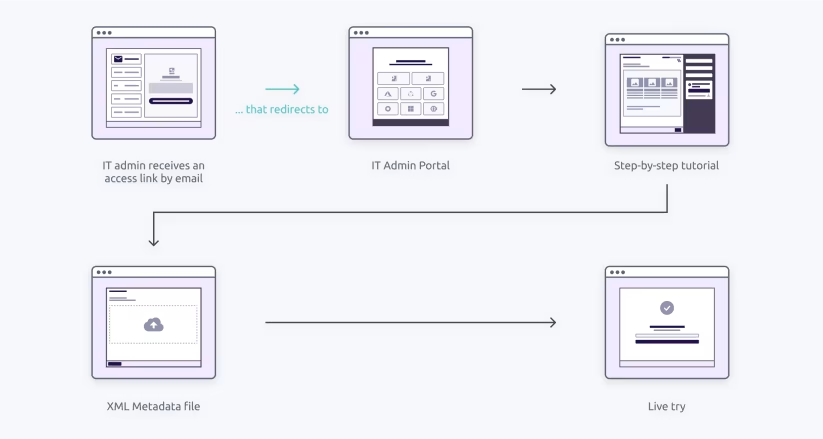
Onboarding flow
IT admin onboarding enables configuration of SSO and Directory sync connection through an interface. There are two public targets for using this: your IT admin and your customer’s IT admin.
On your side, you can create an IT admin via the dashboard or our API. When creating this admin, an access link is generated. This link is unlimited in duration but expires upon its first use.
From your customer’s side, they will receive an email to access the Admin Onboarding and follow the configuration steps until the live test.
The newly created admin can then request a new access link directly from their login page. This link is valid for 5 minutes.
You also have the option to resend an access link from the admin page on the dashboard. In this case, the link is valid for 15 minutes.
The IT admin onboarding interface is 100% customizable, you can design it in the image of your brand. Do not hesitate to contact us for more details
Identity Providers
You will often see the term identity provider. This is your customer’s SSO provider.
Cryptr supports the following identity providers (non-exhaustive list): Azure Active Directory, ADFS, Google, Okta, Ping Federate, Ping One, and many others.
Each SSO / SYNC user is stored in a separate directory for a dedicated client (Organization). You can find the user’s organization domain with the attributes domain of this user.
1. Send an invitation to the IT Administrator of your customer
For your SSO Connection & SYNC Connection to be fully operational, you must ask your customer’s IT Admin to finalize the setup.
To do this invite them to use their email address, they will then be able to connect to our dedicated admin interface. To log in, they will need to enter their email address and click on a link contained in the email they receive.
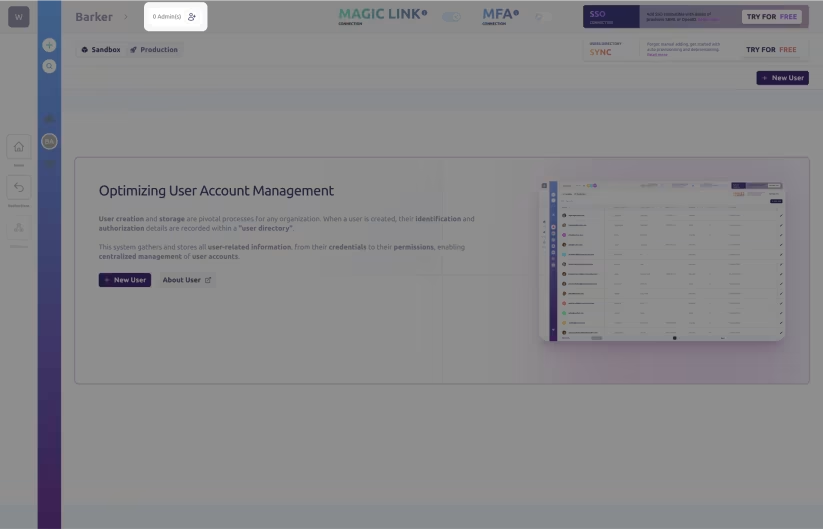
It often happens that you don’t know exactly which admin will be in charge of the setup on your customer’s side. That’s why you can invite several Admins.
If you wish to perform these steps via API, please see our Admin Onboarding API Reference.
2. What the IT admin will see
Now that we’ve set up and sent the invite to your customer’s IT admin, let’s see an overview of the interface features they’ll see.
Let’s take the example of setting up an SSO connection
1. IT Admin Portal
Access to this screen is only possible if the IT Admin has been invited and has clicked on the link received in their email.
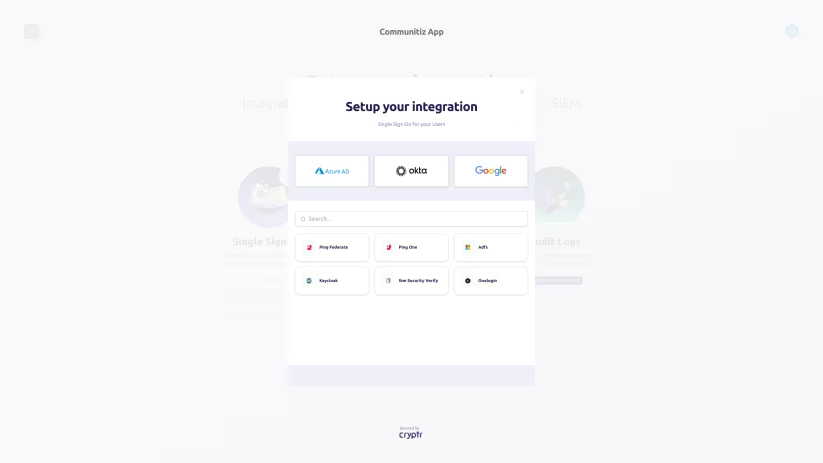
We can select the integration we want to implement. Here, as we’ve created an SSO connection, the IT Admin can click to start the integration. However, if you haven’t created a Connection, as it’s the case here for Directory Sync, they can request for it to be created, directly from this screen.

A list of providers will then be displayed to the admin. They can then choose the provider that corresponds to the one they are using.
2. Step-by-step tutorial
After choosing the provider, there is a step-by-step tutorial along with the credentials needed on the right to complete the tutorials.
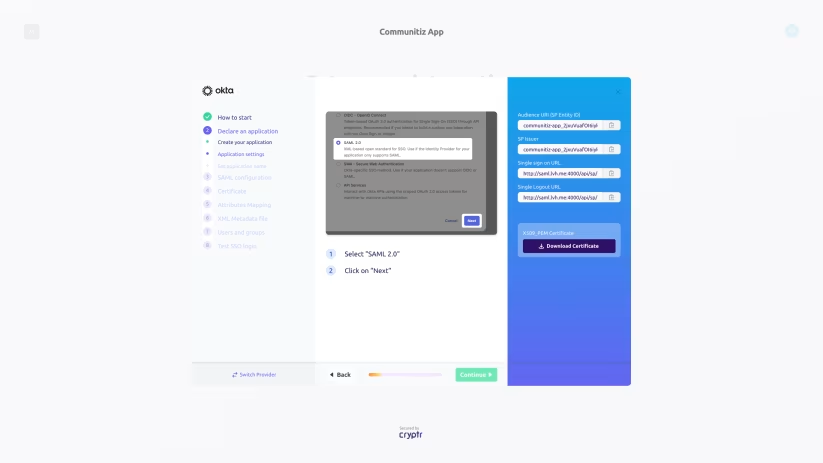
Once the last step is reached, the Connection should now be fully operational.
3. Live try
At the end of the configuration, we can perform a live test to verify that the SSO authentication is working correctly. A "Try" button will appear, which you can click to attempt a connection.

Once the connection is successful, the details of the SAML response are displayed. This includes information about assertions, requests, and responses.

More:
You can also consult our API Ref to perform these actions via the API or if you wish to go further.